
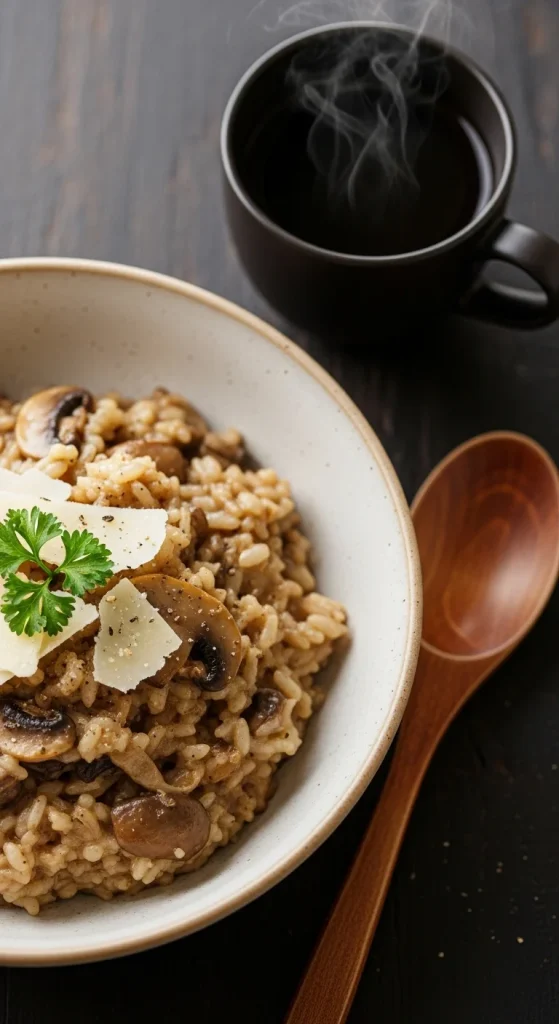
If you’ve ever stood at the stove stirring risotto for what felt like forever, you’ll love this: you don’t have to. Yes, creamy, rich, perfectly tender risotto can be made without babysitting the pot. This easy, low-stress method gives you all the restaurant-level creaminess with half the effort — and no sore arm.
Whether you’re cooking for a cozy dinner or impressing guests, this method makes risotto feel doable, relaxing, and just as indulgent as the traditional way.
Step 1: Choose the Right Rice
The secret to risotto’s creamy texture lies in the rice. Not all rice types release the starch that gives risotto its signature velvety consistency.
Best Types of Rice for Risotto:
- Arborio: The most common; produces a creamy texture with a bit of bite.
- Carnaroli: The “king” of risotto rice — creamier, holds shape beautifully.
- Vialone Nano: Smaller grain, cooks quicker, great for seafood risotto.
Stick to these Italian varieties — they release just the right amount of starch to create that silky sauce without turning mushy.

Pro Tip: Avoid long-grain rice like jasmine or basmati — they won’t achieve that creamy risotto texture.
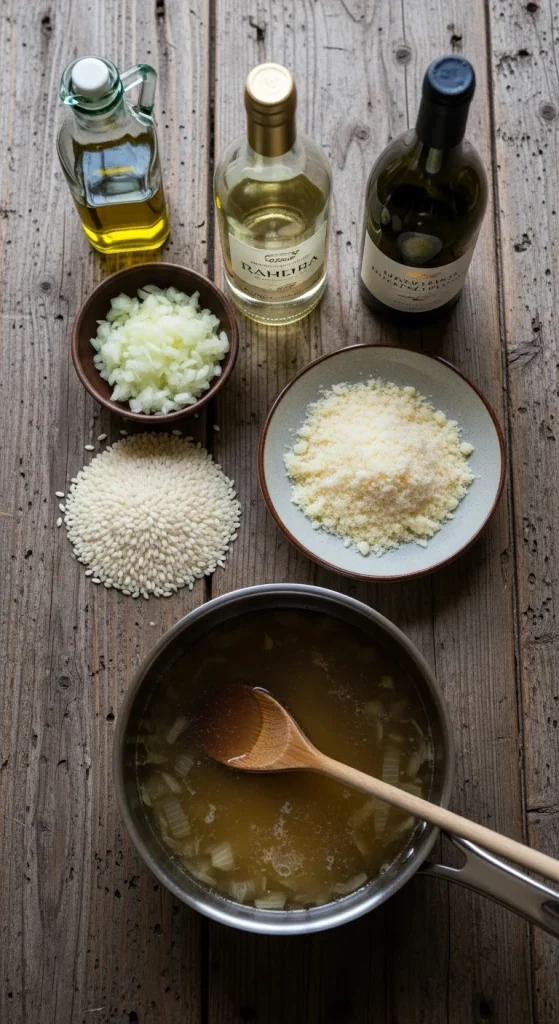
Step 2: Gather Your Ingredients
Here’s a simple base recipe for no-stir risotto. You can customize it with mushrooms, asparagus, or even roasted pumpkin later.
Ingredients:
- 1 ½ cups Arborio rice
- 4 cups vegetable or chicken broth (kept warm)
- 1 small onion, finely chopped
- 2 tablespoons olive oil or butter
- ½ cup dry white wine (optional but recommended)
- ½ cup grated Parmesan cheese (or vegan alternative)
- Salt and pepper to taste
Optional add-ins: mushrooms, peas, roasted vegetables, herbs, or lemon zest.
Pro Tip: Always warm your broth before adding it. Cold broth cools the rice and messes with the cooking process.
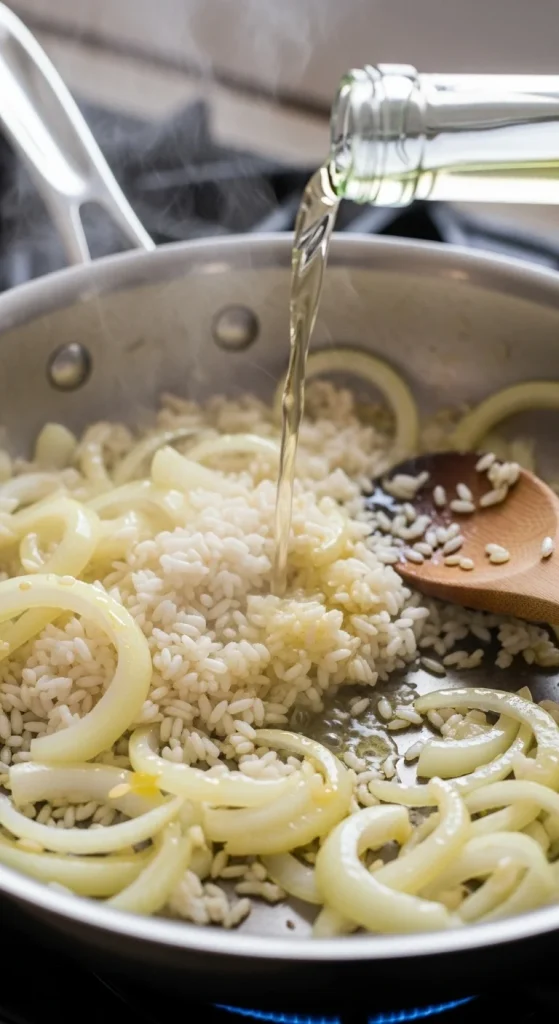
Step 3: Toast the Rice — The Essential First Step
Even in this hands-off method, a few minutes of attention up front make a huge difference.
- Heat the olive oil or butter in a deep pan or Dutch oven over medium heat.
- Add the chopped onion and sauté until translucent (about 2–3 minutes).
- Stir in the rice and toast it for 1–2 minutes until each grain looks glossy and slightly opaque.
- Pour in the white wine and let it simmer until most of it evaporates.
This step builds flavor and gives your risotto a lovely nutty undertone.
Pro Tip: Don’t skip toasting the rice — it locks in structure and helps the grains absorb liquid evenly later.
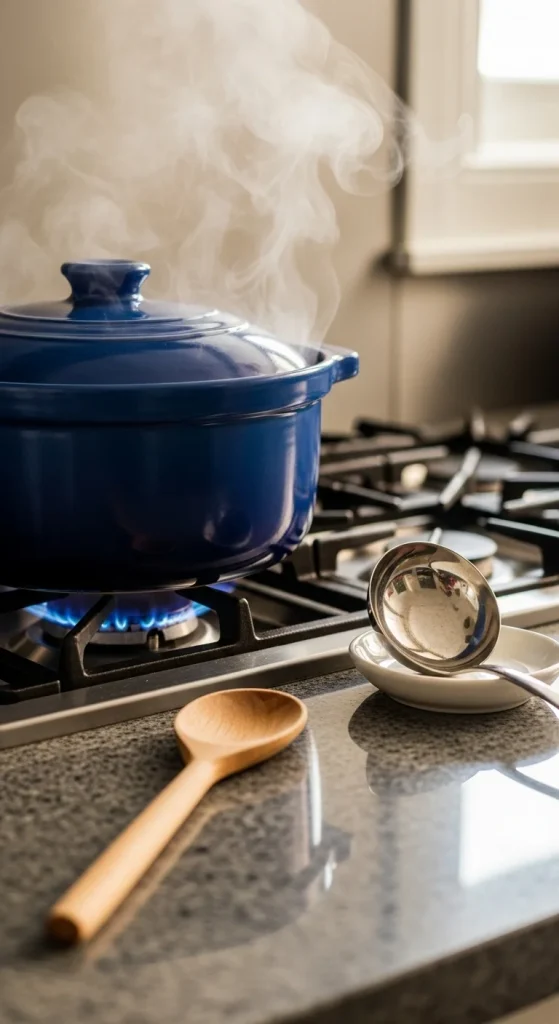
Step 4: Add the Broth — and Relax
Now comes the part where you can skip the constant stirring.
- Pour in all the warm broth at once.
- Give it one quick stir to combine.
- Cover the pot with a lid and reduce heat to low.
- Let it cook undisturbed for 15–18 minutes.
That’s it. You can clean up, set the table, or pour yourself a glass of wine while it simmers away.
When time’s up, remove the lid and check the texture. The rice should be tender but not mushy, with just a bit of liquid left at the bottom.
Pro Tip: If the risotto looks dry before the rice is cooked, add a splash more warm broth and cook for a few extra minutes.
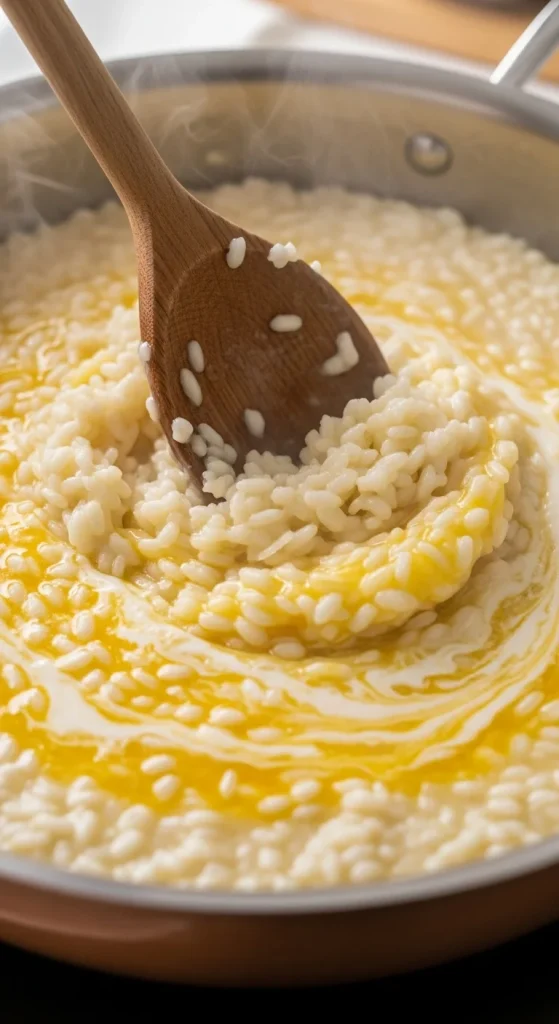
Step 5: Stir in the Creamy Finish
Now comes the magic moment — the “mantecatura,” or final stirring stage that transforms your risotto from good to glorious.
- Remove the pot from heat.
- Stir in grated Parmesan (or nutritional yeast for vegan risotto) and a tablespoon of butter or olive oil.
- Taste and adjust with salt, pepper, or a squeeze of lemon juice.
This final step creates that creamy, glossy finish — without all the previous elbow grease.
Pro Tip: Don’t skip resting! Let your risotto sit for 2 minutes before serving — it allows the starches to settle into perfect creaminess.
Step 6: Add Flavors & Toppings
Once your risotto base is ready, you can flavor it endlessly. Try these crowd-pleasing variations:
- Mushroom Risotto: Sauté mushrooms with garlic and fold them in at the end.
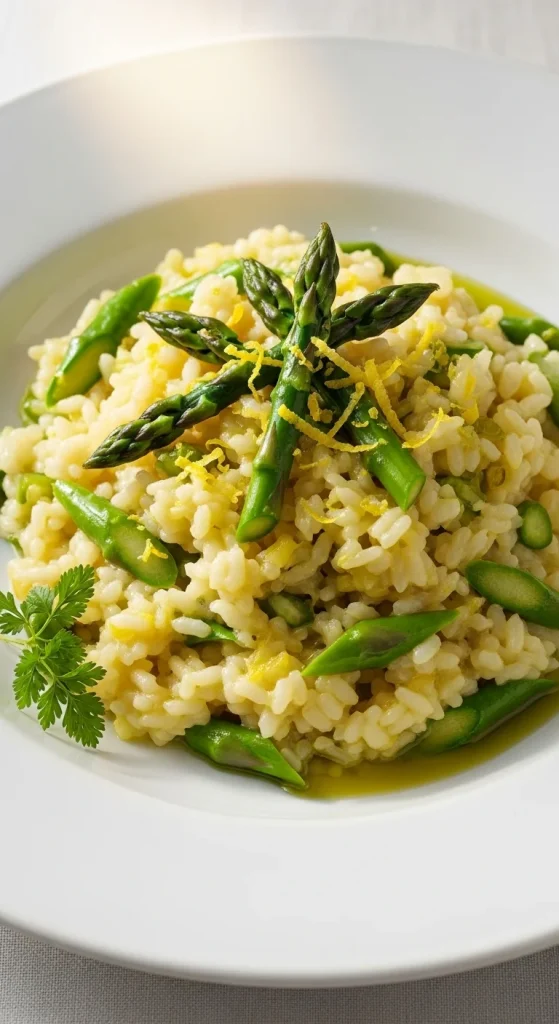
- Lemon Asparagus Risotto: Add blanched asparagus and fresh lemon zest.
- Pumpkin Risotto: Stir in roasted pumpkin cubes and sage.
- Spinach & Pea Risotto: Fold in greens and peas for a spring-inspired version.
Pro Tip: Always garnish just before serving — fresh herbs and olive oil keep the dish vibrant and photo-ready.
Step 7: Serve It Right
Serve your risotto warm and creamy — not stiff or dry. It should gently spread on the plate when spooned out.
Pair it with:
- A crisp glass of white wine
- Roasted vegetables
- Grilled shrimp or tofu
- A simple green salad

Final Bite
Who knew risotto could be this easy? No more standing and stirring endlessly — just a little prep, one pot, and a few smart tricks for creamy, dreamy perfection.
So the next time you crave comfort food but not the stress, make this no-stir risotto. It’s proof that simple can still taste luxurious.
Save this recipe for later — your arms (and your guests) will thank you!

Hannah Collins is a passionate home cook and food storyteller who believes every recipe tells a little love story. At TastyWriter, she shares simple, delicious recipes made for real kitchens and busy days — from cozy comfort dishes to creative new favorites. When she’s not cooking, you’ll find her photographing food, testing family recipes, or sipping tea while dreaming up her next tasty idea.
Leave a Reply