
There’s something magical about pouring a glass of your own homemade kombucha — crisp, slightly tangy, and full of life. It’s bubbly, refreshing, and infinitely customizable. And the best part? You don’t need a fancy brewery setup — just a few simple ingredients and a little patience.
If you’ve ever been curious about brewing kombucha yourself, this guide walks you through every step — from the first ferment to that satisfying fizz.
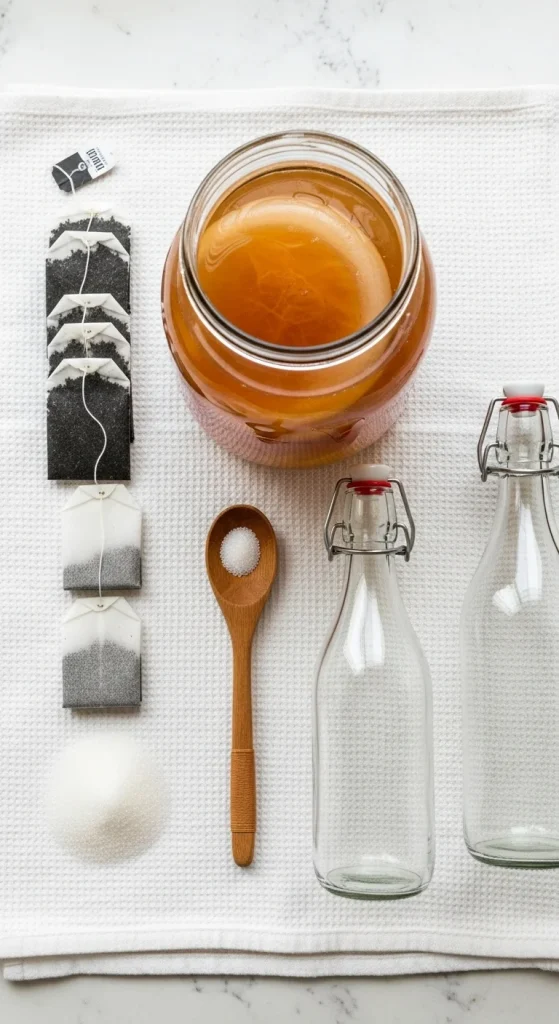
Step 1: What You’ll Need to Get Started
Kombucha might look like a science project, but it’s surprisingly easy to make once you have the right setup.
Basic Ingredients:
- 8 cups water
- 4–6 bags of black or green tea (or 2 tablespoons loose leaf)
- ¾ cup white sugar
- 1 cup starter kombucha (from a previous batch or store-bought, unflavored)
- 1 SCOBY (Symbiotic Culture of Bacteria and Yeast)
Equipment:
- 1 large glass jar (½ to 1 gallon)
- A breathable cloth or coffee filter + rubber band
- Wooden spoon (avoid metal)
- Bottles with tight lids for the second fermentation
Pro Tip: Always use glass or food-grade plastic — metal can react with the tea and harm your SCOBY.
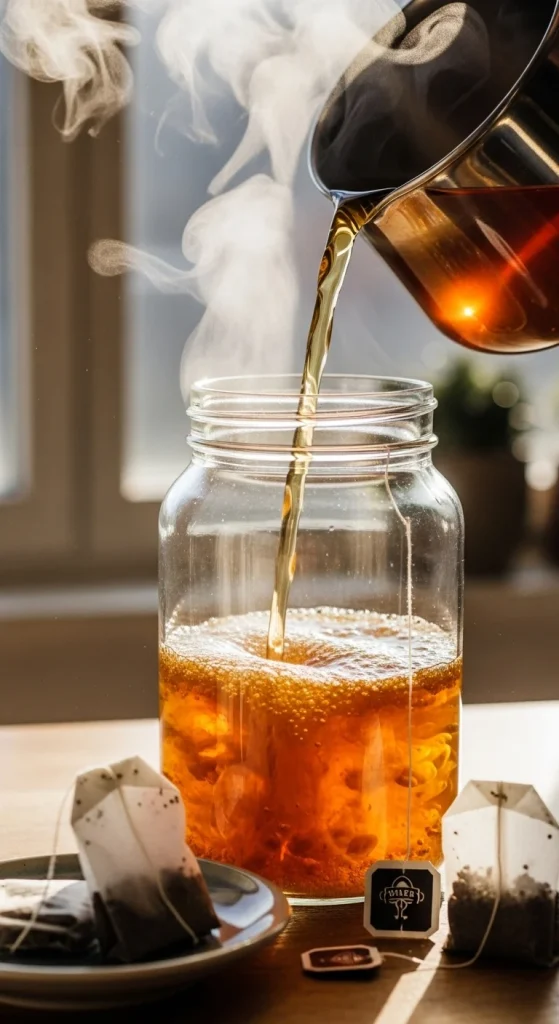
Step 2: Brew the Tea
This is where your kombucha begins. You’re making sweet tea — the base that your SCOBY will feed on.
- Boil 4 cups of water.
- Add tea bags and let steep for about 10 minutes.
- Stir in sugar until completely dissolved.
- Add the remaining 4 cups of cold water to cool it down.
Your tea should be room temperature before moving to the next step. Hot tea can damage your SCOBY.
Pro Tip: Black tea creates a stronger flavor, while green tea makes it lighter and more delicate.
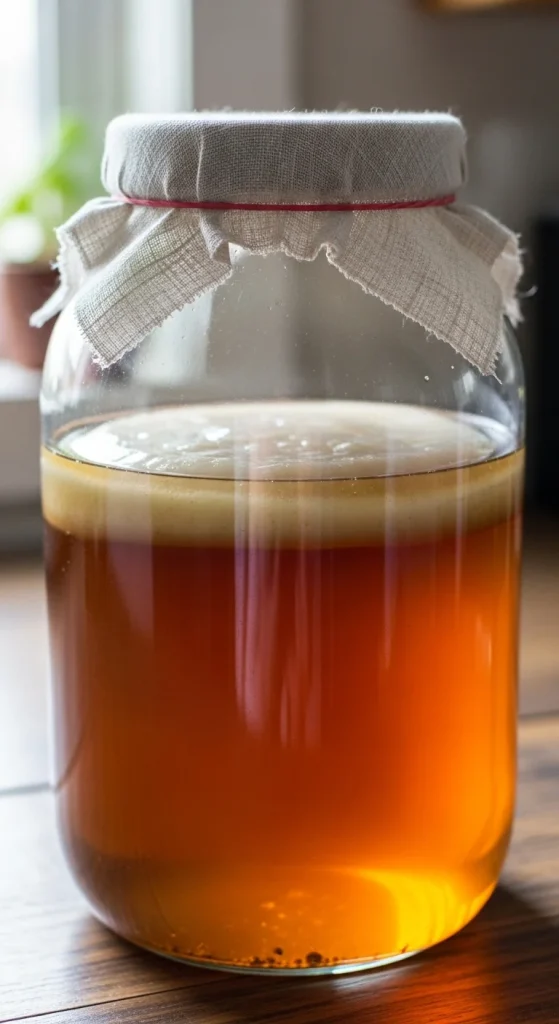
Step 3: Add the SCOBY and Starter Tea
Once your tea has cooled, pour it into your glass jar. Then add:
- 1 cup of starter kombucha (to balance acidity and prevent bad bacteria)
- Your SCOBY, gently placed on top
Cover the jar with a clean cloth or paper filter and secure it with a rubber band.
Now comes the fun part — fermentation!
Place your jar in a warm, dark spot (ideally 70–80°F or 21–27°C) for 7–10 days.
Pro Tip: Don’t refrigerate your jar or seal it tightly during fermentation — the SCOBY needs air.
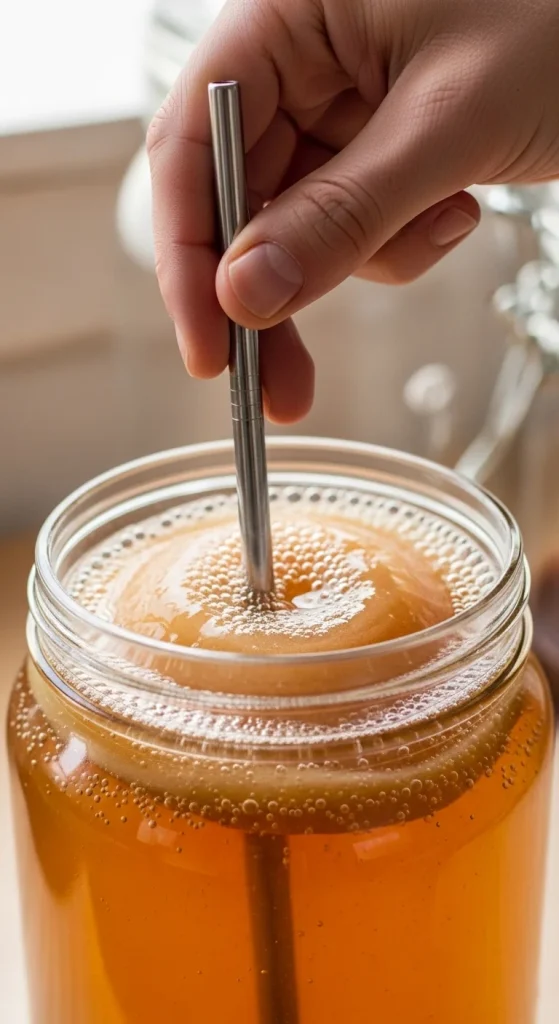
Step 4: Taste & Test
After 7 days, taste your kombucha using a clean straw.
- Too sweet? Let it ferment a few more days.
- Too sour? You’ve let it go too long — but don’t worry, it makes a great salad dressing base!
When it hits your perfect balance of sweet and tangy, it’s time for the second fermentation — the stage that adds fizz and flavor.
Pro Tip: Save 1 cup of this finished kombucha for your next batch — it becomes your new starter tea.
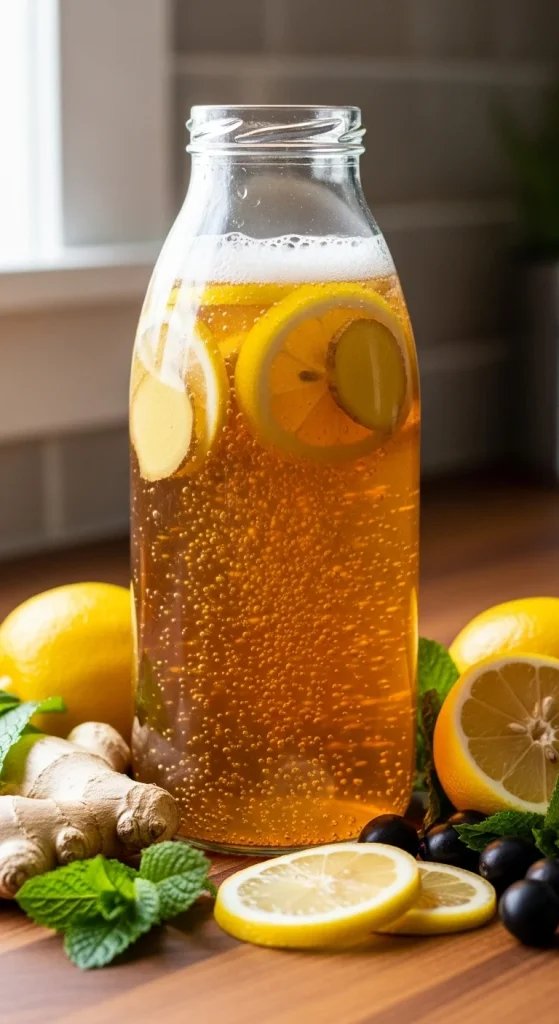
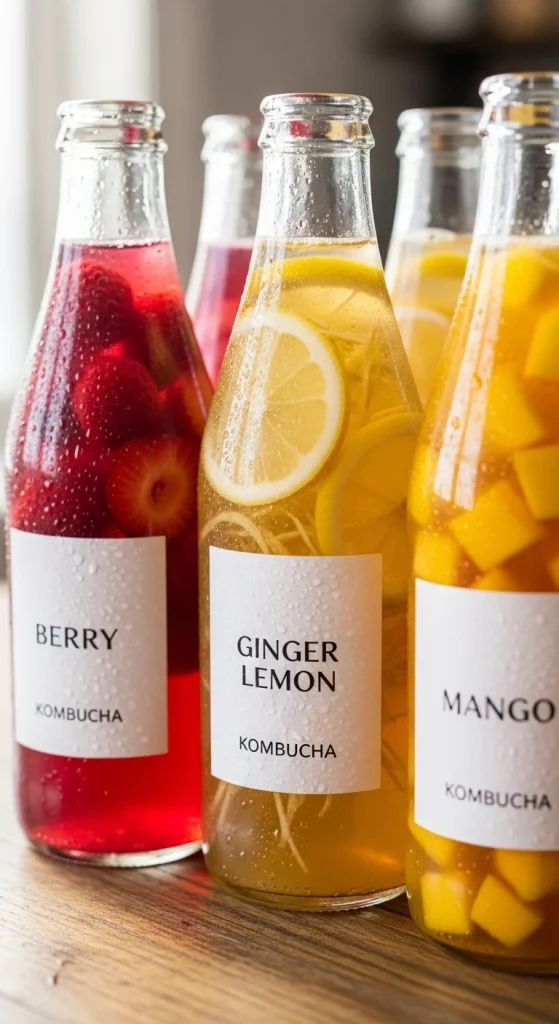
Step 5: Flavor & Bottle (The Second Ferment)
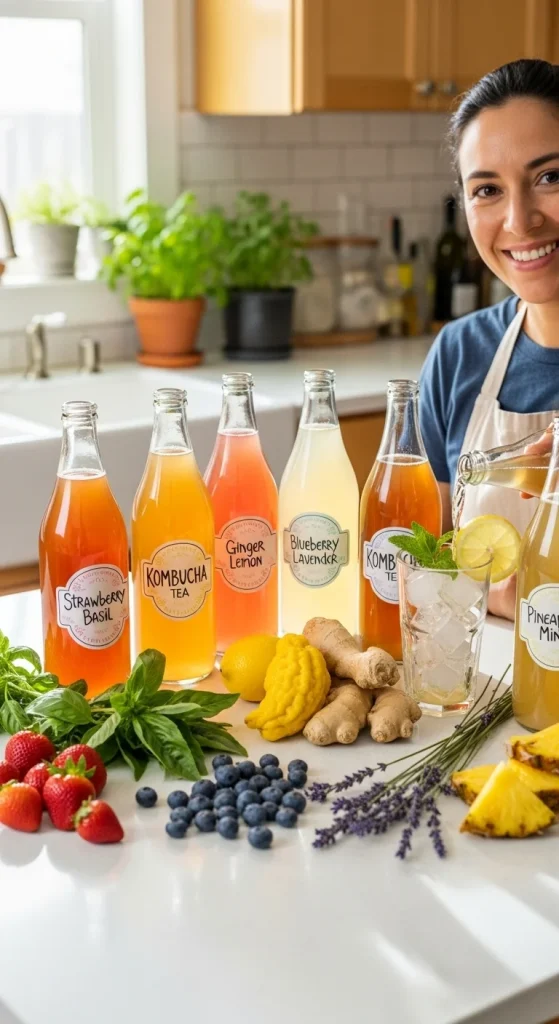
This is where your kombucha becomes truly yours. You can infuse it with fruit, herbs, or spices for unique flavors.
Flavor Ideas:
- Ginger Lemon: 1 teaspoon grated ginger + 1 tablespoon lemon juice
- Berry Bliss: Handful of fresh or frozen berries
- Tropical Twist: Pineapple chunks + coconut water
- Spiced Apple: Apple slices + a dash of cinnamon
Instructions:
- Remove the SCOBY and 1 cup of starter tea for your next batch.
- Pour the rest into clean bottles, leaving about an inch of space at the top.
- Add your chosen flavorings.
- Seal tightly and leave at room temperature for 2–4 days to carbonate.
Pro Tip: The warmer your space, the faster the carbonation. “Burp” bottles once a day to release excess pressure.
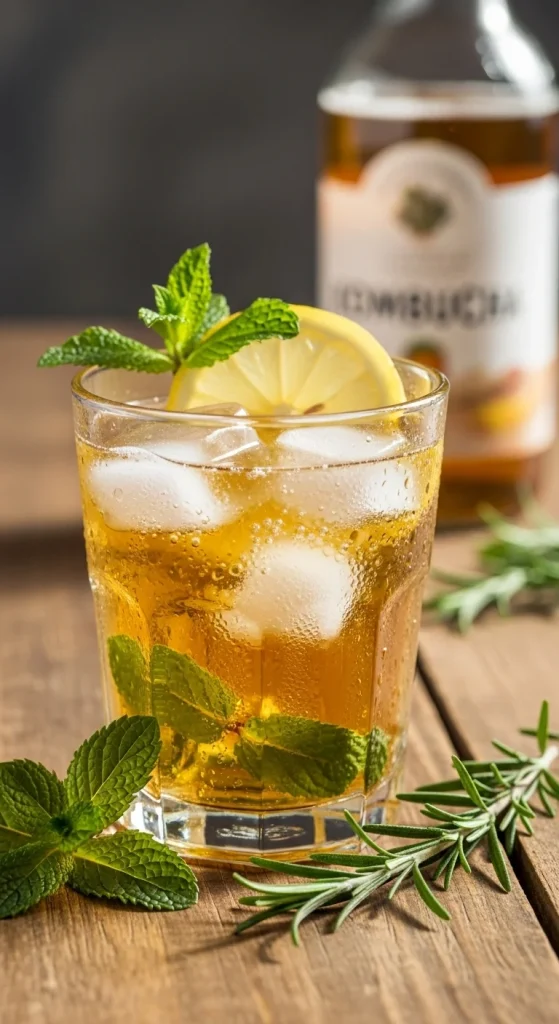
Step 6: Chill & Enjoy
After 2–4 days, move your bottles to the fridge. Cold temperatures stop fermentation and keep the flavor just right.
Your kombucha will be lightly bubbly, refreshing, and packed with probiotics.
Pour it into a glass, strain out any fruit pieces if you like, and sip away — you’ve officially brewed your own kombucha!
Pro Tip: Homemade kombucha stays fresh in the fridge for about a month — but let’s be real, it won’t last that long.
Step 7: Keep the Cycle Going
Each time you brew, your SCOBY will grow a “baby.” You can:
- Use it for your next batch.
- Share it with a friend.
- Store it in a “SCOBY hotel” — a jar of tea and kombucha kept at room temperature.
Your SCOBY is the gift that keeps on giving — treat it well, and it’ll brew for years.
Final Sip
Making kombucha at home is a rewarding mix of science, creativity, and patience. Once you get the hang of it, you’ll never want to buy store-bought again. Every batch can be unique — fruity, floral, spicy, or classic.
So go ahead, grab that jar, and start your first bubbly brew.
Save this recipe for later — your future self (and your gut) will thank you!

Hannah Collins is a passionate home cook and food storyteller who believes every recipe tells a little love story. At TastyWriter, she shares simple, delicious recipes made for real kitchens and busy days — from cozy comfort dishes to creative new favorites. When she’s not cooking, you’ll find her photographing food, testing family recipes, or sipping tea while dreaming up her next tasty idea.
Leave a Reply