
If you think you need an expensive ice-cream maker to enjoy rich, creamy ice cream at home — think again. With a blender, a few wholesome ingredients, and a little creativity, you can whip up vegan ice cream that’s smooth, indulgent, and 100% dairy-free. It’s the perfect guilt-free treat for summer (or any season, honestly).
Whether you’re craving chocolate, strawberry, or something tropical, this easy blender method delivers that dreamy texture — no churning, no waiting around all day, and no compromise on flavor.
Step 1: Gather Your Base Ingredients
The base of any good vegan ice cream is a blend of creamy plant-based ingredients and natural sweetness. You only need four main things to get started.
Basic Ingredients:
- Frozen bananas – the magic ingredient for creaminess
- Plant-based milk (almond, oat, or coconut) – helps with blending
- Sweetener (maple syrup, agave, or dates) – optional, depending on your taste
- Flavoring (cocoa powder, vanilla extract, or fruit)
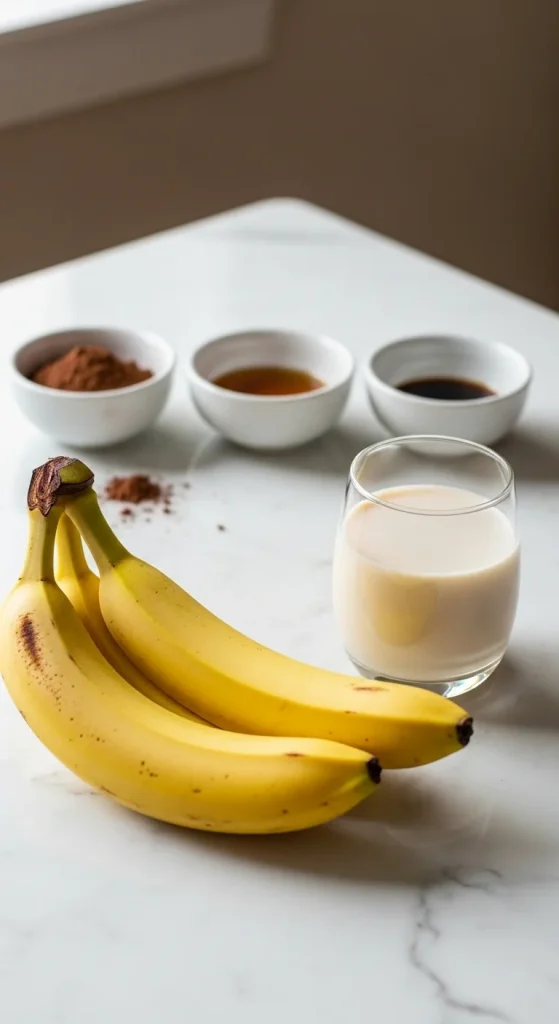
Pro Tip: The riper the bananas, the sweeter and creamier your ice cream will be. Spotty bananas are perfect for this recipe!
Step 2: Freeze Your Bananas Properly
This step makes or breaks your ice cream texture. Peel and slice your ripe bananas, then freeze them in a single layer on a baking sheet for at least 2–3 hours (or overnight).
Once frozen solid, transfer them to a freezer bag or container — they’ll keep for up to a month, ready for your next batch.

Pro Tip: Always freeze the slices flat. Clumped bananas will make blending harder and uneven.
Step 3: Blend to Creamy Perfection
Time for the fun part!
- Add your frozen bananas to a high-speed blender.
- Pour in a small splash of plant-based milk (start with ¼ cup).
- Add your flavorings and sweetener of choice.
- Blend until smooth, stopping occasionally to scrape down the sides.
At first, it’ll look crumbly — don’t panic! Keep blending and watch it magically transform into a thick, silky ice cream texture.

Pro Tip: If your blender struggles, let the bananas sit at room temperature for 3–5 minutes before blending. A little patience goes a long way.
Step 4: Flavor It Up
Here’s where you can get creative. The banana base works like a blank canvas — you can turn it into almost any flavor imaginable.
Delicious Flavor Ideas:
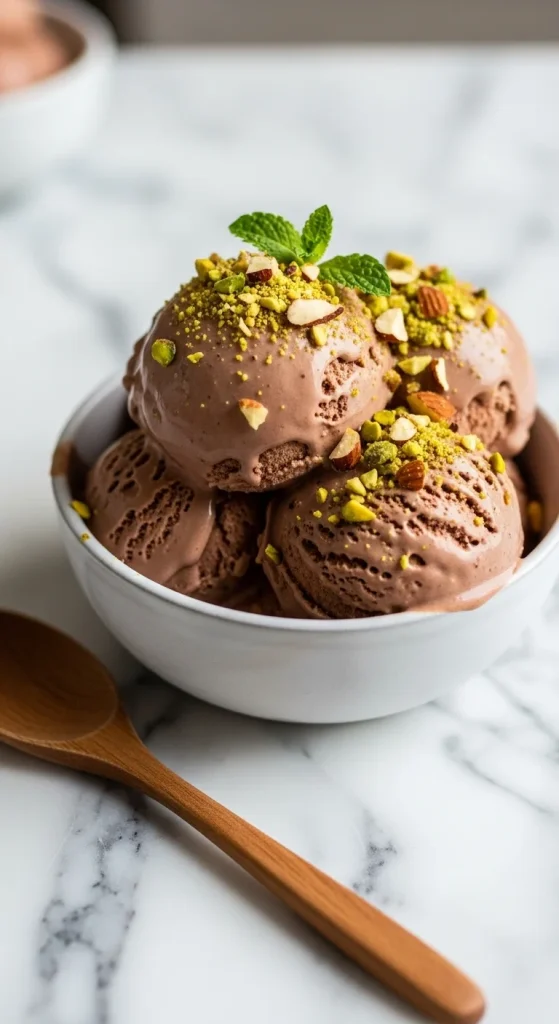
- Chocolate Dream: Add 2 tablespoons cocoa powder + a spoonful of peanut butter.
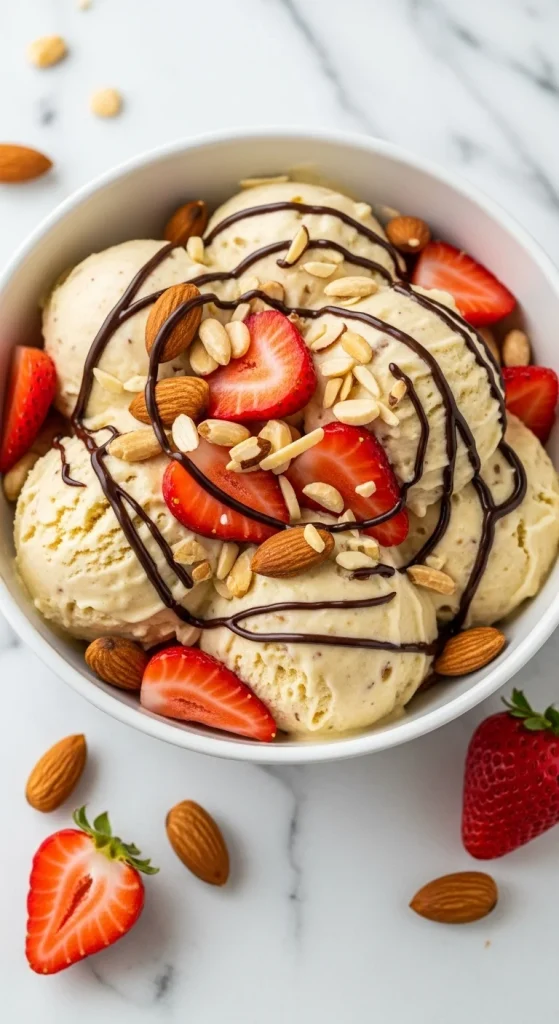
- Berry Burst: Blend in frozen strawberries, blueberries, or raspberries.
- Tropical Twist: Add mango chunks and coconut milk for a sunny vibe.
- Mint Chip: Mix in peppermint extract and vegan chocolate chips.
- Cookie Crumble: Fold in crushed vegan cookies for texture.

Pro Tip: Fold in mix-ins (like nuts, chocolate chunks, or coconut) after blending to keep them from breaking up too much.
Step 5: Chill & Scoop
You can eat your vegan ice cream right away for a soft-serve texture, or freeze it for 1–2 hours to firm up like traditional ice cream.
- Transfer the blended ice cream to a freezer-safe container.
- Smooth the top and cover tightly.
- Let it chill, then scoop and serve.
If it hardens too much after freezing overnight, let it sit at room temperature for 10–15 minutes before scooping.

Pro Tip: For extra creaminess, stir the ice cream halfway through freezing to break up any ice crystals.
Step 6: Dress It Up
The fun doesn’t stop at the ice cream! Dress it up with toppings that make each scoop extra special.
Topping Ideas:
- Crushed nuts or granola for crunch
- Fresh fruit or shredded coconut for brightness
- Melted dark chocolate drizzle
- A spoonful of nut butter
- A sprinkle of cinnamon or sea salt
Pro Tip: Keep toppings simple and natural — they complement the freshness of homemade vegan ice cream beautifully.
Step 7: Store Like a Pro
Homemade vegan ice cream can stay fresh for up to 2 weeks in the freezer. To prevent freezer burn, cover the surface with a piece of parchment paper before sealing the container.
When you’re ready for a scoop, let it soften for a few minutes for that creamy, scoopable texture again.
Pro Tip: Smaller containers freeze more evenly, so divide your ice cream into portions for quick grab-and-go treats.
Step 8: Experiment Beyond Bananas
Once you master the basics, experiment with other creamy vegan bases!
- Avocado: Adds a rich, buttery texture.
- Cashew cream: Soak cashews overnight and blend with almond milk for ultra creaminess.
- Coconut milk: Gives a rich, tropical flavor that pairs perfectly with chocolate or mango.
The possibilities are endless — and every combo tastes like summer in a spoonful.
Final Scoop
Making vegan ice cream in a blender is one of the easiest and most satisfying kitchen projects you can try. It’s creamy, delicious, and completely guilt-free — proof that dairy-free desserts can be just as indulgent.
So grab those frozen bananas, fire up your blender, and get ready for a scoop (or three) of homemade happiness.
Save this recipe for later — because every day deserves a little ice cream joy!

Hannah Collins is a passionate home cook and food storyteller who believes every recipe tells a little love story. At TastyWriter, she shares simple, delicious recipes made for real kitchens and busy days — from cozy comfort dishes to creative new favorites. When she’s not cooking, you’ll find her photographing food, testing family recipes, or sipping tea while dreaming up her next tasty idea.
Leave a Reply