
If you’ve ever tried cooking quinoa and ended up with a mushy mess or grains stuck to the pot, you’re not alone. This tiny seed (yep, it’s not technically a grain!) can be tricky at first—but once you learn the right method, it’s foolproof. The reward? Perfectly fluffy, nutty, and light quinoa every time.
Step 1: Start with the Right Quinoa
Not all quinoa is the same. You’ll usually find three main types:
- White quinoa: Mild flavor, soft and fluffy texture.
- Red quinoa: Slightly nutty and holds shape better—great for salads.
- Black quinoa: Earthier flavor and a little crunchier.
You can also find tricolor quinoa, which combines all three and looks gorgeous in bowls or salads.
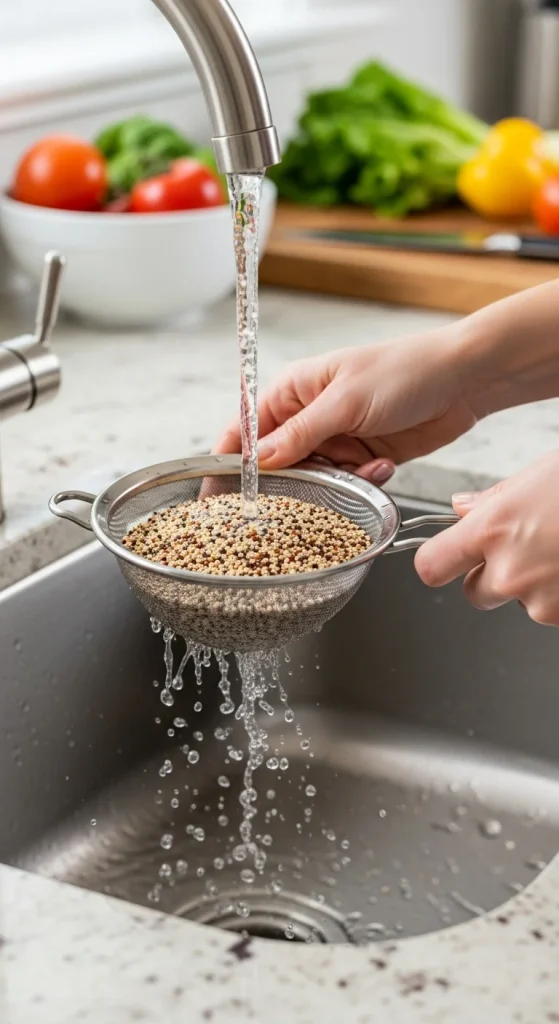
Pro tip: Always rinse your quinoa before cooking. This removes its natural coating called saponin, which can make it taste bitter or soapy.
Step 2: Measure the Perfect Ratio
This is the secret to fluffy quinoa—the water ratio matters.
Use a 2:1 ratio of water to quinoa. For example:
- 1 cup quinoa
- 2 cups water or broth
You can substitute vegetable or chicken broth for extra flavor. If you’re cooking for meal prep, water works just fine too.
Add a pinch of salt to the water for taste.
Step 3: Simmer Gently, Don’t Boil Hard
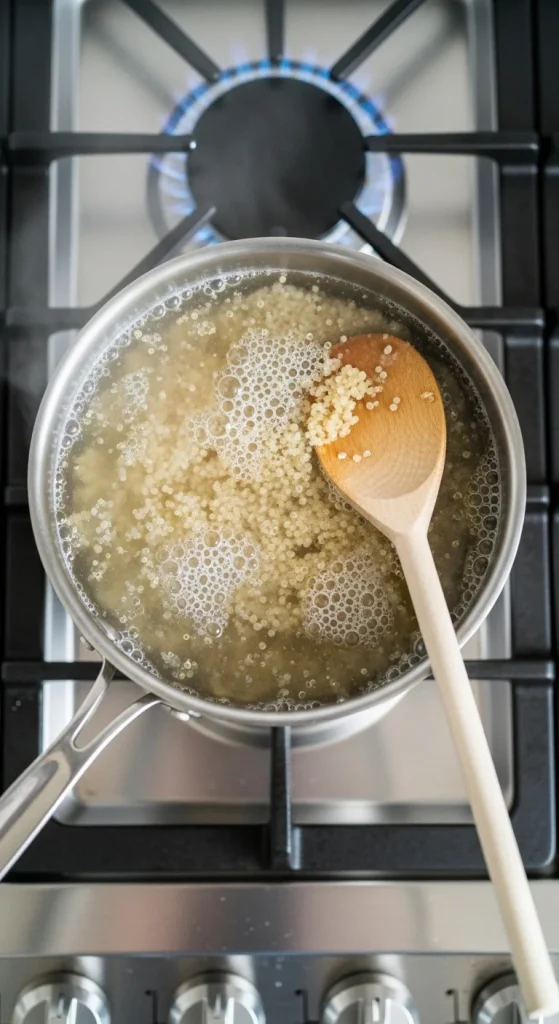
In a medium pot:
- Combine rinsed quinoa and water (or broth).
- Bring it to a gentle boil over medium heat.
- Once it starts bubbling, reduce the heat to low, cover with a lid, and let it simmer for 15 minutes.
Resist the urge to lift the lid! The steam inside is what cooks it evenly.
Step 4: Let It Steam and Fluff
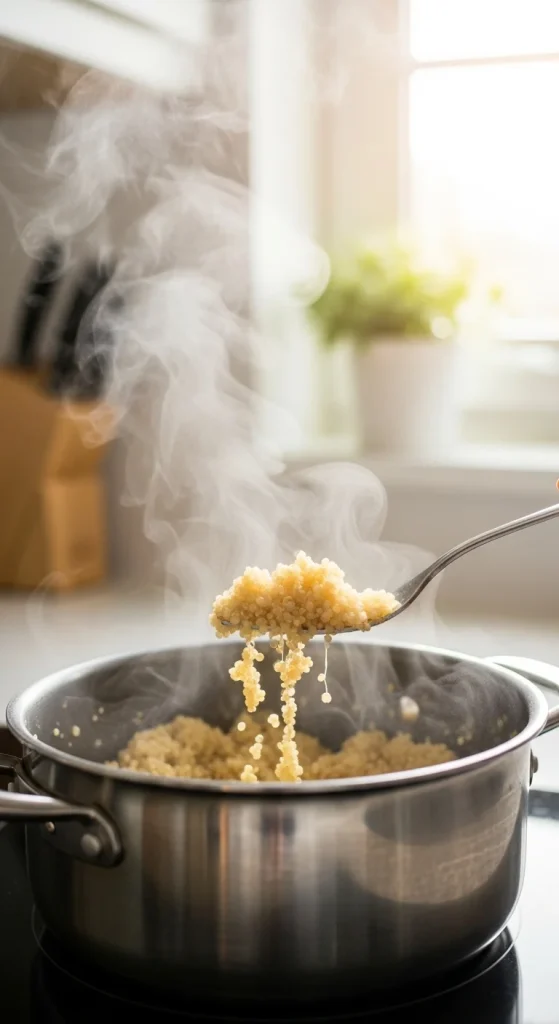
When the time is up, remove the pot from heat—but don’t stir yet!
Let it sit covered for another 5–10 minutes. This resting time allows the quinoa to finish absorbing any remaining moisture and “steam itself” to perfection.
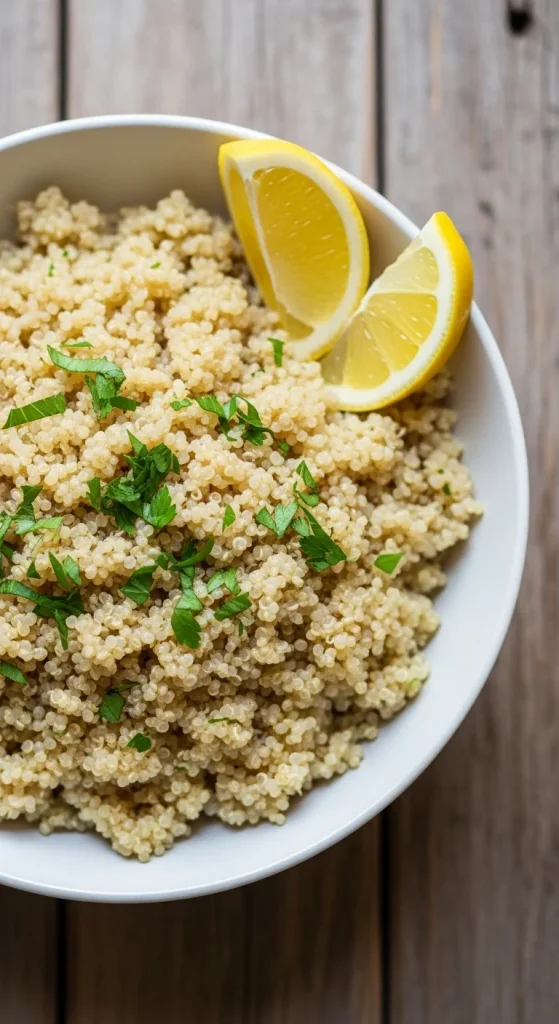
Then, grab a fork and gently fluff it up.
You’ll see each grain separate beautifully, light and airy.
Step 5: Boost the Flavor (Optional but Worth It)
Quinoa has a naturally mild, nutty taste that pairs beautifully with so many flavors. You can dress it up easily:
- Add aromatics: Sauté minced garlic or onion in olive oil before adding the quinoa and water.
- Toast before cooking: Dry-toast the quinoa in a pan for 2–3 minutes for a deeper, nuttier flavor.
- Mix-ins: Stir in a squeeze of lemon, chopped herbs, or a drizzle of olive oil after cooking.
Serving ideas:
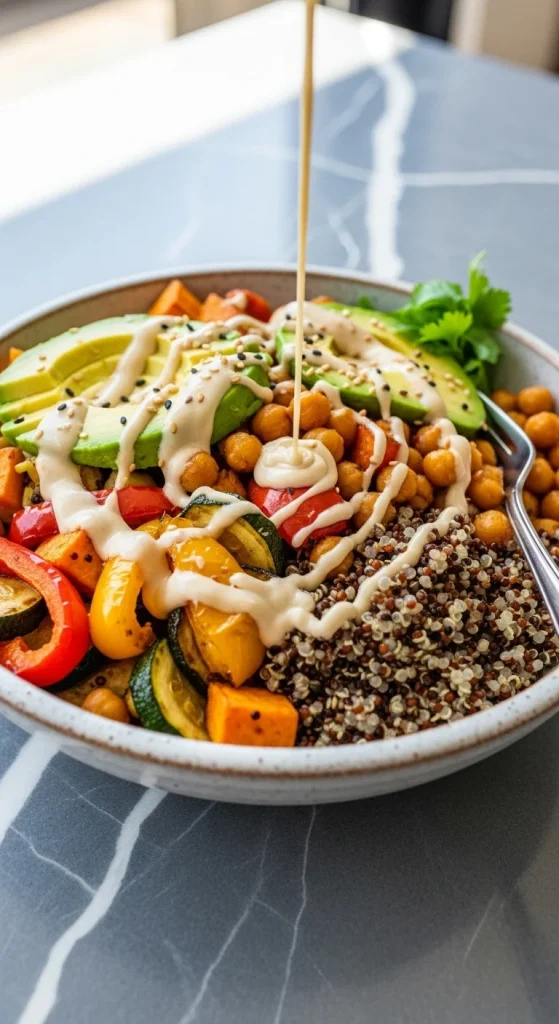
- Use as a base for Buddha bowls or salads.
- Mix with roasted veggies and feta.
- Serve under grilled chicken or fish.
- Make a warm quinoa porridge for breakfast!
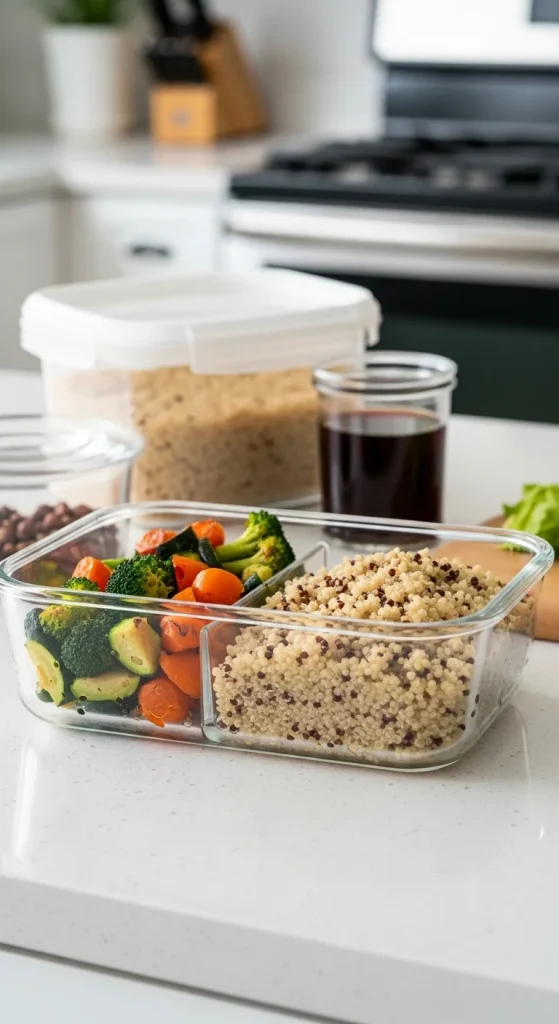
Step 6: Store and Reheat Like a Pro
Cooked quinoa keeps beautifully in the fridge. Store it in an airtight container for up to 5 days, or freeze for up to a month.
To reheat:
- Add a splash of water or broth.
- Warm it in the microwave or on the stove, covered, until hot and fluffy again.
It’s perfect for quick lunches or weeknight dinners—just add your favorite toppings or mix-ins
Quick Troubleshooting
Sticky quinoa? Too much water or not enough resting time.
Crunchy quinoa? It needed a few more minutes of simmering.
Bland quinoa? Try using broth instead of water next time—it makes a big difference.
Remember, every stove is a little different, so once you find your sweet spot, you’ll never have to guess again.
The Final Takeaway
Cooking quinoa perfectly isn’t complicated—it’s all about rinsing, the right water ratio, gentle simmering, and letting it steam. Once you get it right, it’ll be your go-to base for bowls, salads, and quick dinners.
So grab your favorite pot and give it a try today.
Your next fluffy, nutty batch of quinoa is waiting!
Save this recipe for later — and impress yourself at your next meal prep session!

Hannah Collins is a passionate home cook and food storyteller who believes every recipe tells a little love story. At TastyWriter, she shares simple, delicious recipes made for real kitchens and busy days — from cozy comfort dishes to creative new favorites. When she’s not cooking, you’ll find her photographing food, testing family recipes, or sipping tea while dreaming up her next tasty idea.
Leave a Reply