
There’s something deeply satisfying about making your own yogurt. That first spoonful — creamy, slightly tangy, and fresh — feels like magic you made yourself. Plus, homemade yogurt costs a fraction of what you’d pay at the store and comes without preservatives or hidden sugars. Once you try it, you might never go back to store-bought tubs again!
Step 1: Gather Your Simple Ingredients
Making yogurt requires only two ingredients — really!
- Whole milk (or 2% if you prefer lighter yogurt)
- Starter culture — plain yogurt with live active cultures
That’s it. No fancy gadgets or complicated steps. The milk provides the base, and the live cultures do the magic of fermentation.
If you want thicker, Greek-style yogurt, start with whole milk. For lighter yogurt, 2% or skim works too.
Tip: The fresher your milk, the better your yogurt will taste. Avoid ultra-pasteurized milk since it doesn’t ferment as well.
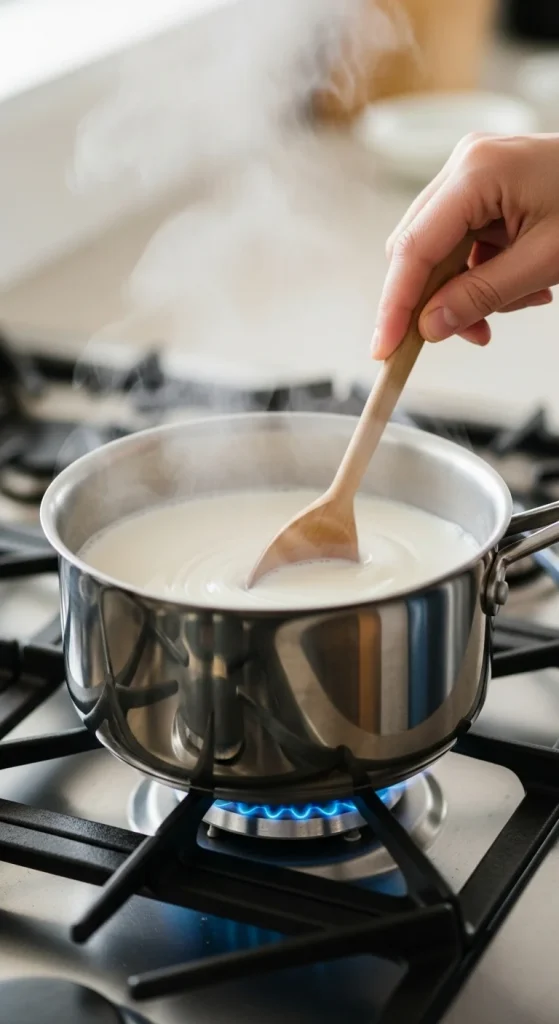
Step 2: Heat the Milk Gently
Pour your milk into a clean saucepan. Heat it slowly over medium flame until it reaches 180°F (82°C) — just before boiling. This step helps kill unwanted bacteria and changes the milk proteins so your yogurt sets thick and smooth.
Stir occasionally to prevent burning. Once it’s hot enough, remove it from the heat.
Pro tip: You don’t need a thermometer if you don’t have one. Just look for tiny bubbles forming around the edges and steam rising — that’s your cue.
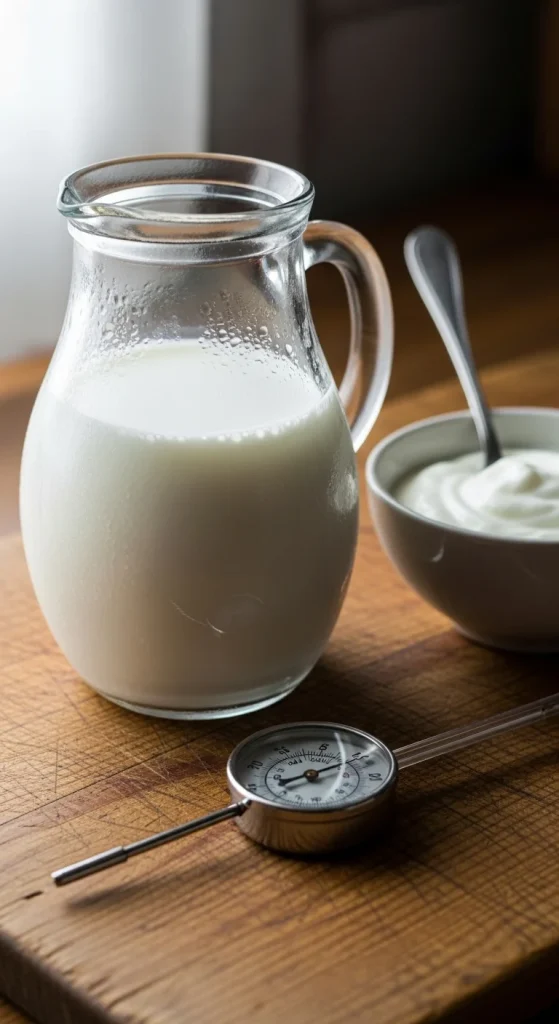
Step 3: Cool the Milk to the Perfect Temperature
Let the milk cool down to 110°F–115°F (43°C–46°C). This is the sweet spot where the live cultures thrive. If it’s too hot, they’ll die; too cold, and they won’t activate.
If you’re testing without a thermometer, dip your finger in — it should feel warm but comfortable, not hot.
Once cooled, add 2 tablespoons of your yogurt starter per quart of milk. Gently whisk it in until smooth. Don’t overmix — you just want it evenly combined.
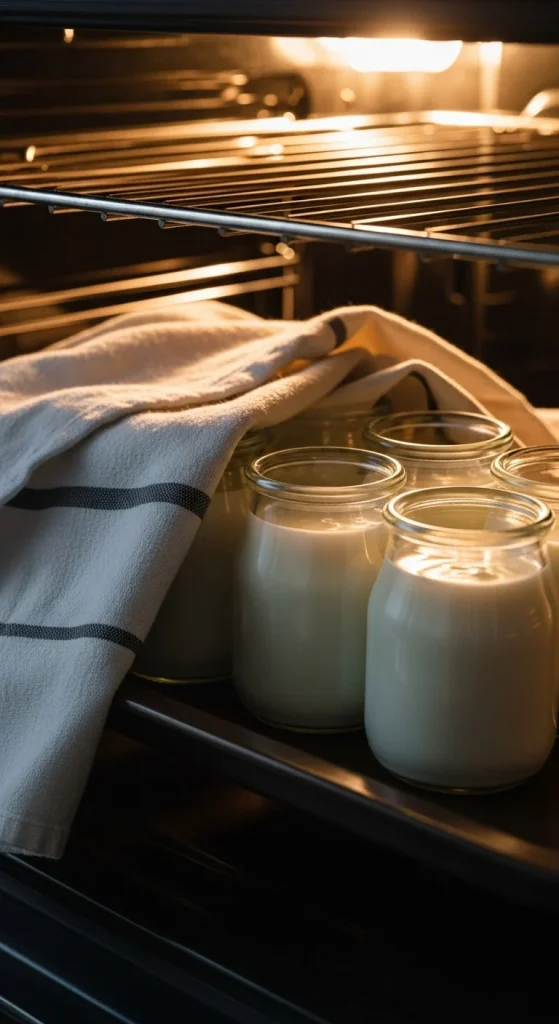
Step 4: Let It Incubate (Fermentation Time!)
Now, pour the mixture into jars or containers and keep it warm for 6 to 10 hours. This is when the magic happens — the bacteria work to turn milk into creamy yogurt.
Here are some easy ways to keep it warm:
- Wrap the jars in a towel and place them in your oven with the light on.
- Use an insulated cooler or a yogurt maker if you have one.
- On a hot day, your countertop might be enough!
The longer it sits, the tangier it gets. For a mild flavor, check around 6 hours. For a stronger tang, go closer to 10.
Do not stir during fermentation — let it rest quietly!
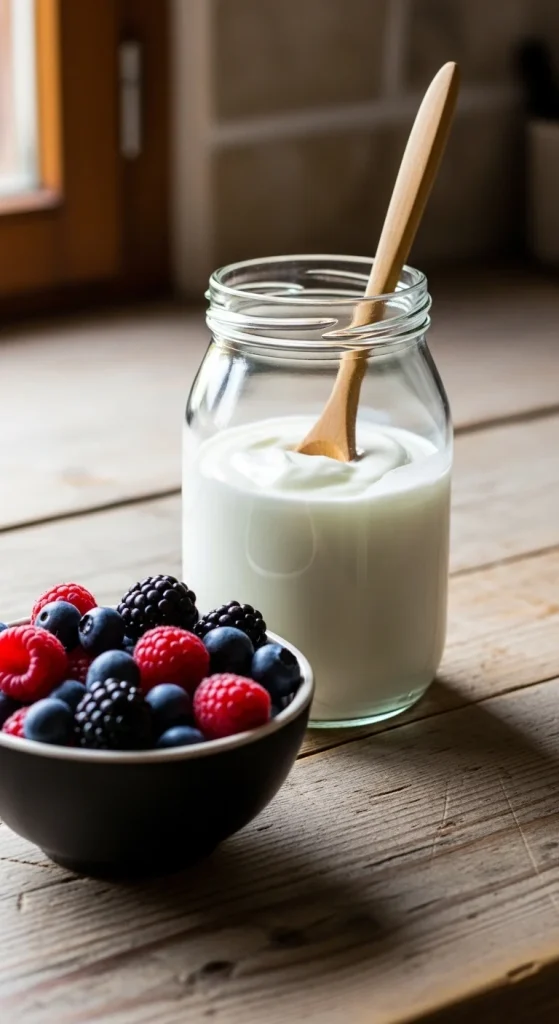
Step 5: Chill and Enjoy
Once it’s set (it should look thick and jiggly), move your yogurt to the fridge. Let it chill for at least 2 hours — this stops fermentation and helps it firm up.
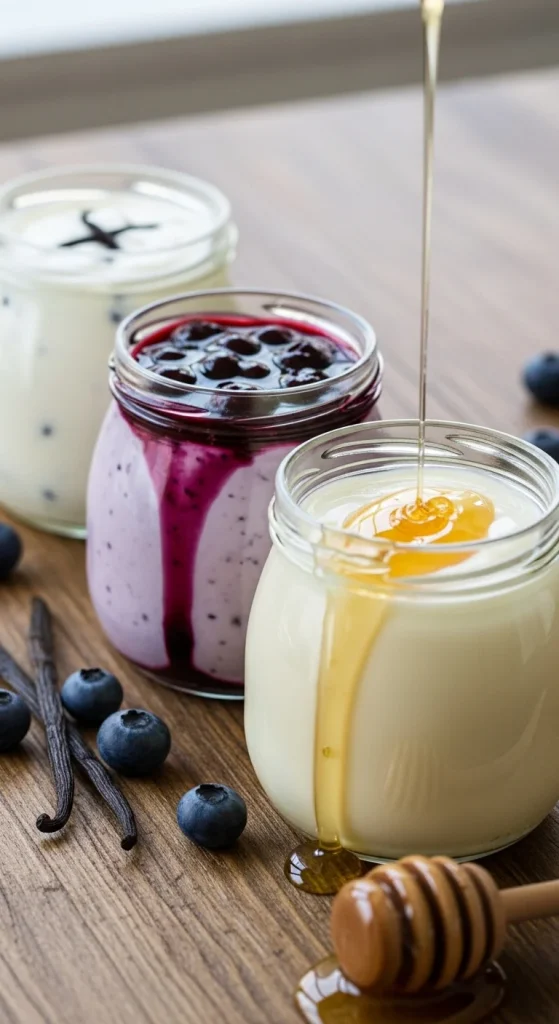
Now it’s ready! Spoon it into a bowl, drizzle with honey, or top with granola and fruit.
Optional: For Greek-style yogurt, strain it through a cheesecloth or fine mesh for 1–2 hours to remove excess whey.

Step 6: Save a Bit for Next Time
Before you finish the whole batch, save a few tablespoons to use as your starter for your next batch. Just store it in a small jar in the fridge — it’ll stay good for about a week.
After 4–5 uses, refresh your starter by buying a new tub of plain yogurt with live cultures.
Tips for the Perfect Homemade Yogurt
- Use clean utensils to avoid contamination.
- Avoid ultra-pasteurized milk — it can prevent setting.
- Don’t skip the cooling step — it’s key for texture.
- Adjust thickness by straining or adding milk powder before heating.
- Flavour ideas: Vanilla, cinnamon, or even a touch of maple syrup make great add-ins after chilling.
The Final Spoonful
Homemade yogurt isn’t just a kitchen project — it’s a lifestyle upgrade. It’s healthier, cheaper, and more satisfying than store-bought versions. Once you’ve done it once, you’ll realize how easy it is to keep a constant supply in your fridge.
So grab your saucepan, a little patience, and your favorite toppings. Your next creamy, rich, and tangy batch of yogurt is just a few hours away.
Save this recipe for later — and treat yourself to the freshest yogurt you’ve ever had!

Hannah Collins is a passionate home cook and food storyteller who believes every recipe tells a little love story. At TastyWriter, she shares simple, delicious recipes made for real kitchens and busy days — from cozy comfort dishes to creative new favorites. When she’s not cooking, you’ll find her photographing food, testing family recipes, or sipping tea while dreaming up her next tasty idea.
Leave a Reply