
There’s something magical about a scoop of homemade ice cream — rich, smooth, and bursting with flavor. But what if you don’t have an ice cream maker? No problem! You can still make irresistibly creamy ice cream right in your kitchen using a few simple ingredients and a bit of patience. Whether you’re craving classic vanilla or dreaming of chocolate swirls, this no-machine method is fun, easy, and totally customizable.

Step 1: Gather Your Simple Ingredients
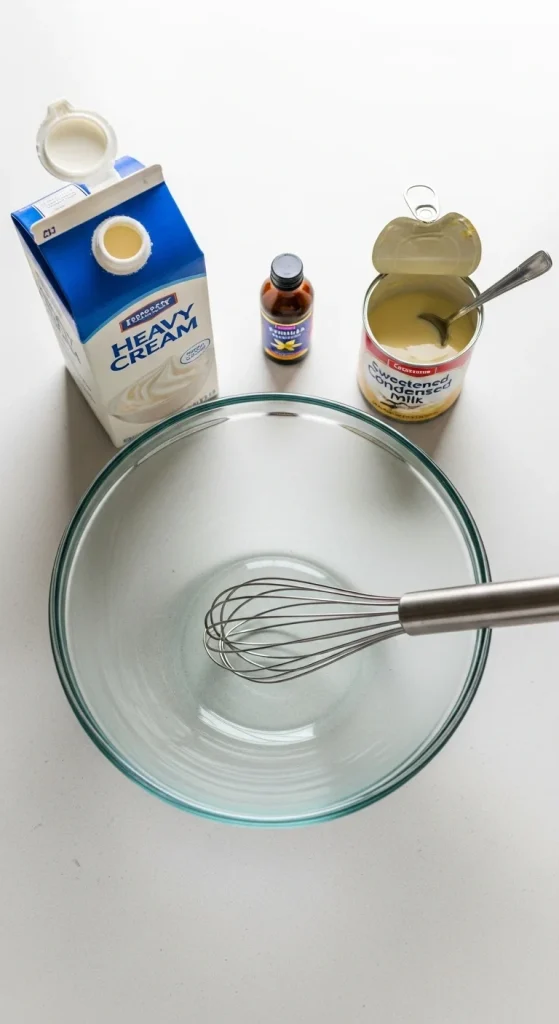
The beauty of homemade ice cream lies in its simplicity. You only need three basic ingredients to get started — and from there, you can add your favorite mix-ins to make it your own.
Basic base ingredients:
- 2 cups heavy whipping cream
- 1 can (14 oz) sweetened condensed milk
- 1 tsp vanilla extract
That’s it! This no-churn recipe relies on whipped cream for the airy texture and condensed milk for sweetness and smoothness.
Optional flavor upgrades:
- Cocoa powder for chocolate ice cream
- Crushed cookies or brownies for texture
- Pureed fruit for fruity flavors
- A swirl of caramel or peanut butter for indulgence
Pro tip: Chill your mixing bowl and whisk for 10–15 minutes before whipping the cream — it helps the cream whip faster and hold its shape better.
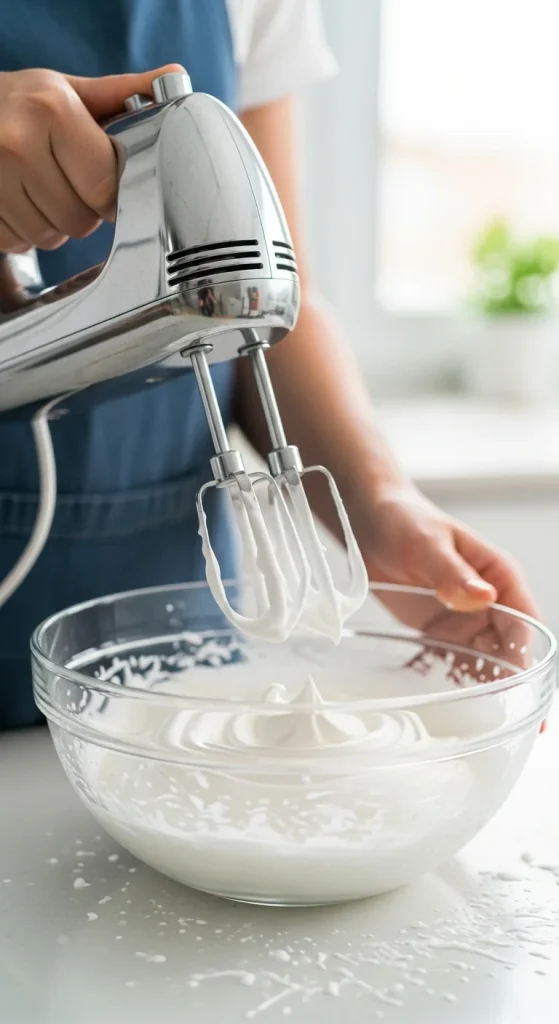
Step 2: Whip It Good
In a large chilled bowl, pour the heavy cream and use a hand mixer or stand mixer to whip it until it forms stiff peaks — about 3–5 minutes. You want the texture to be light and fluffy, like whipped cream, but not overbeaten or grainy.
Tip: When you lift your whisk, the peaks should stand upright without collapsing.
Once whipped, set it aside.
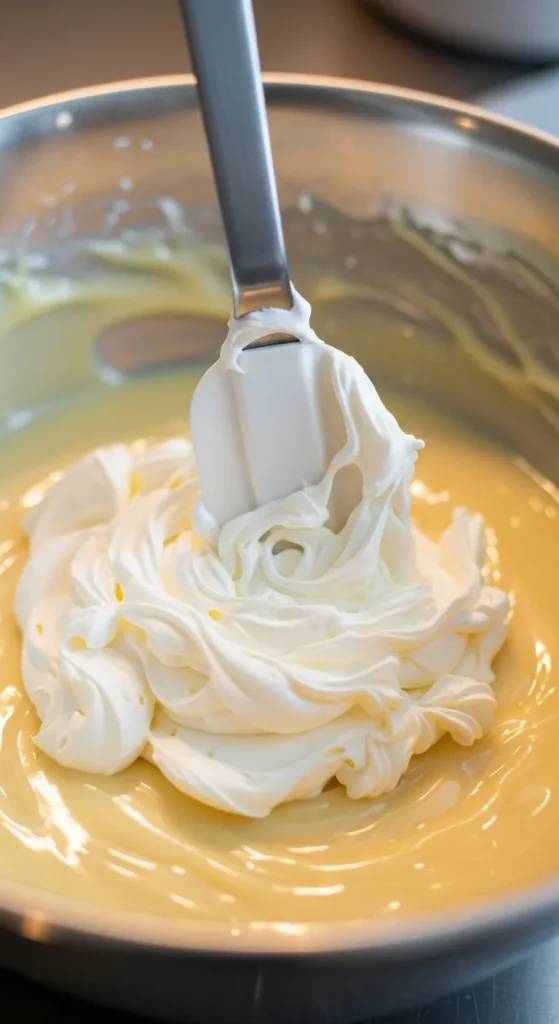
Step 3: Combine and Fold
In a separate bowl, mix the sweetened condensed milk and vanilla extract (and any additional flavorings you want to add).
Then, using a spatula, gently fold the whipped cream into the condensed milk mixture. Folding keeps the mixture airy — stirring too hard will deflate your ice cream base and make it dense.
Flavor ideas to try:
- Mint Chocolate Chip: Add a few drops of peppermint extract and mini chocolate chips.
- Cookies & Cream: Crush your favorite sandwich cookies and fold them in.
- Strawberry Dream: Blend fresh strawberries and swirl them through the base.
- Mocha Magic: Mix in cocoa powder and a spoonful of espresso powder for a caffeine kick.
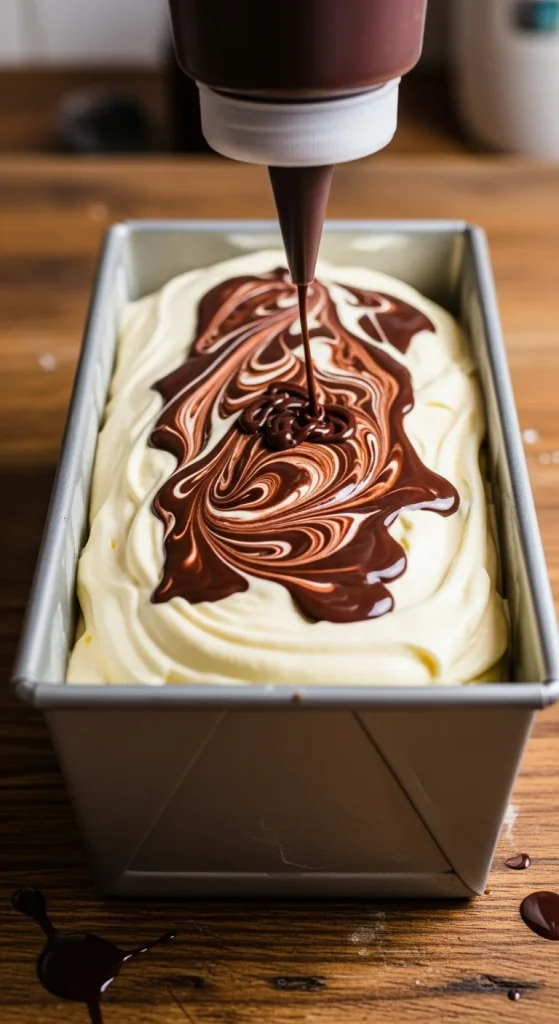
Step 4: Freeze Like a Pro
Once everything is well combined, transfer your ice cream mixture into a freezer-safe container — a loaf pan or a reusable plastic tub works perfectly. Smooth out the top and cover it tightly with plastic wrap or a lid to prevent ice crystals from forming.
Freeze for at least 6 hours, or overnight for best results.
Pro tip: To make swirls, pour half of the mixture into the container, drizzle in chocolate syrup or caramel sauce, then add the rest and swirl gently with a knife.
Step 5: Scoop & Serve
When your ice cream is firm, take it out of the freezer and let it sit for 5 minutes to soften slightly before scooping. This short wait makes the texture creamy and scoopable — just like store-bought, but better!
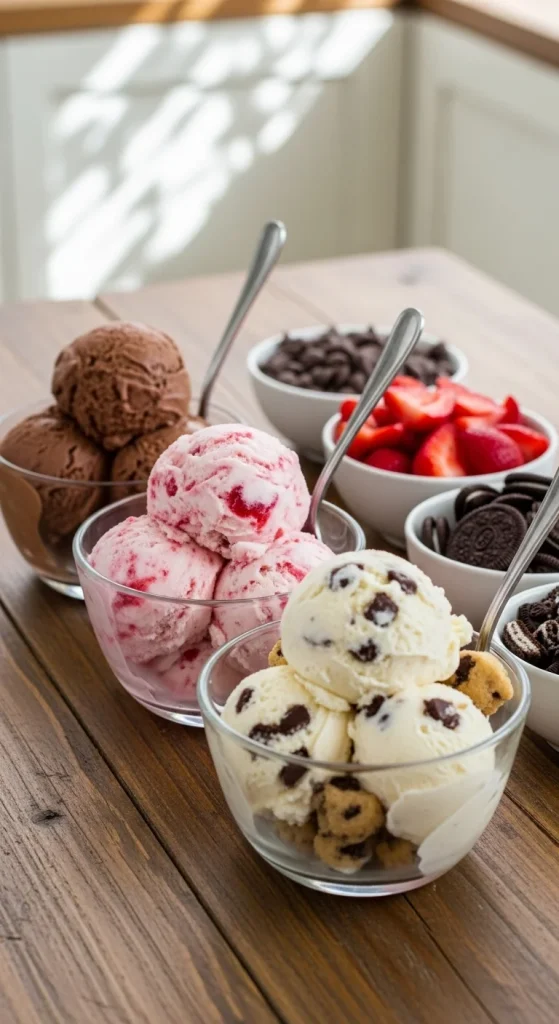
Scoop into bowls or cones, and add your favorite toppings:
- Fresh fruit
- Crushed nuts
- Sprinkles or chocolate chips
- Whipped cream and syrup for extra flair
Tip: Dip your ice cream scoop in warm water before scooping — it glides through the frozen ice cream smoothly.

Step 6: Get Creative with Flavors
Once you’ve mastered the base, the possibilities are endless. Here are a few quick flavor combinations to inspire you:
- Salted Caramel Crunch: Add caramel sauce and a sprinkle of sea salt.
- Berry Cheesecake: Swirl in cream cheese and berry jam.
- Peanut Butter Fudge: Mix in peanut butter and chocolate chunks.
- Tropical Coconut: Use coconut cream instead of heavy cream and mix in toasted coconut flakes.
The key is to experiment and have fun — this is your ice cream, your way.
Step 7: Store It Right
Homemade ice cream stays fresh for up to 2 weeks in the freezer when stored in an airtight container. Press a piece of parchment paper directly onto the surface before sealing — this prevents freezer burn and keeps your ice cream silky smooth.
If it gets too hard after a few days, let it soften in the fridge for 10 minutes before serving again.
The Final Scoop
Making homemade ice cream without a machine is easier (and more satisfying) than you might think. With just a few ingredients and a little patience, you can create creamy, dreamy desserts that taste better than store-bought — and you get to control exactly what goes in.
So grab your whisk, pick your favorite flavor, and get creative. You’re officially your own ice cream maker now.
Save this recipe for later — your next frozen masterpiece is waiting in your freezer!

Hannah Collins is a passionate home cook and food storyteller who believes every recipe tells a little love story. At TastyWriter, she shares simple, delicious recipes made for real kitchens and busy days — from cozy comfort dishes to creative new favorites. When she’s not cooking, you’ll find her photographing food, testing family recipes, or sipping tea while dreaming up her next tasty idea.
Leave a Reply