
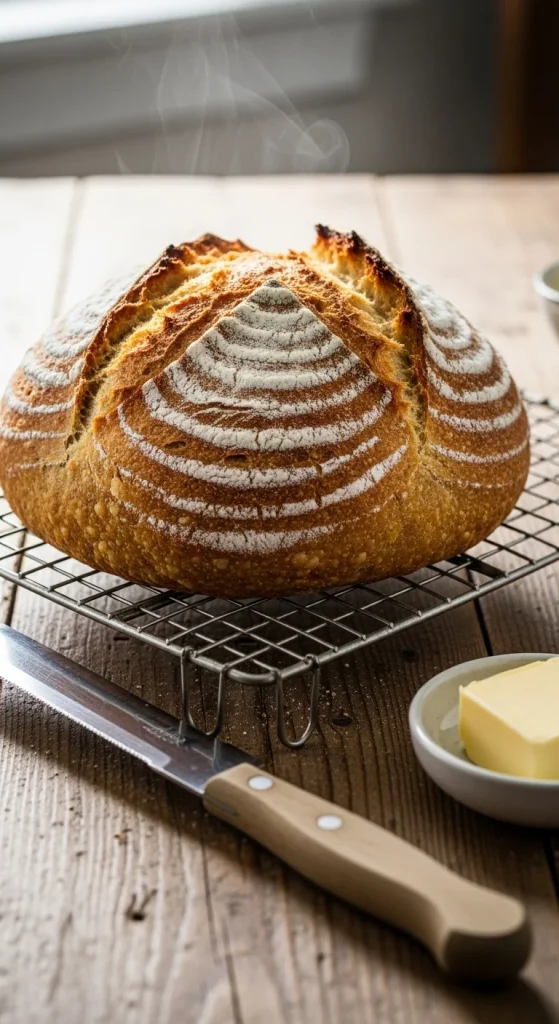
There’s something deeply satisfying about baking your own bread — the smell of freshly baked dough, the golden crust crackling as it cools, and that first warm slice slathered in butter. It’s comfort in its purest form. But if you’ve ever felt intimidated by the idea of baking bread from scratch, don’t worry — this no-fail recipe makes it easy. You don’t need a fancy mixer or years of experience — just a few ingredients, a little patience, and this step-by-step guide.
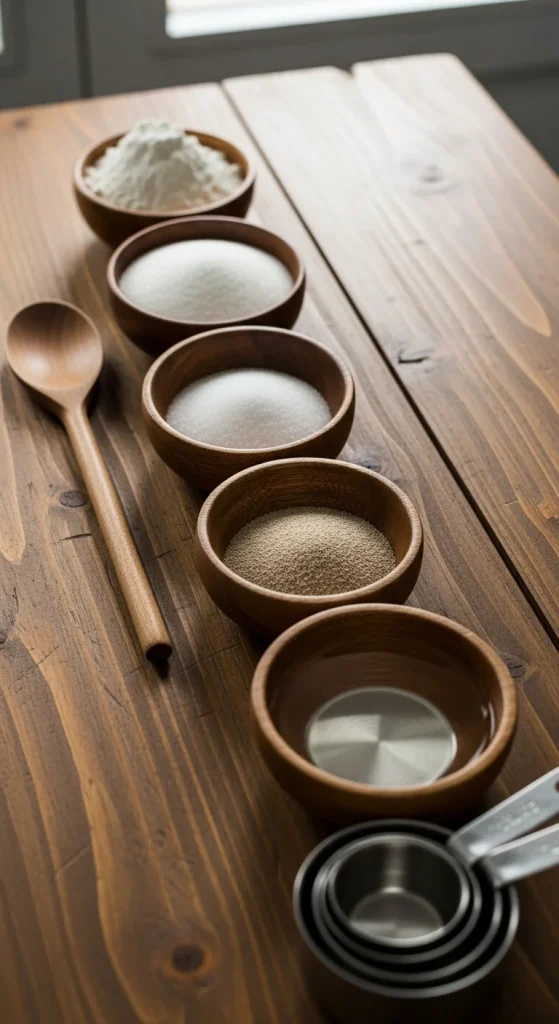
Step 1: Gather Your Ingredients
The beauty of homemade bread lies in its simplicity — just five basic ingredients you probably already have in your pantry.
Here’s what you’ll need:
- 3 cups all-purpose flour (or bread flour for extra chewiness)
- 2 teaspoons instant yeast
- 1 teaspoon salt
- 1 tablespoon sugar or honey
- 1 cup warm water (about 105–110°F / 40–43°C)
- Optional: 1 tablespoon olive oil or melted butter for flavor
Pro tip: Water that’s too hot can kill the yeast, so make sure it’s warm but not boiling.
Step 2: Activate the Yeast
If you’re using active dry yeast instead of instant yeast, you’ll need to activate it first.
- In a small bowl, mix the warm water with sugar (or honey).
- Sprinkle in the yeast and stir gently.
- Let it sit for 5–10 minutes until it becomes frothy and bubbly.
This means your yeast is alive and ready to work its magic. If it doesn’t foam, the yeast may be expired — grab a fresh packet for the best results.
Tip: Instant yeast can skip this step and go straight into the flour mixture.
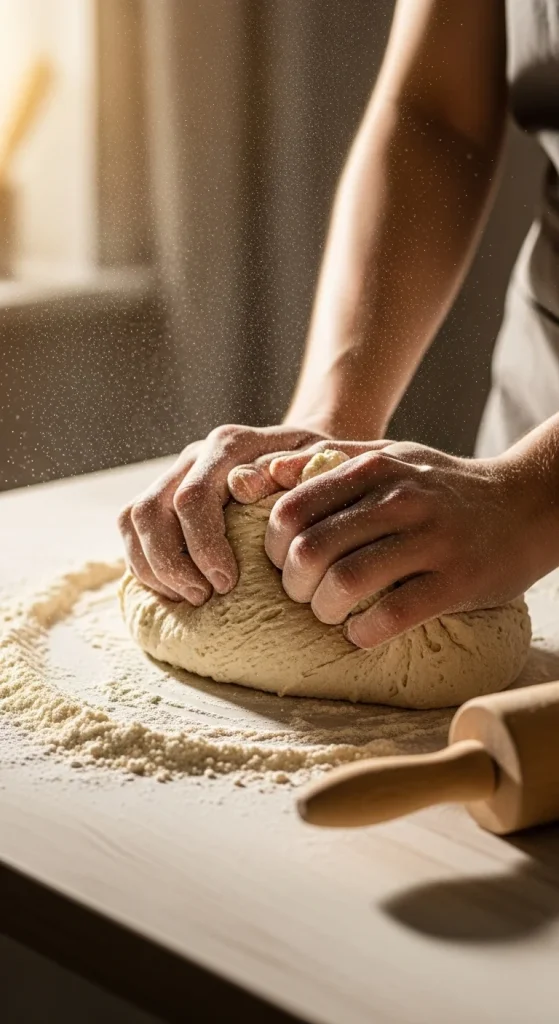
Step 3: Mix & Knead the Dough
Now it’s time to bring your dough to life.
- In a large mixing bowl, combine the flour and salt.
- Pour in your yeast mixture and olive oil (if using).
- Mix with a spoon or your hands until it starts to come together.
- Transfer to a lightly floured surface and knead for 8–10 minutes.
Kneading helps develop gluten — the protein that gives bread its chewy texture. The dough should become smooth, elastic, and slightly tacky but not sticky.
Pro tip: If the dough feels too sticky, sprinkle in a bit more flour, one tablespoon at a time.
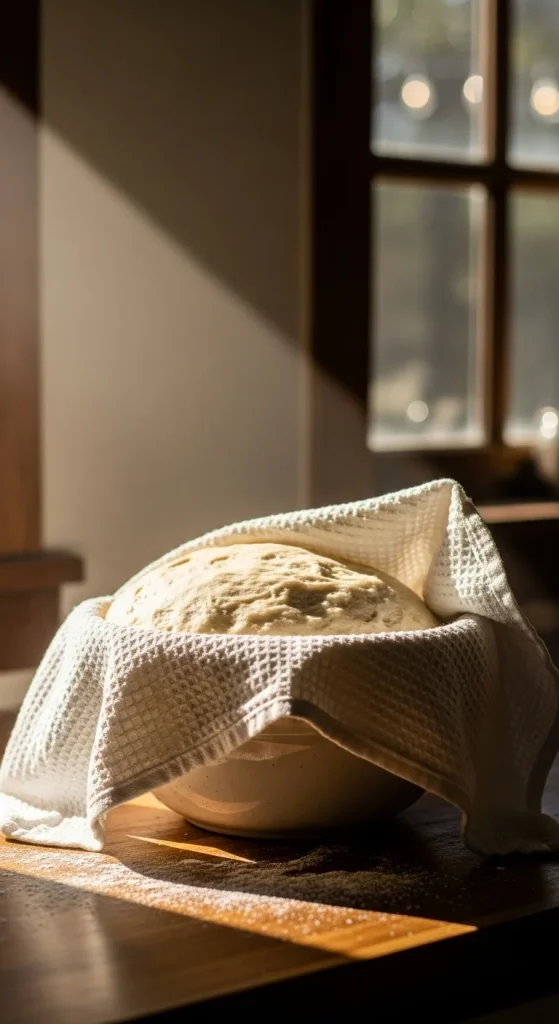
Step 4: Let It Rise
Once your dough is ready, it’s time for the yeast to do its job.
- Place the dough in a greased bowl and cover it with a clean kitchen towel or plastic wrap.
- Set it aside in a warm, draft-free area for about 1–1.5 hours, or until it doubles in size.
If your kitchen is cold, place the bowl inside your oven with just the light on — it creates the perfect warm environment for rising.
Tip: Don’t rush this step! The slow rise builds flavor and texture.
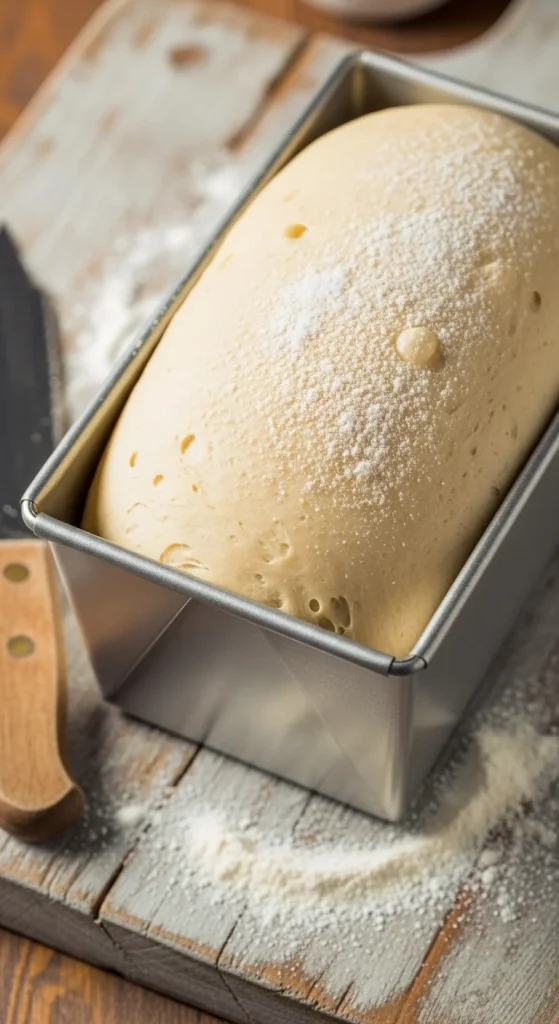
Step 5: Shape the Loaf
Once the dough has doubled in size, punch it down gently to release the air.
- Turn it out onto a floured surface and shape it into a loaf.
- Tuck the edges underneath to create a smooth top.
- Place it into a greased 9×5-inch loaf pan or shape it freeform on a baking sheet.
Cover again and let it rise for another 30–45 minutes, until it puffs up slightly above the rim of the pan.
Pro tip: The dough is ready to bake when you gently poke it and the indentation springs back slowly.
Step 6: Bake to Golden Perfection
Preheat your oven to 375°F (190°C).
Bake your loaf for 25–30 minutes, until it’s golden brown and sounds hollow when tapped on the bottom. If you have a kitchen thermometer, the internal temperature should read 190°F (88°C).
Once baked, remove it from the pan immediately and let it cool on a wire rack — this prevents the crust from becoming soggy.
Optional: Brush the top with melted butter for a shiny, soft finish.

Step 7: Slice, Serve & Savor
Now for the best part — slicing into your masterpiece.
Let the bread cool for at least 20 minutes before cutting (if you can resist!). This helps the inside finish setting and keeps it from turning gummy.
Enjoy your homemade bread:
- Warm with butter or jam for breakfast.
- As a base for sandwiches.
- Toasted with soup or salad.
And don’t forget — homemade bread also makes amazing croutons or breadcrumbs if it lasts long enough to get slightly stale.
Bonus Tips for Bread Success
- Want extra flavor? Try adding herbs, cheese, or a sprinkle of seeds to your dough.
- Crispy crust: Place a small pan of water on the bottom rack of your oven while baking — it creates steam for that perfect bakery-style crust.
- Whole wheat twist: Substitute half the flour for whole wheat to make it heartier and more nutritious.
The Final Slice
Baking bread isn’t just cooking — it’s therapy. Watching simple ingredients transform into something warm, fragrant, and delicious is pure magic. And with this foolproof guide, you’ll have a loaf that’s golden on the outside and soft on the inside, every single time.
So roll up your sleeves, preheat your oven, and start baking — your kitchen’s about to smell amazing.
Save this recipe for later — your future self (and your taste buds) will thank you!

Hannah Collins is a passionate home cook and food storyteller who believes every recipe tells a little love story. At TastyWriter, she shares simple, delicious recipes made for real kitchens and busy days — from cozy comfort dishes to creative new favorites. When she’s not cooking, you’ll find her photographing food, testing family recipes, or sipping tea while dreaming up her next tasty idea.
Leave a Reply