
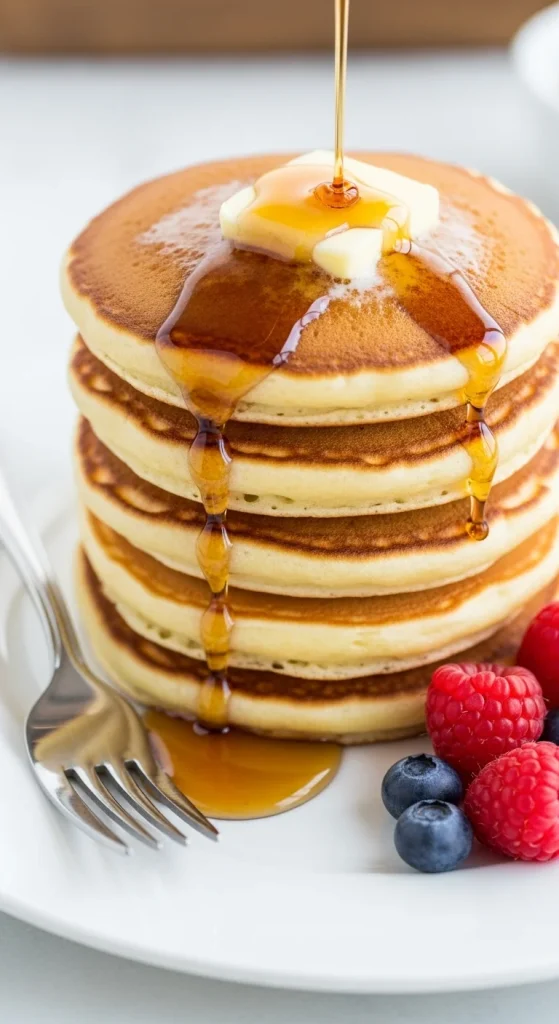
Few things say weekend breakfast like a tall stack of golden, fluffy pancakes dripping with warm maple syrup. There’s just something about the smell of butter sizzling on a griddle and that first bite of soft, cloud-like pancakes that instantly makes the morning better. The best part? Making pancakes from scratch is surprisingly simple — and once you try it, you’ll never go back to boxed mix again.
Step 1: Gather Your Simple Ingredients
Homemade pancakes don’t need anything fancy — just a few pantry staples and a bowl.
Here’s what you’ll need:
- 1 ½ cups all-purpose flour
- 3 ½ teaspoons baking powder
- 1 tablespoon sugar
- ¼ teaspoon salt
- 1 ¼ cups milk (whole milk gives the best texture)
- 1 large egg
- 3 tablespoons melted butter (plus more for the pan)
- 1 teaspoon vanilla extract (optional, but highly recommended)
These ingredients make about 8–10 medium-sized pancakes — perfect for a lazy Sunday morning.
Pro tip: Always check that your baking powder is fresh. It’s what gives pancakes their lift and fluffiness!

Step 2: Mix the Dry Ingredients
In a large mixing bowl, whisk together the flour, baking powder, sugar, and salt. This step evenly distributes the baking powder so your pancakes rise evenly and stay soft inside.
Tip: For extra fluffy pancakes, sift the flour before mixing. It helps incorporate air and prevents dense batter.
Step 3: Whisk the Wet Ingredients
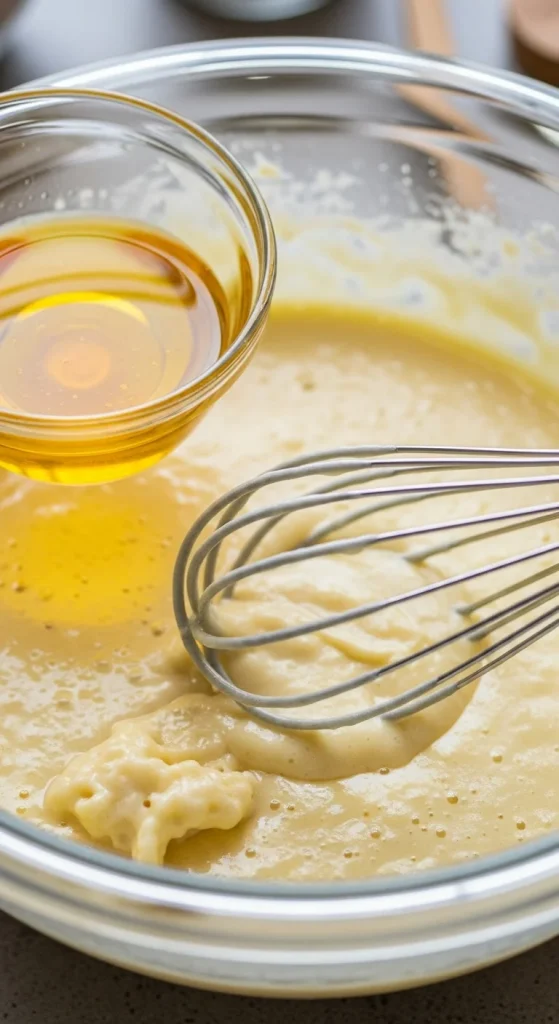
In a separate bowl, combine milk, egg, melted butter, and vanilla extract. Whisk until smooth and slightly frothy.
Then, pour the wet ingredients into the bowl of dry ingredients. Stir gently with a whisk or spatula until just combined — a few small lumps are totally fine! Overmixing makes pancakes tough instead of tender.
Pro tip: Let your batter rest for 5–10 minutes before cooking. This gives the flour time to hydrate and helps you achieve that perfect fluffy texture.
Step 4: Heat the Pan — The Right Way
The secret to golden, evenly cooked pancakes is controlling your heat.
- Use a nonstick skillet or griddle heated over medium-low to medium heat.
- Lightly grease it with a dab of butter or a drizzle of oil.
- To test if it’s ready, drop a tiny bit of water on the surface — it should sizzle gently, not pop or jump too fast.
Pro tip: Wipe excess butter between batches so your pancakes don’t brown unevenly or burn.
Step 5: Pour, Flip & Perfect
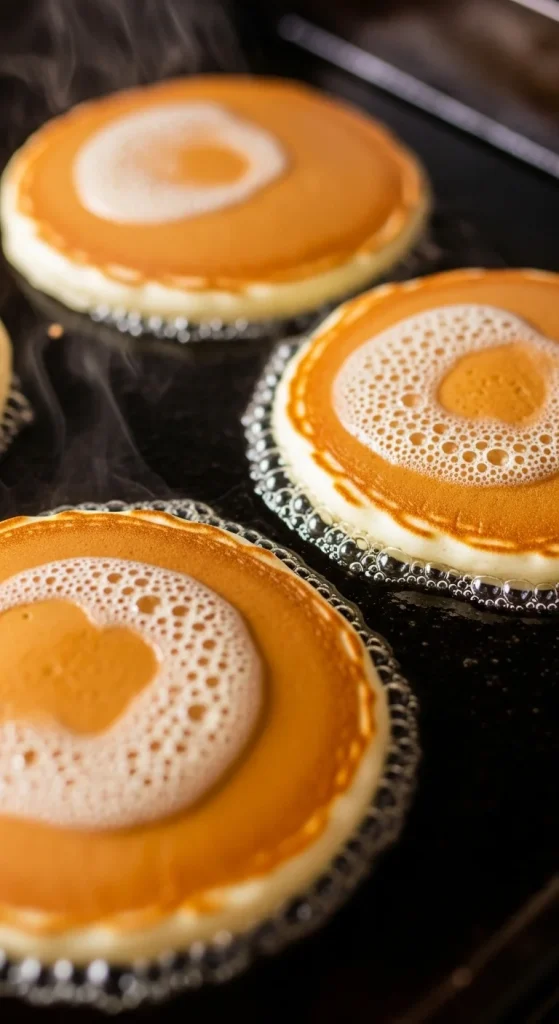
Using a ¼-cup measuring cup, pour batter onto the skillet, leaving a little space between each pancake.
Watch for bubbles — when small bubbles start forming on the surface and the edges look set (about 2–3 minutes), it’s time to flip. Use a flat spatula to flip quickly and confidently. Cook another 1–2 minutes on the other side until golden brown.
Tip: Resist pressing down on your pancakes — it releases the air that makes them fluffy.
Step 6: Keep Them Warm & Fluffy
If you’re making a big batch, keep your pancakes warm by placing them on a baking sheet in a 200°F (95°C) oven while you finish cooking.
Stacking them directly can make them soggy, so layer them with parchment paper if you’re storing for later.
Step 7: Add Toppings & Get Creative
Now comes the fun part — dressing up your pancakes!
Classic options:
- Butter and maple syrup
- Fresh berries or sliced bananas
- Whipped cream for a little indulgence
Want to elevate it? Try:
- Nut butter drizzle (peanut butter, almond butter, or Nutella)
- Yogurt and honey for a lighter twist
- Toasted nuts or granola for crunch
- Chocolate chips added right into the batter for a kid-friendly treat
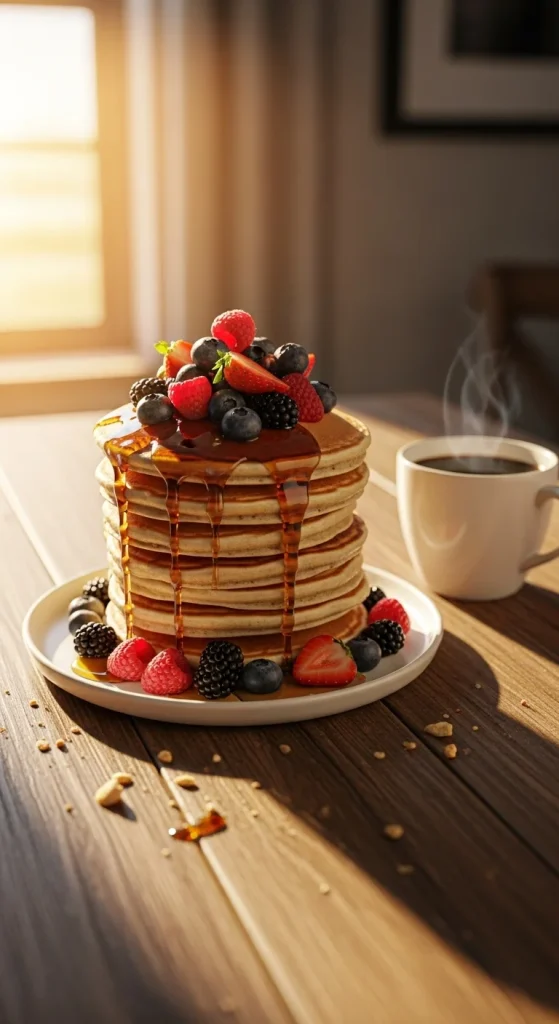
Pro tip: For a restaurant-style presentation, stack pancakes high, top with a pat of butter, and drizzle syrup from above — instant Pinterest perfection.
Step 8: Troubleshooting Common Pancake Problems
Even simple recipes have their quirks — here’s how to fix common pancake hiccups:
- Flat pancakes? Check your baking powder — old or expired powder won’t create bubbles.
- Burning too fast? Turn down the heat. Pancakes need steady, medium heat to cook through.
- Rubbery texture? You probably overmixed the batter — mix just until you no longer see dry flour.
- Uneven color? Wipe the pan between batches to remove burned butter or residue.
Once you’ve made pancakes a few times, you’ll develop an instinct for the perfect pour, flip, and finish.
Step 9: Store & Reheat Like a Pro
Got leftovers? (Unlikely, but just in case!)
- To store: Keep cooled pancakes in an airtight container for up to 3 days in the fridge or 2 months in the freezer.
- To reheat: Pop them in a toaster or warm them in the oven at 300°F (150°C) until heated through. Avoid microwaving — it makes them rubbery.
The Final Stack
Making pancakes from scratch is one of those simple kitchen joys that never gets old. A handful of ingredients, a little mixing, and a few golden flips — and you’ve got the perfect breakfast that feels like a hug on a plate.
So grab your whisk, heat up the skillet, and make your next weekend morning feel special.
Save this recipe for later — your future self (and your breakfast table) will thank you!

Hannah Collins is a passionate home cook and food storyteller who believes every recipe tells a little love story. At TastyWriter, she shares simple, delicious recipes made for real kitchens and busy days — from cozy comfort dishes to creative new favorites. When she’s not cooking, you’ll find her photographing food, testing family recipes, or sipping tea while dreaming up her next tasty idea.
Leave a Reply