
Peas seem simple—until they aren’t. One minute they’re bright, sweet, and tender. The next, they’re dull, overcooked, and strangely pasty. If you’ve ever wondered why peas lose their pop so quickly, you’re not alone. The fix isn’t fancy. It’s about timing, heat, and knowing when to stop.
This guide breaks down exactly how to cook peas so they stay vibrant, sweet, and never mushy again.
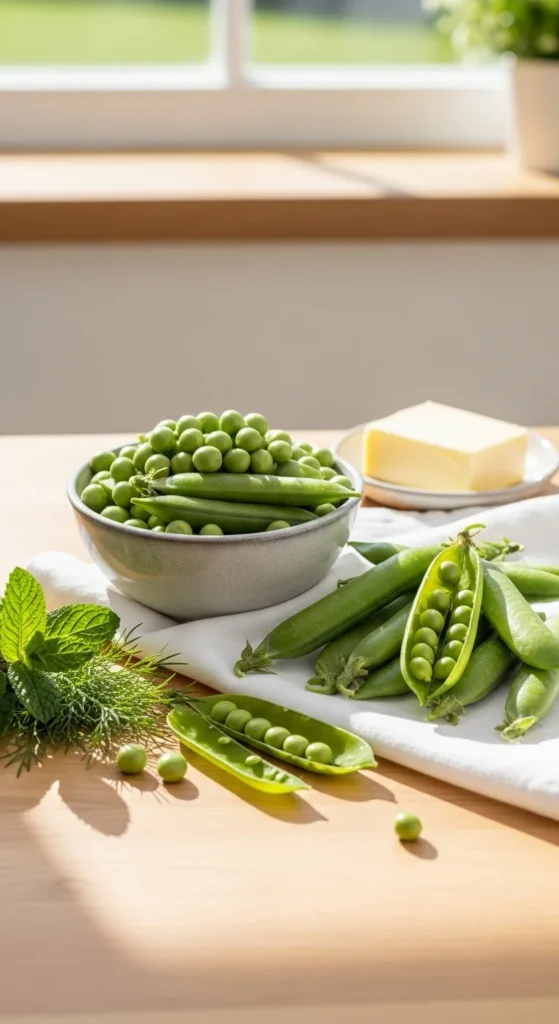
Start With the Right Kind of Peas
Not all peas cook the same way. Choosing the right type sets you up for success before you even turn on the stove.
Common types you’ll see:
- Fresh garden peas – sweetest and quickest to cook
- Frozen peas – flash-frozen at peak freshness, very reliable
- Snow peas – flat pods, best cooked quickly
- Sugar snap peas – crunchy pods with peas inside
Fresh peas are ideal in spring, but frozen peas are often just as good—and easier to control. Avoid canned peas if texture matters. They’re already overcooked.
Why Peas Turn Mushy So Fast
Peas are delicate. They have:
- Thin skins
- High water content
- Natural sugars that break down quickly
Overcooking causes:
- Sugar to turn starchy
- Bright green color to fade
- Texture to collapse
The solution is simple: high heat, short time.
If peas are left sitting in hot water, they keep cooking even after the heat is off.
The Best Cooking Method: Quick Boil or Steam
For classic peas that stay tender and intact, boiling or steaming works best—as long as you keep it brief.
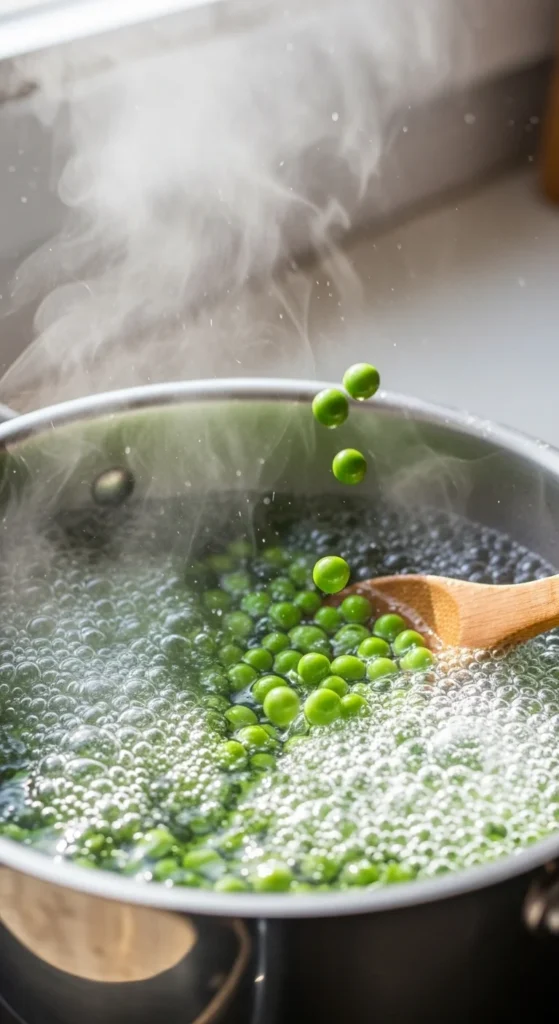
How to Boil Peas Properly
- Bring well-salted water to a rolling boil
- Add peas
- Cook for 1–2 minutes only
- Drain immediately
Taste one. If it’s tender and sweet, you’re done.
How to Steam Peas
- Place peas in a steamer basket
- Steam over simmering water for 2–3 minutes
- Remove as soon as they’re tender
Steaming gives you more control and slightly firmer peas.
Use the Ice Bath Trick (It Actually Works)
If you want peas that stay bright green and firm—especially for salads or make-ahead dishes—use an ice bath.
How to do it:
- Cook peas briefly
- Transfer immediately to a bowl of ice water
- Drain once fully cooled
This stops cooking instantly and locks in color and texture.
Use this method for:
- Spring salads
- Pasta dishes
- Grain bowls
It’s a small step with big payoff.
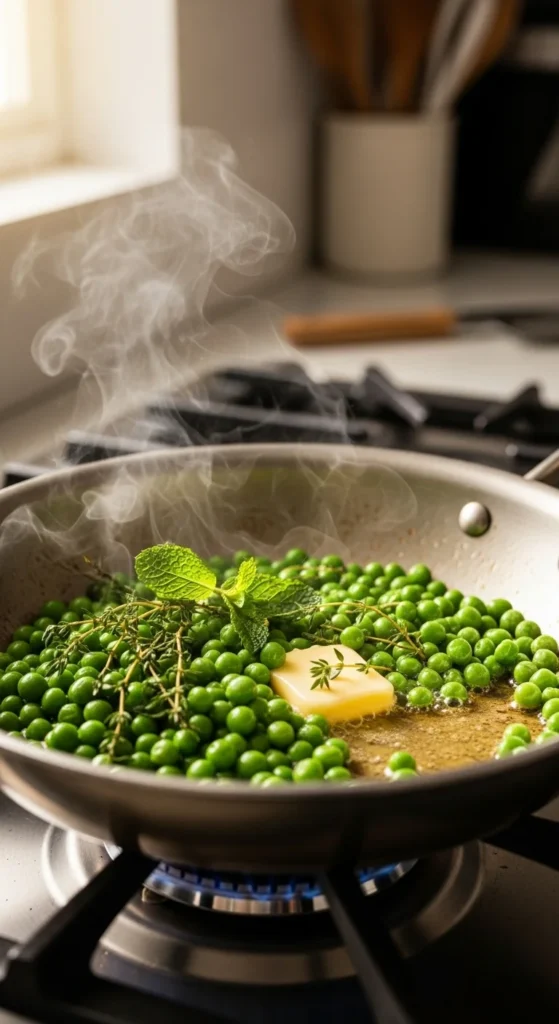
Sautéing Peas Without Overdoing It
Yes, peas can be sautéed—but gently.
How to sauté peas:
- Heat butter or olive oil over medium heat
- Add peas and toss
- Cook for 2–3 minutes, just until heated through
Add seasoning at the end:
- Salt and pepper
- Lemon zest
- Fresh herbs
Avoid high heat for too long. You’re warming, not browning.
Don’t Add Salt Too Late
Timing matters with seasoning. Salting peas after they’re cooked can make them taste flat.
Best approach:
- Salt the cooking water lightly
- Finish with a small pinch at the end
This layers flavor without breaking down texture.
Avoid acidic ingredients like lemon juice during cooking. Add them after to prevent softening.
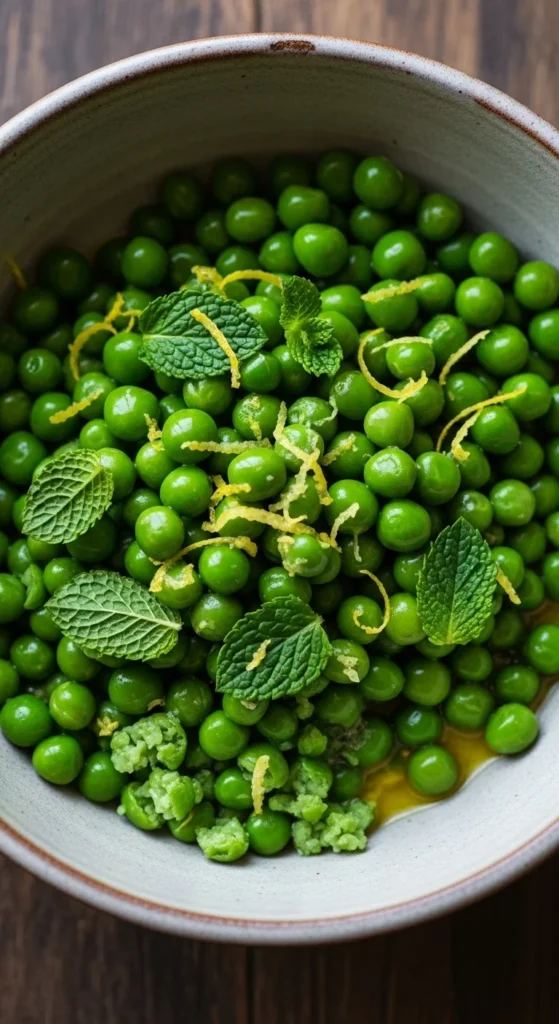
Pair Peas With Gentle Flavors
Peas shine when paired with light, fresh ingredients.
Great flavor partners:
- Butter or olive oil
- Mint, dill, or parsley
- Lemon zest
- Shallots or spring onions
Avoid heavy cream sauces or long simmers. Peas don’t need much help to taste good.
Common Mistakes to Avoid
If peas keep turning mushy, one of these is usually the reason:
- Cooking them longer than 3 minutes
- Leaving them in hot water after cooking
- Reheating them repeatedly
- Using low heat for too long
- Over-stirring
Peas don’t need babysitting. They need decisiveness.
Frozen Peas: How to Get Them Right
Frozen peas are already blanched, so they need even less cooking.
Best methods:
- Add directly to hot dishes at the end
- Steam for 1–2 minutes
- Briefly sauté just until hot
Never thaw frozen peas completely before cooking. They’ll release water and soften too much.
Final Takeaway
Perfect peas come down to one rule: cook them quickly and stop early. Whether you’re boiling, steaming, or sautéing, peas need very little time to shine. Use high heat, short cooking, and finish with fresh flavors.
Once you treat peas gently, you’ll never settle for mushy ones again.
Save this guide for later and let peas stay sweet, bright, and perfectly tender every time.

Hannah Collins is a passionate home cook and food storyteller who believes every recipe tells a little love story. At TastyWriter, she shares simple, delicious recipes made for real kitchens and busy days — from cozy comfort dishes to creative new favorites. When she’s not cooking, you’ll find her photographing food, testing family recipes, or sipping tea while dreaming up her next tasty idea.
Leave a Reply