
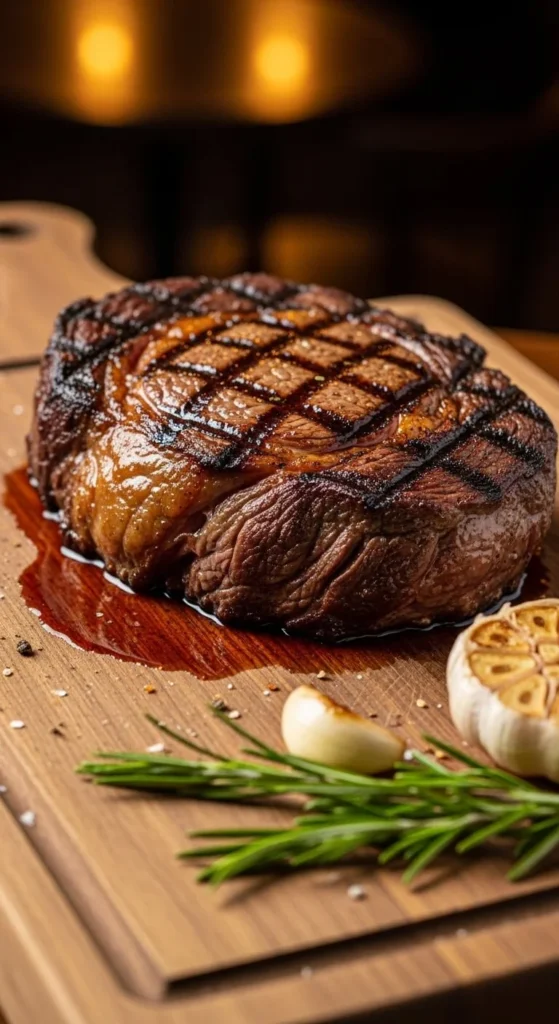
There’s something deeply satisfying about a perfectly cooked steak — a dark, crusty exterior, juicy pink center, and that rich buttery aroma that makes your kitchen feel like a steakhouse. Many people think you need a grill or a fancy oven setup, but the truth is this: you can make restaurant-quality steak in a simple pan right on your stovetop.
The secret isn’t complicated techniques. It’s heat, timing, and a few small but powerful steps that make all the difference.
Imagine slicing into a beautifully seared steak and watching the juices glisten on the plate — tender, flavorful, and cooked exactly how you like it.
If you want steak that impresses every single time, follow this method and you’ll never go back to guessing.
Choose the Right Cut
Not all steaks are created equal. Some are naturally tender, others need more care.
Best pan-searing cuts:
- Ribeye — rich, marbled, extremely flavorful
- New York strip — firm texture, great crust
- Sirloin — leaner but still delicious
- Filet mignon — very tender, cooks quickly
Look for steak that is at least 1 to 1.5 inches thick. Thin steaks overcook too fast and don’t develop a proper crust.
If your steak is frozen, thaw it completely in the fridge overnight. Never cook a frozen steak directly — it will cook unevenly.
Bring the Steak to Room Temperature
Take your steak out of the fridge 30–45 minutes before cooking.
Cold steak hits a hot pan and seizes up, cooking unevenly. Room-temperature steak cooks more evenly and develops a better crust.
While it rests, pat it completely dry with paper towels. Moisture is the enemy of a good sear.
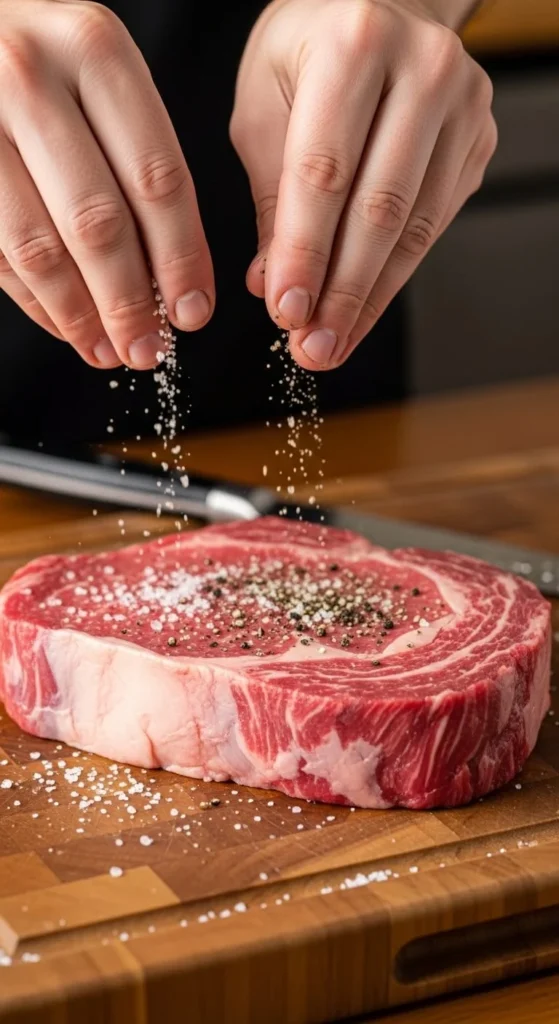
Season Generously (Right Before Cooking)
Simple seasoning is all you need.
Just use:
- Coarse salt
- Freshly cracked black pepper
Season both sides generously. Don’t be shy — a good steak can handle salt.
Seasoning right before cooking helps form that gorgeous crust instead of drawing out too much moisture too early.
Heat the Pan Properly
Use a heavy pan — cast iron or stainless steel works best.
Place it on medium-high heat and let it get very hot for 3–5 minutes. Add 1–2 tablespoons of oil with a high smoke point (like vegetable or canola oil).
You’ll know the pan is ready when the oil starts to shimmer — not smoke wildly, just gently ripple.
Never drop steak into a lukewarm pan. That’s how you get gray, soggy meat instead of a crisp crust.
Lay the Steak Down and Don’t Touch It
Place the steak in the pan away from you to avoid splashes.
Now — and this is important — don’t move it for 2–3 minutes.
You should hear a strong sizzle immediately. That sound means the crust is forming. If you keep shifting the steak, you’ll ruin it.
After 2–3 minutes, gently lift with tongs. If it releases easily and looks deeply browned, it’s ready to flip.

Flip Once and Build Flavor
Flip the steak and immediately add:
- 2 tablespoons butter
- 2–3 garlic cloves (crushed)
- A few sprigs of thyme or rosemary
Tilt the pan slightly and use a spoon to baste the steak with melted butter. This adds flavor and helps it cook evenly.
Cook the second side for another 2–3 minutes for medium-rare, adjusting time based on thickness.
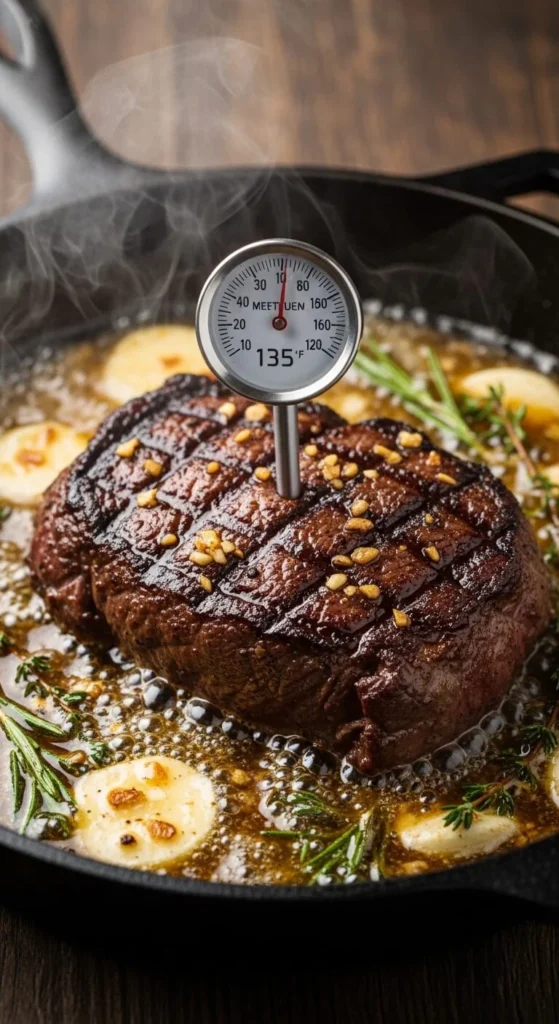
Check Doneness (No Guessing)
The most reliable method is a meat thermometer inserted into the thickest part:
- Rare: 120–125°F (49–52°C)
- Medium-rare: 130–135°F (54–57°C) ✔️ most people’s favorite
- Medium: 140–145°F (60–63°C)
- Well done: 160°F+ (71°C+)
If you don’t have a thermometer, use the touch test — the steak should feel firm but slightly springy for medium-rare.
Let the Steak Rest — Always
Transfer the steak to a plate or board and let it rest 5–10 minutes.
This step is non-negotiable. Resting allows juices to redistribute inside the meat so every bite stays tender and juicy.
If you cut too early, all the juices will run out onto the plate — and your steak will taste dry.
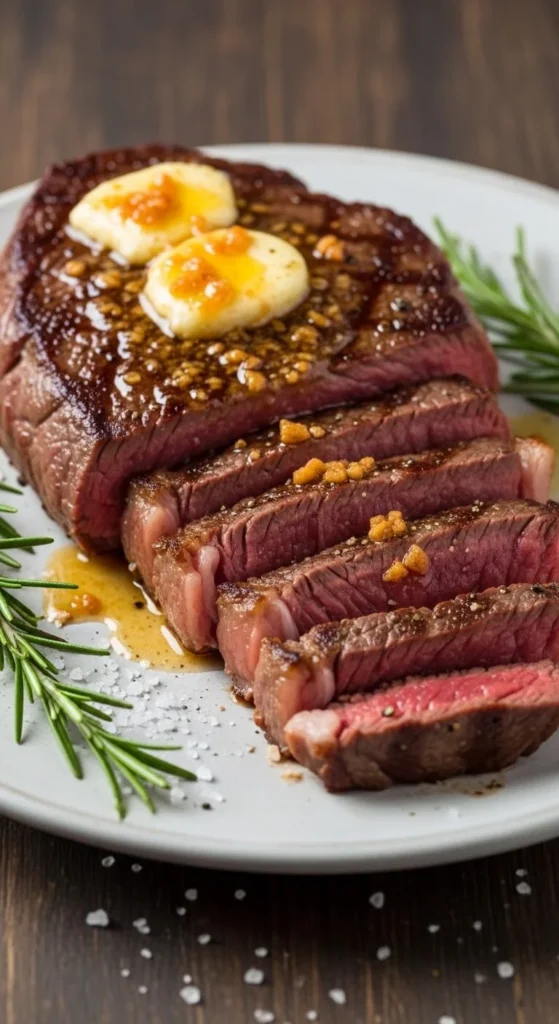
Slice Against the Grain
When you’re ready to serve, slice against the grain.
Look for the natural lines in the meat and cut across them. This shortens the muscle fibers and makes the steak easier to chew.
Place slices on a warm plate so the steak stays hot longer.
Make a Quick Pan Sauce (Optional but Amazing)
Don’t waste the flavorful bits left in the pan. Turn them into sauce in 2 minutes:
- Remove steak and herbs.
- Add a splash of beef stock or red wine to the hot pan.
- Scrape up browned bits with a wooden spoon.
- Simmer for 30–60 seconds.
- Stir in a small knob of butter.
Pour this over your steak for restaurant-level flavor.
Common Steak Mistakes (And How to Fix Them)
Steak is gray, not brown
- Pan wasn’t hot enough
- Steak was wet
- You moved it too soon
Steak is tough
- Overcooked
- Cut with the grain
Butter burned too fast
- Heat was too high at the end
- Add butter only after flipping
Smoke alarm went off
- Use high smoke-point oil first, butter later
Pair Your Steak Perfectly
Classic sides that never fail:
- Garlic mashed potatoes
- Roasted asparagus
- Crispy fries
- Simple green salad
- Sautéed mushrooms
Add a pat of herb butter on top of your steak for extra luxury.

Make It Your Own
Once you master the basic method, try variations:
- Garlic butter ribeye — extra basting
- Pepper-crusted steak — heavy black pepper crust
- Herb-crusted strip steak — press chopped herbs onto the surface
- Chili-lime steak — finish with lime and chili flakes
Same technique. Endless flavor.
Final Takeaway
Perfect pan-seared steak comes down to four things: dry meat, hot pan, patient sear, and proper rest.
Master those, and you’ll cook steak better than most restaurants — anytime, in your own kitchen.
Love this method? Save this guide for your next steak night and impress everyone at the table.

Hannah Collins is a passionate home cook and food storyteller who believes every recipe tells a little love story. At TastyWriter, she shares simple, delicious recipes made for real kitchens and busy days — from cozy comfort dishes to creative new favorites. When she’s not cooking, you’ll find her photographing food, testing family recipes, or sipping tea while dreaming up her next tasty idea.
Leave a Reply