
There’s nothing quite like cutting into a chocolate cake that feels almost cloud-like — rich, tender, and so moist that it melts the moment it touches your tongue. Yet so many home bakers end up with dry, crumbly, or dense cakes that taste more like chocolate bread than dessert. The problem isn’t your oven or your skill — it’s usually technique.
A truly soft and moist chocolate cake is built on smart ingredient choices, gentle mixing, and a few simple but powerful tricks that professional bakers swear by. When you get these right, your cake will be irresistibly tender every single time.
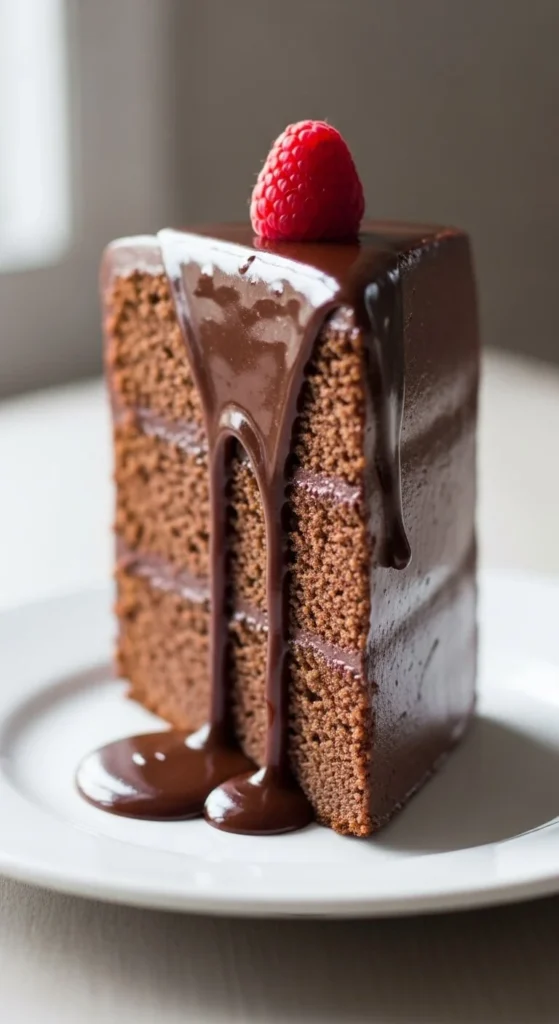
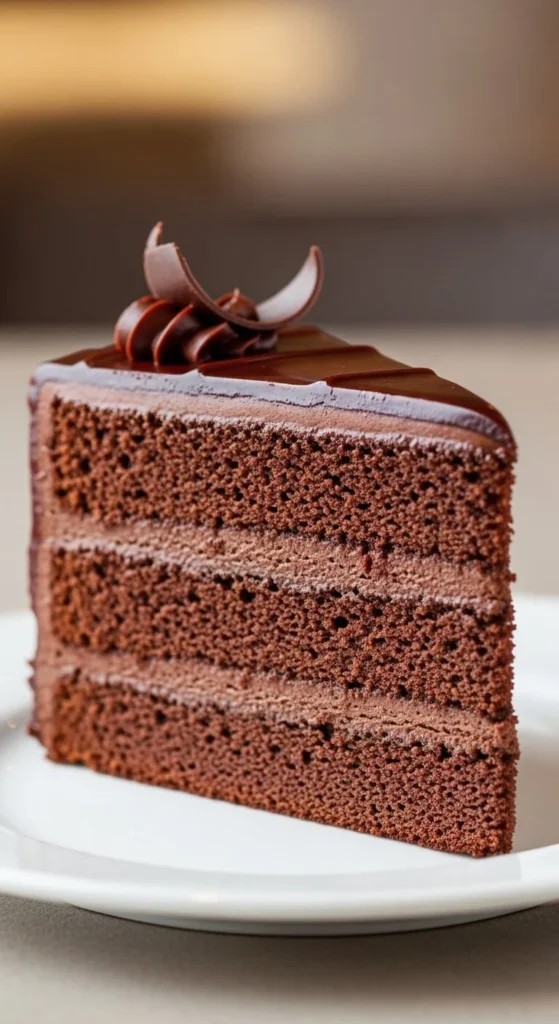
Imagine lifting a forkful of deep, dark chocolate cake and seeing a shiny crumb that bends instead of breaking. That’s the texture we’re aiming for.
If you want bakery-level softness at home, follow these steps carefully — and enjoy every bite.
Start With the Right Ingredients
Moist chocolate cake begins long before it hits the oven. Your ingredients do most of the heavy lifting.
Use:
- All-purpose flour (not bread flour)
- Good quality cocoa powder
- Baking powder and baking soda
- Fine sugar
- Eggs at room temperature
- Milk or buttermilk
- Oil (not butter)
- Boiling water or hot coffee
Two game-changers here:
- Oil instead of butter — oil keeps cake soft even after refrigeration.
- Hot liquid — boiling water or hot coffee blooms the cocoa, making the chocolate flavor deeper while keeping the crumb tender.
Cold ingredients make batter lumpy and uneven, so take everything out of the fridge 30 minutes before you start.
Mix Gently — Not Aggressively
In one bowl, whisk all your dry ingredients together: flour, cocoa, baking powder, baking soda, and salt.
In another bowl, beat sugar, eggs, and oil until smooth. Then add milk or buttermilk and vanilla.
Now pour the wet mixture into the dry ingredients and fold gently with a spatula. Don’t overmix. A few small lumps are completely fine.
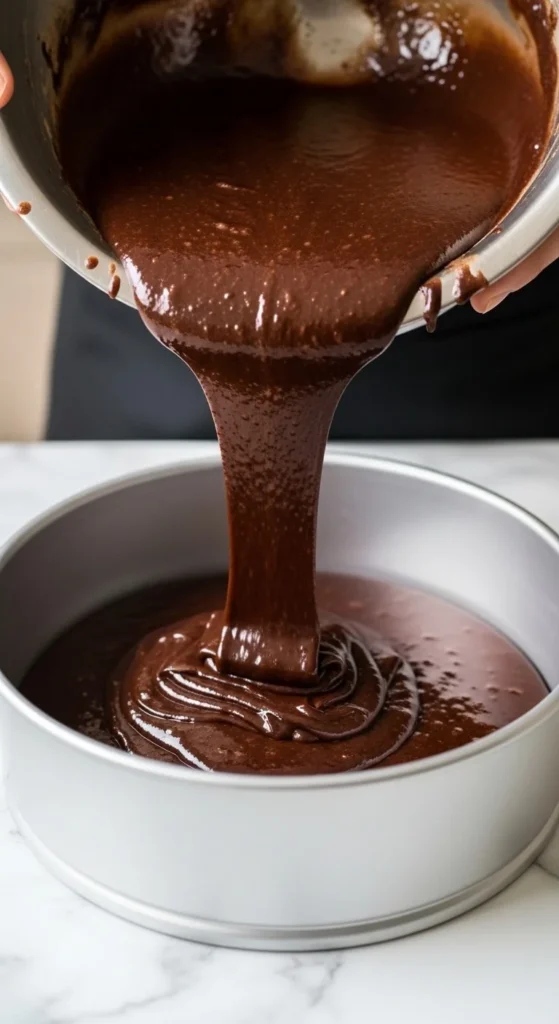
Finally, slowly pour in your hot water or coffee while stirring gently. Your batter will look thin — that’s exactly what you want. Thin batter = soft cake.
Overmixing develops too much gluten, which makes cake tough instead of tender. Mix just until combined and stop.
Add Moisture Boosters (Optional but Amazing)
If you want extra softness, add one of these:
- ¼ cup yogurt or sour cream
- 1 tablespoon mayonnaise
- 1 tablespoon melted butter in addition to oil
These ingredients add fat and acidity, both of which keep cake tender for days. You won’t taste them — you’ll just feel the difference in texture.
Buttermilk is another fantastic option. Its slight tang reacts with baking soda to create a lighter, fluffier crumb.
Bake Low and Slow
Preheat your oven to 170°C / 340°F (not hotter). High heat dries out cake quickly.
Grease your pan and line the bottom with parchment paper. Pour in the batter and tap gently to remove air bubbles.
Bake for about 30–35 minutes for an 8-inch round cake. Don’t open the oven early — sudden temperature changes can cause sinking.
Test doneness by inserting a toothpick in the center: it should come out with a few moist crumbs, not wet batter.
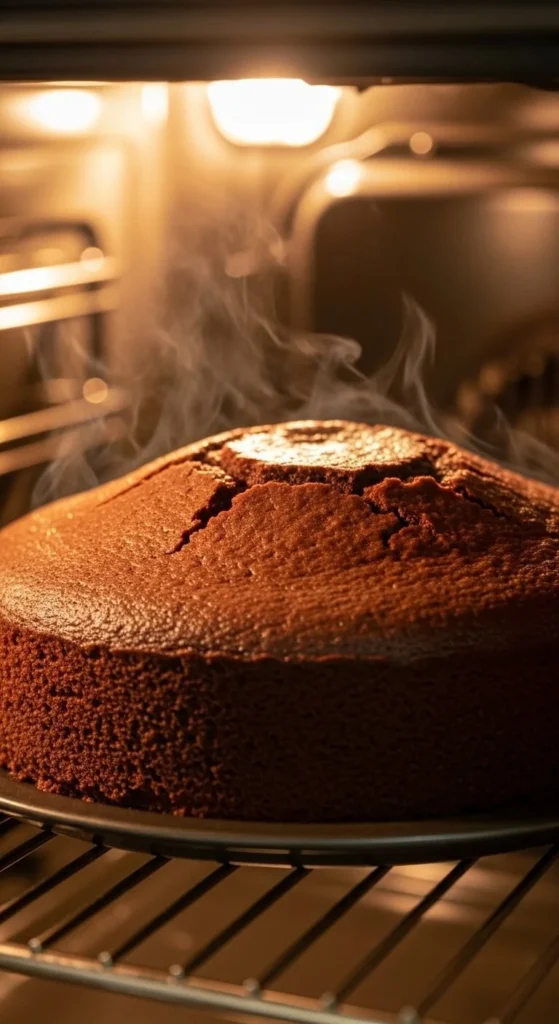
If the top cracks slightly, that’s normal — it will settle beautifully as it cools.
Cool Correctly (This Keeps It Moist)
Let the cake rest in the pan for 10 minutes. Then turn it onto a wire rack to cool completely.
If you frost a warm cake, the moisture escapes and the frosting slides off. Cooling locks in tenderness.
For extra softness, wrap the cooled cake tightly in plastic wrap and refrigerate for 2–4 hours before frosting. This relaxes the crumb and makes slicing cleaner.
Brush With Simple Syrup (Pro Trick)
For ultra-moist cake, lightly brush the layers with simple syrup before frosting.
Make it in one minute:
- ½ cup sugar + ½ cup water
- Heat until sugar dissolves, cool, and brush lightly on the cake
You won’t taste sweetness — just incredible softness.
Frost Like a Dream
Soft cake deserves silky frosting. Try one of these:
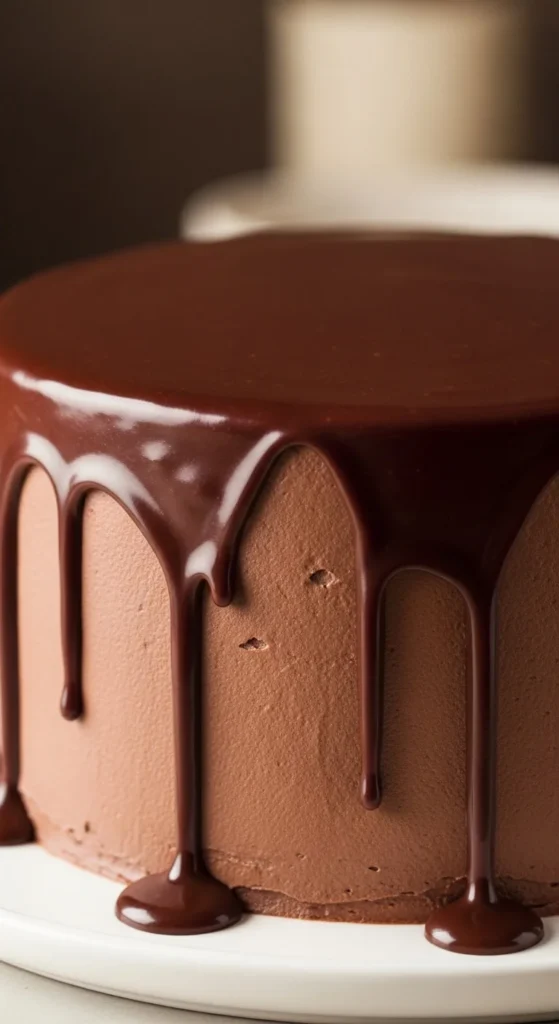
Chocolate Ganache:
Heat cream, pour over chopped chocolate, stir until smooth, and pour over the cake.
Creamy Chocolate Buttercream:
Whip butter, cocoa, powdered sugar, and a splash of milk until fluffy.
Whipped Cream Frosting:
Light, airy, and perfect if you prefer less sweetness.
Spread frosting gently so you don’t compress the cake layers.
Slice the Right Way
Use a sharp, warm knife for clean slices. Wipe the blade between cuts.
Look for:
- A dark, glossy crumb
- No dry edges
- A soft, springy feel
If the slice bends slightly when lifted, you’ve nailed it.
Common Mistakes (And How to Fix Them)
Cake is dry:
You overbaked it or used too little liquid. Next time, lower the oven temperature and check earlier.
Cake is dense:
You overmixed the batter or skipped baking soda. Mix gently and measure leaveners accurately.
Cake sank in the middle:
Oven door opened too early, or cake was underbaked. Be patient and test properly.
Edges are hard:
Your pan was too dark or oven too hot. Use light-colored pans and moderate heat.
Flavor Variations You’ll Love
Once you master the base, try these twists:
Mocha Chocolate Cake:
Replace hot water with hot coffee.
Chocolate Orange Cake:
Add orange zest to the batter and a splash of juice to the syrup.
Double Chocolate Cake:
Fold in dark chocolate chips before baking.
Raspberry Chocolate Cake:
Layer fresh raspberries between frosting layers.
Same method. Endless possibilities.
Storage Tips to Keep It Moist
- Store cake in an airtight container at room temperature for 2 days.
- Refrigerate for up to 5 days — bring to room temp before serving.
- Freeze unfrosted layers wrapped tightly for up to 2 months.
Never leave cake uncovered — air is the enemy of moisture.
Final Takeaway
Soft, moist chocolate cake comes down to three things: oil instead of butter, hot liquid in the batter, and gentle mixing. Add a little simple syrup and careful baking, and you’ll have a cake that stays tender for days.
Love this method? Save this guide for your next celebration — and bake a chocolate cake so soft, everyone will ask for the recipe.

Hannah Collins is a passionate home cook and food storyteller who believes every recipe tells a little love story. At TastyWriter, she shares simple, delicious recipes made for real kitchens and busy days — from cozy comfort dishes to creative new favorites. When she’s not cooking, you’ll find her photographing food, testing family recipes, or sipping tea while dreaming up her next tasty idea.
Leave a Reply