
There’s something magical about homemade ice cream. It’s creamy, rich, and tastes fresher than anything from the store. But what if you don’t own an ice cream maker? Good news: you don’t need one. With just a few simple ingredients and a freezer, you can make smooth, scoopable ice cream right at home.
No special equipment. No complicated steps. Just a little mixing and patience.
Let’s break down exactly how to make ice cream without a machine—and how to keep it creamy instead of icy.
The Simple Ingredients You Need
The beauty of no-machine ice cream is its simplicity. Most recipes rely on a few basic ingredients that create a smooth texture without churning.
Basic vanilla ice cream needs:
- Heavy whipping cream
- Sweetened condensed milk
- Vanilla extract
- A pinch of salt
That’s it.
Heavy cream adds richness. Sweetened condensed milk provides sweetness and helps prevent ice crystals. Vanilla adds flavor. Salt enhances everything.

You can use this as your base and customize from there.
Why This Method Works Without Churning
Traditional ice cream machines churn the mixture while freezing to prevent ice crystals. Without churning, ice crystals can form and make the texture icy.
The secret here is:
- Whipping air into the cream
- Using sweetened condensed milk
Whipped cream creates structure and lightness. Condensed milk lowers the freezing point, keeping the mixture soft.
Together, they mimic the effect of churning.
Whip the Cream Until Soft Peaks Form
Start with cold heavy cream.
Using a hand mixer or whisk, beat the cream until soft peaks form. This means the cream holds its shape but still looks smooth and fluffy.
Do not overwhip.
Overwhipped cream becomes grainy and harder to fold.
The texture should look light and airy.
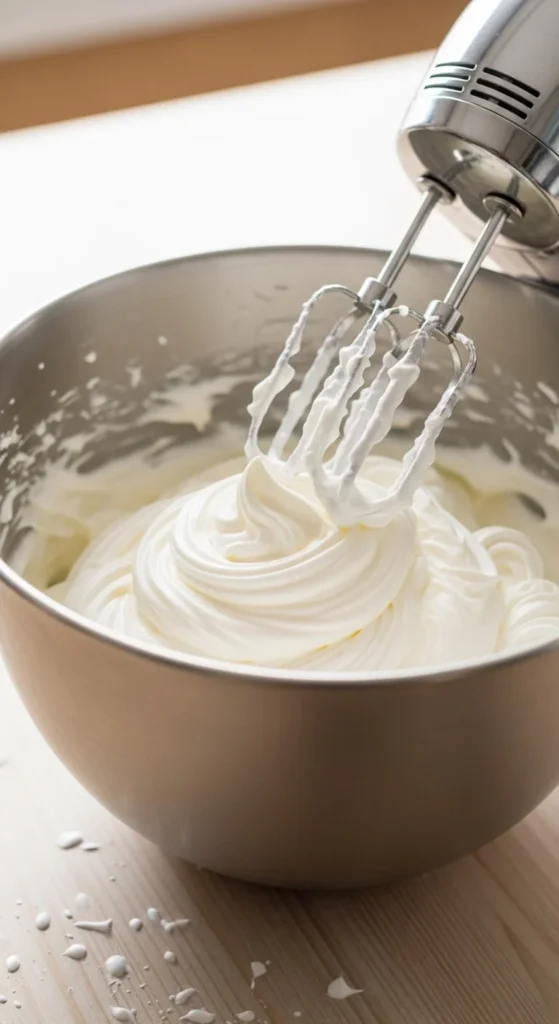
This step creates the creamy base.
Gently Fold in the Sweetened Condensed Milk
Once the cream is whipped, pour in the sweetened condensed milk, vanilla, and salt.
Fold gently using a spatula.
Avoid stirring aggressively.
Folding keeps the air in the mixture, which helps maintain smooth texture.
The mixture should look thick, silky, and evenly blended.
If you stir too much, the mixture can deflate and become dense.
Add Flavors and Mix-Ins
Now comes the fun part.
You can customize your ice cream in many ways.
Flavor ideas:
- Cocoa powder for chocolate
- Crushed cookies
- Fresh strawberries
- Peanut butter swirls
- Caramel drizzle
If adding chunky mix-ins like cookies or chocolate chips, fold them in gently at the end.
For fruit flavors, make sure fruit is chopped finely or blended smoothly to avoid icy texture.
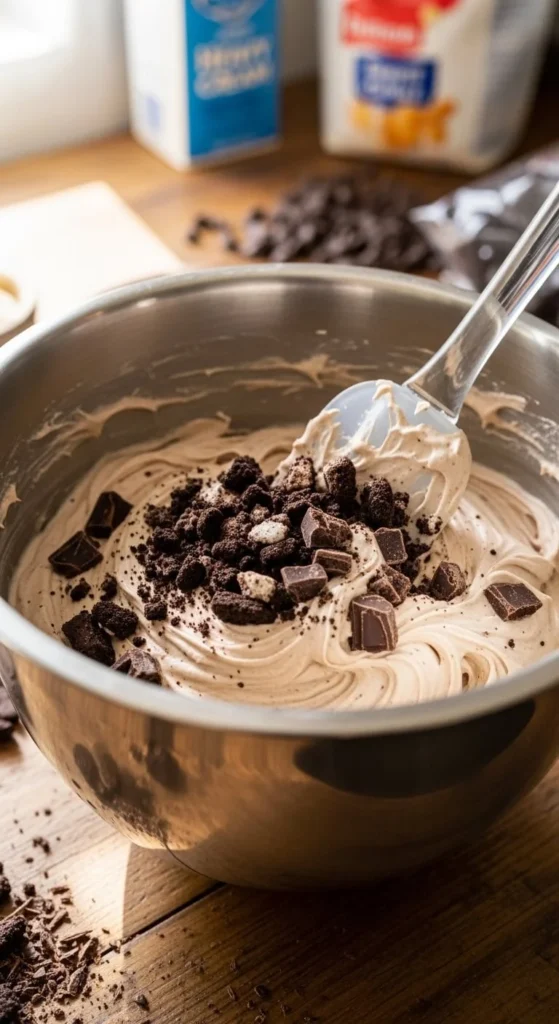
Keep flavors balanced. Too much liquid can affect freezing.
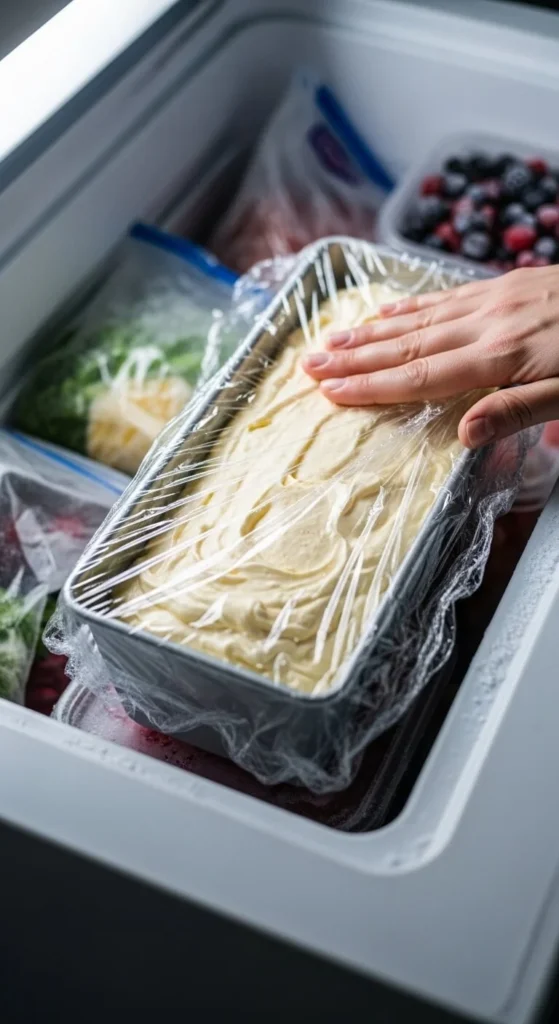
Freeze Properly for Best Texture
Transfer the mixture to a loaf pan or airtight container.
Smooth the top with a spatula.
Cover tightly with plastic wrap or a lid.
Freeze for at least 6 hours, or overnight for best results.
Avoid opening the freezer frequently.
Stable temperature helps maintain creamy texture.
Once frozen, the ice cream should be firm but scoopable.
Let it sit at room temperature for 5 minutes before scooping if it’s too firm.
Tips to Keep It Extra Creamy
To prevent ice crystals:
- Use full-fat heavy cream
- Don’t reduce sugar
- Cover tightly before freezing
- Avoid adding too much watery fruit
Fat and sugar both help keep ice cream smooth.
Low-fat substitutes usually lead to icy texture.
Stick to full-fat ingredients for the best results.
How to Make It Even Simpler
If you want an even easier method, try the two-ingredient version:
- 2 cups heavy cream
- 1 can sweetened condensed milk
Whip, fold, freeze.
That’s it.
The result is creamy, sweet, and perfect for experimenting with flavors.
Serving and Storing
Homemade ice cream is best within one to two weeks.
Store in an airtight container to prevent freezer burn.
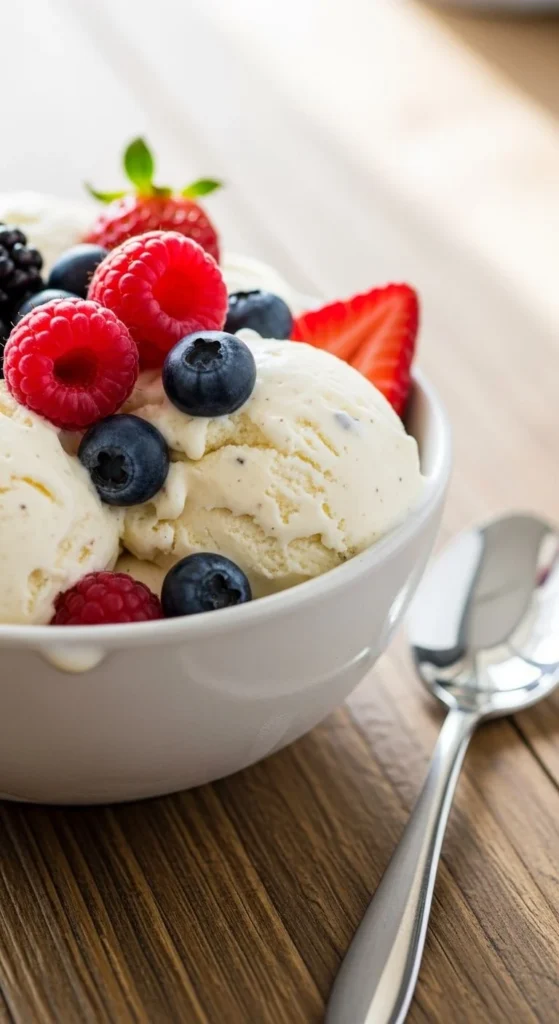
For a beautiful presentation:
- Scoop into bowls
- Add fresh fruit
- Drizzle chocolate sauce
- Sprinkle crushed nuts
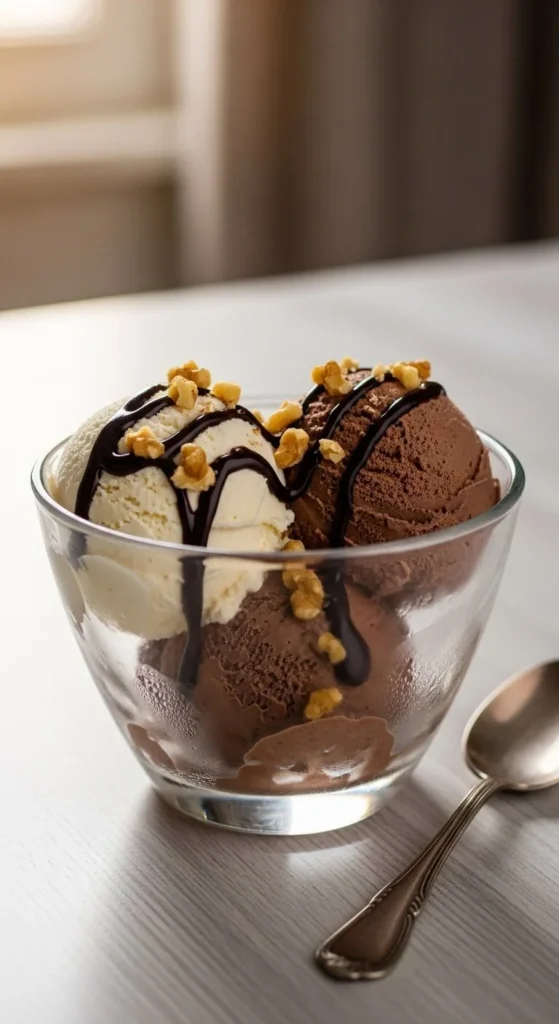
The texture should be creamy and smooth, not icy.
Why Homemade Ice Cream Is Worth It
Making ice cream at home gives you full control over flavor and ingredients. No additives. No artificial flavors. Just simple ingredients mixed together.
It’s also fun and satisfying.
You don’t need expensive equipment or advanced skills.
Just a mixer, a bowl, and a freezer.
Final Thoughts
Ice cream without a machine is easier than most people think. With whipped cream and sweetened condensed milk, you can create a smooth and creamy dessert right in your kitchen.
Once you try it, you’ll realize you don’t need a special machine to enjoy homemade ice cream.
Save this recipe for later and treat yourself to creamy homemade ice cream anytime.

Hannah Collins is a passionate home cook and food storyteller who believes every recipe tells a little love story. At TastyWriter, she shares simple, delicious recipes made for real kitchens and busy days — from cozy comfort dishes to creative new favorites. When she’s not cooking, you’ll find her photographing food, testing family recipes, or sipping tea while dreaming up her next tasty idea.
Leave a Reply