
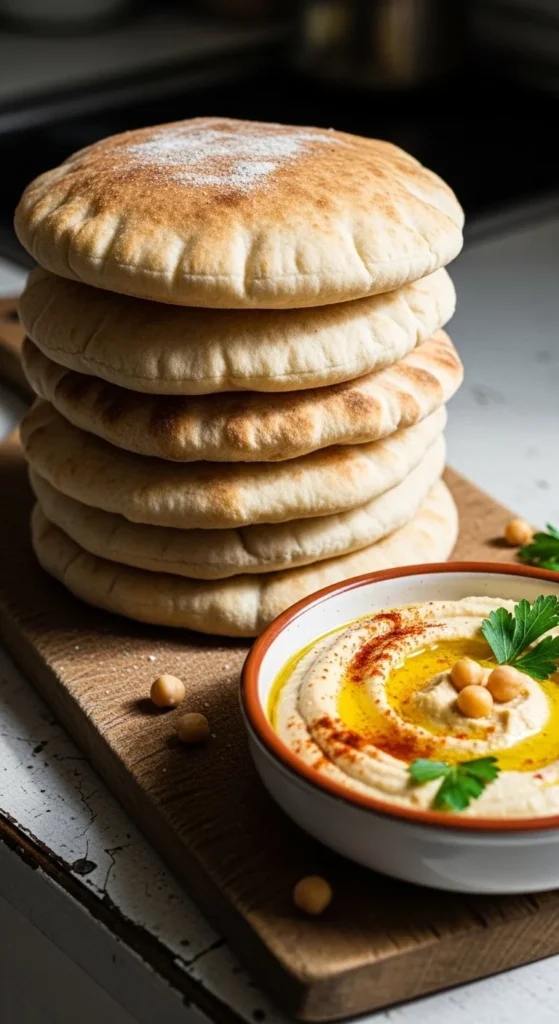
There’s something incredibly satisfying about baking bread at home—especially when it’s warm, soft pita bread fresh from the oven. When baked properly, pita puffs up into a pocket that’s perfect for stuffing with fillings, dipping into hummus, or enjoying alongside your favorite meals.
Homemade pita bread tastes fresher, softer, and more flavorful than store-bought versions. The best part is that it requires only a handful of ingredients and simple techniques.
Let’s explore how to bake pita bread from scratch in your own kitchen.
Gather Simple Ingredients
Pita bread uses basic pantry ingredients, which makes it easy to prepare anytime.
You will need:
- All-purpose flour
- Warm water
- Active dry yeast
- Olive oil
- Salt
- A small amount of sugar (optional)
These ingredients combine to form a soft dough that bakes into fluffy pita pockets.
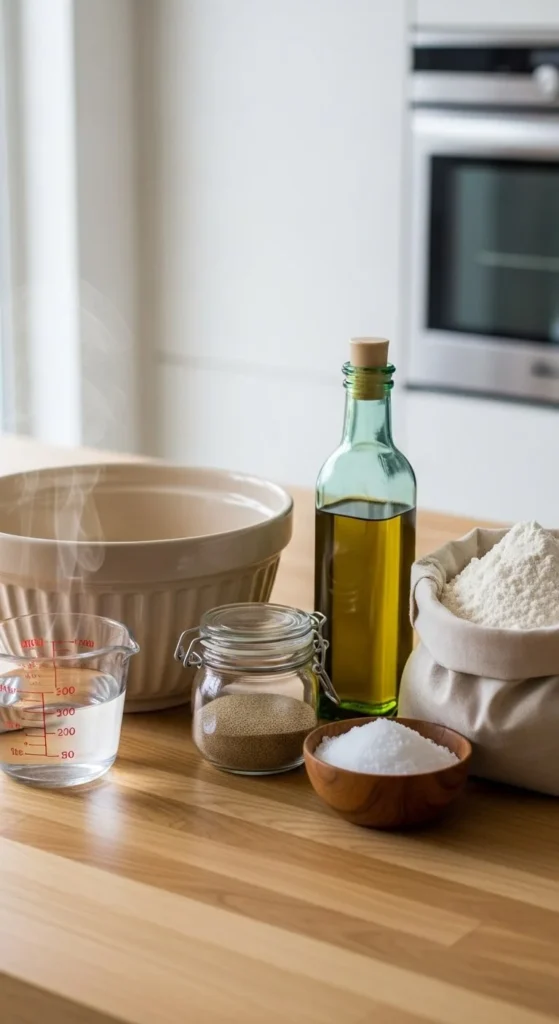
Fresh yeast and warm water help the dough rise and develop a soft texture.
Activate the Yeast
Before mixing the dough, the yeast needs to be activated.
Steps:
- Pour warm water into a small bowl
- Add yeast and a pinch of sugar
- Let it sit for 5–10 minutes
You’ll know the yeast is ready when it becomes foamy on the surface.
This step ensures the yeast is active and will help the dough rise properly.
If the mixture doesn’t foam, the yeast may be expired.
Mix and Knead the Dough
Once the yeast mixture is ready, it’s time to form the dough.
In a large bowl:
- Combine flour and salt
- Add the yeast mixture
- Add olive oil
Mix until a soft dough forms.
Transfer the dough to a lightly floured surface and knead for 8–10 minutes.
Kneading helps develop gluten, which gives the pita bread its chewy texture.
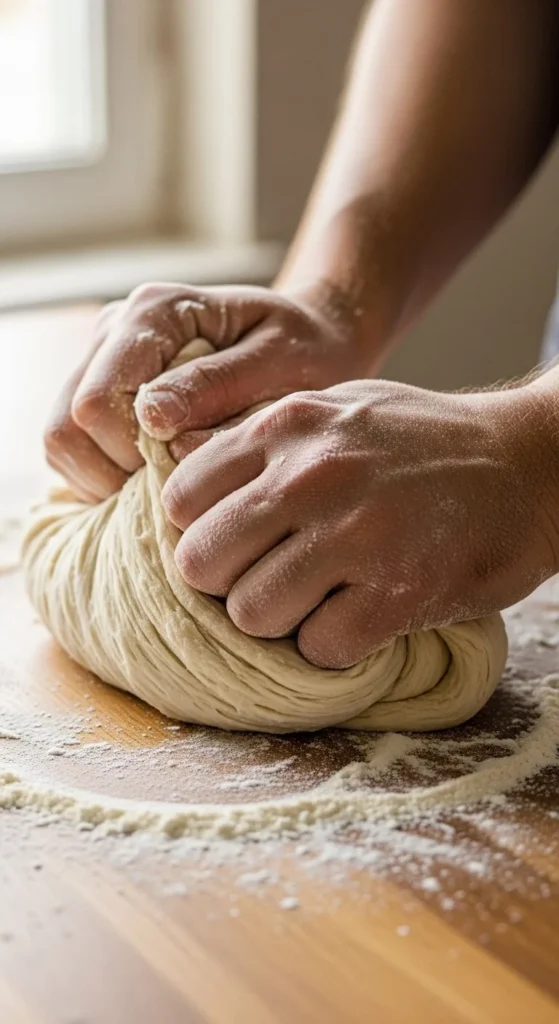
The dough should feel smooth and slightly elastic when ready.
Let the Dough Rise
Place the kneaded dough in a lightly oiled bowl.
Cover it with a clean kitchen towel and allow it to rise in a warm place.
The dough should rise for about 1–1½ hours, or until it doubles in size.
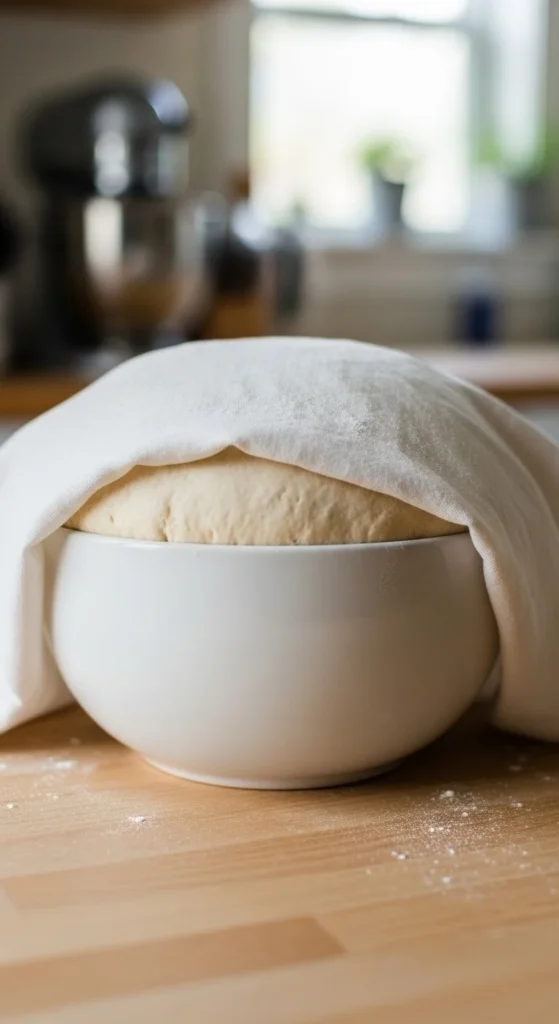
During this time, the yeast produces gas that makes the dough light and airy.
This step is essential for soft pita bread.
Divide and Shape the Dough
After the dough has risen, gently punch it down to release air.
Divide it into 8–10 equal pieces.
Roll each piece into a small ball, then flatten it into a circle using a rolling pin.
Each circle should be about ¼ inch thick.
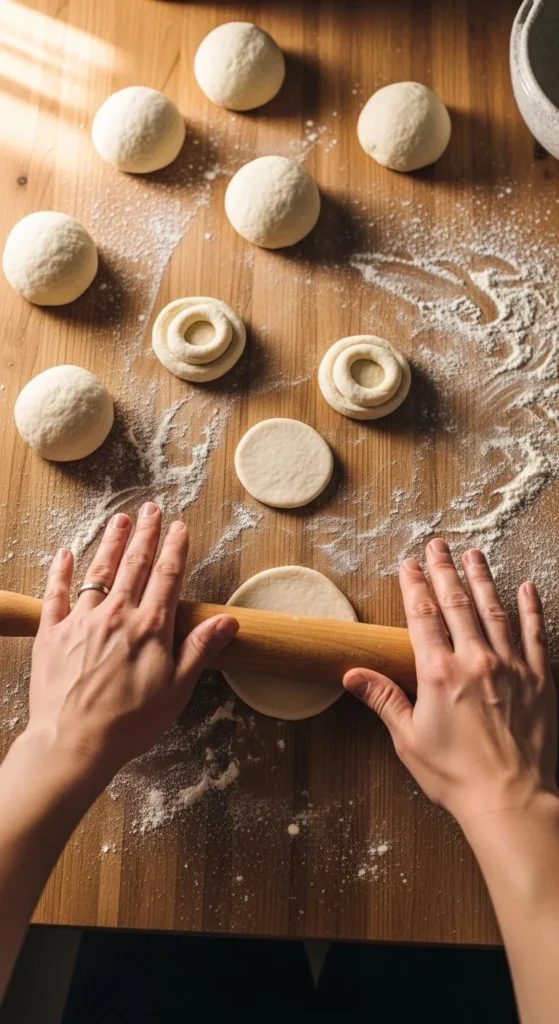
Try to keep the thickness even so the bread bakes uniformly.
Bake at High Heat
Pita bread needs very high heat to puff properly.
Preheat your oven to 475°F (245°C) and place a baking stone or baking sheet inside to heat up.
Once hot:
- Place the pita dough circles directly on the hot surface
- Bake for 4–5 minutes
The high heat causes steam inside the dough, which makes the pita puff into a pocket.
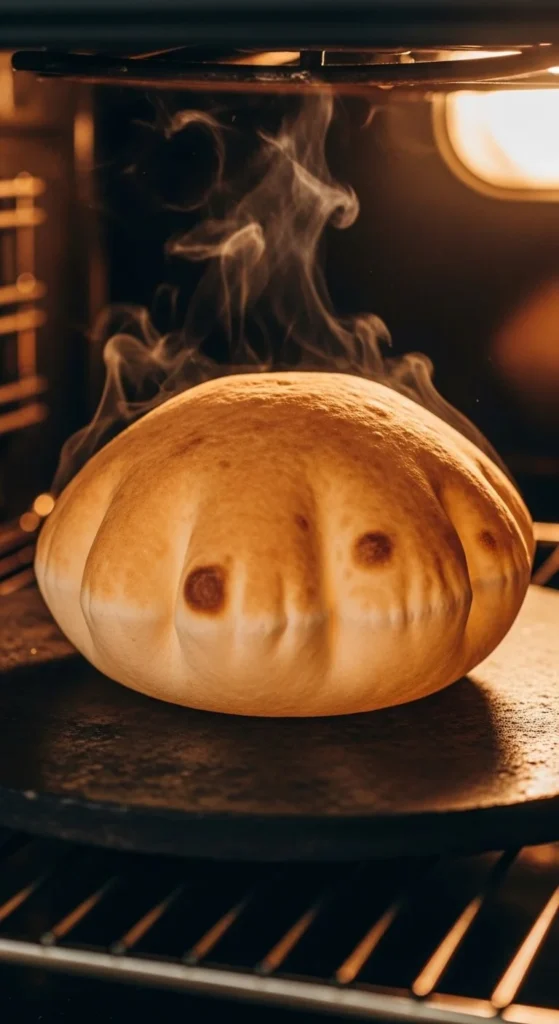
Watching the pita inflate in the oven is one of the most satisfying moments of baking.
Cool and Store Properly
Once the pita breads are baked, remove them from the oven and place them on a clean towel.
Cover them lightly so they stay soft.
Allow them to cool for a few minutes before serving.
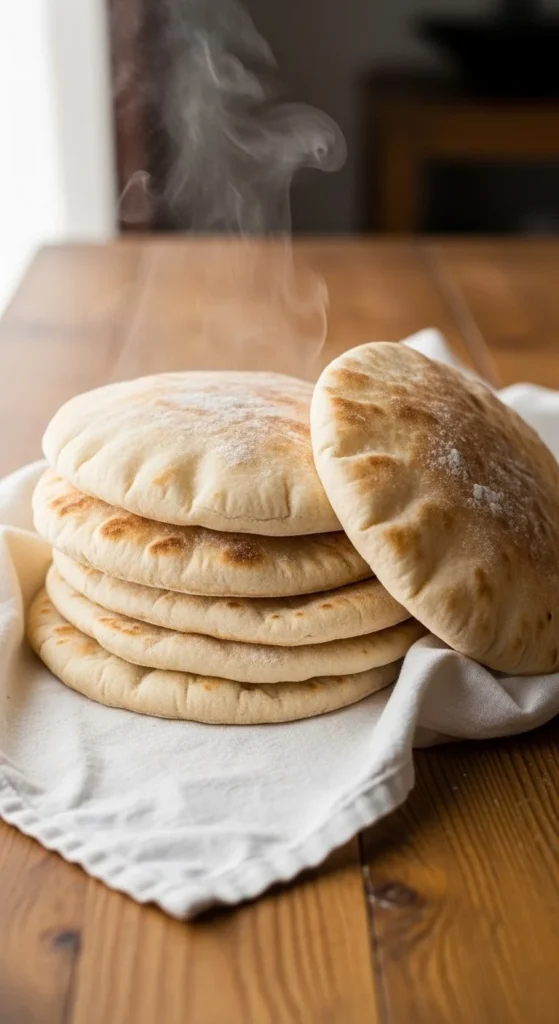
The bread will soften slightly as it cools.
Ways to Enjoy Homemade Pita
Fresh pita bread is incredibly versatile.
You can enjoy it with:
- Hummus
- Falafel
- Grilled chicken
- Fresh vegetables
- Tzatziki sauce
You can also slice the pita to create pockets for sandwiches.
Homemade pita works well for both simple snacks and full meals.
Tips for Perfect Pita Bread
A few small tips can improve your results.
Helpful tips:
- Roll the dough evenly
- Use a very hot oven
- Bake on a preheated surface
- Avoid overbaking
High heat is the key to achieving the classic pita pocket.
Why Homemade Pita Is Worth It
Baking pita bread from scratch offers several advantages.
Homemade pita is:
- Softer than store-bought
- Free from preservatives
- Easy to customize
- Perfectly fresh
Plus, the aroma of freshly baked bread filling your kitchen is hard to beat.
Final Thoughts
Making pita bread from scratch is easier than many people think. With simple ingredients, a little kneading, and high heat, you can create soft, fluffy pita breads right in your own kitchen.
Once you see the bread puff into its signature pocket, you’ll understand why homemade pita is so rewarding.
Save this recipe for later and enjoy warm homemade pita bread whenever you want a fresh and delicious bread option.

Hannah Collins is a passionate home cook and food storyteller who believes every recipe tells a little love story. At TastyWriter, she shares simple, delicious recipes made for real kitchens and busy days — from cozy comfort dishes to creative new favorites. When she’s not cooking, you’ll find her photographing food, testing family recipes, or sipping tea while dreaming up her next tasty idea.
Leave a Reply