
Fermenting vegetables at home isn’t just a foodie trend — it’s a centuries-old method that transforms humble veggies into tangy, probiotic-rich powerhouses. The best part? You don’t need fancy tools or special skills. Just patience, salt, and a little curiosity.
Why Fermenting Is Worth It
Fermentation is nature’s way of preserving food while enhancing its flavor and nutrition. When you ferment veggies, beneficial bacteria (like Lactobacillus) break down sugars and starches, creating lactic acid — the secret behind that delicious tang and long shelf life.
Benefits of Fermentation:
- Better digestion — adds probiotics that support gut health.
- Improved nutrient absorption — makes vitamins more bioavailable.
- Reduced food waste — saves your extra produce from the bin.
- Unbeatable flavor — sour, crunchy, and full of depth.
Step 1: Gather Your Tools and Ingredients
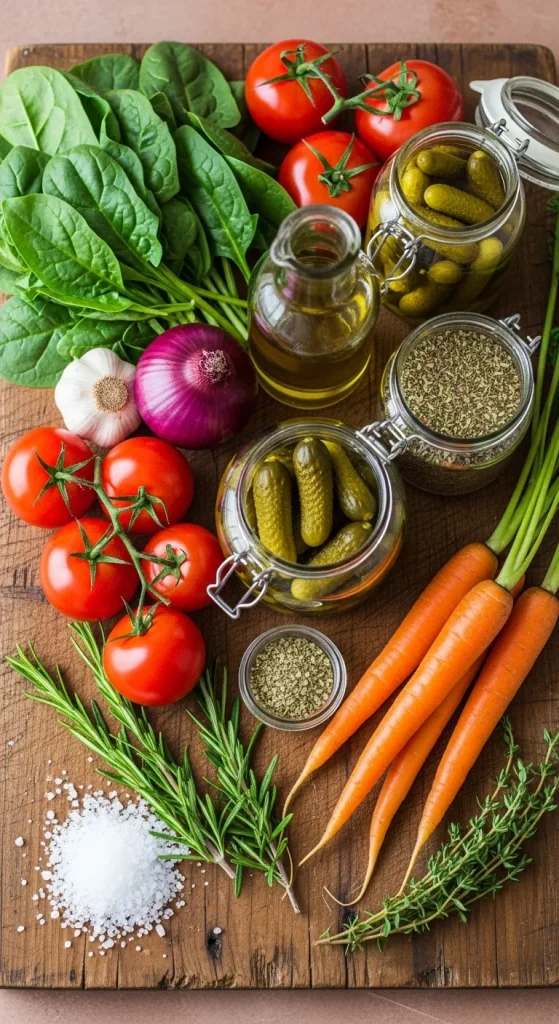
You only need a few simple things to get started:
- Fresh vegetables (cabbage, carrots, radishes, cucumbers, or cauliflower)
- Non-iodized salt (like sea salt or pickling salt)
- Filtered water (chlorine-free)
- Clean glass jars (mason jars are perfect)
- A small weight or leaf to keep veggies submerged
Optional but helpful:
- Spices (garlic, dill, peppercorns, mustard seeds)
- A fermentation lid or cloth cover to allow gases to escape
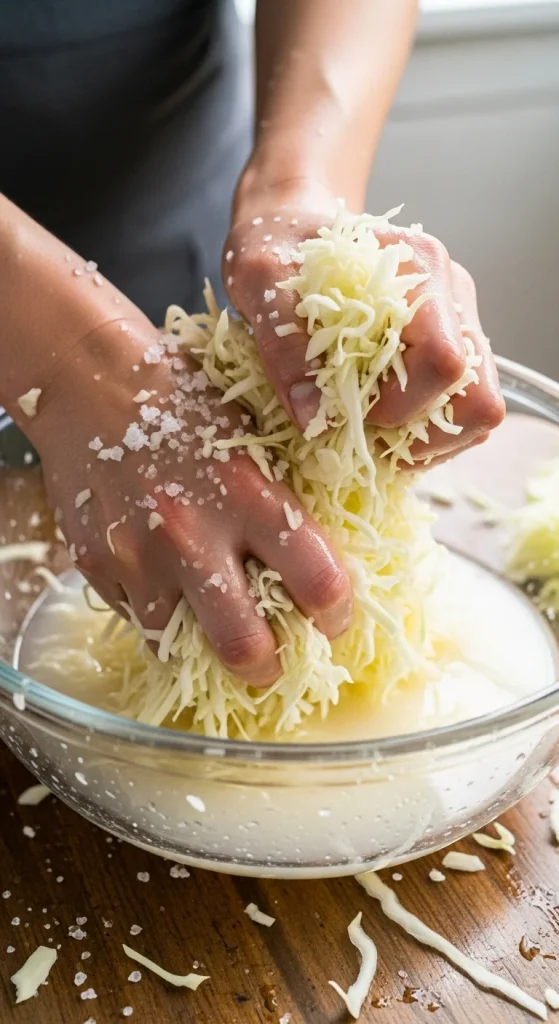
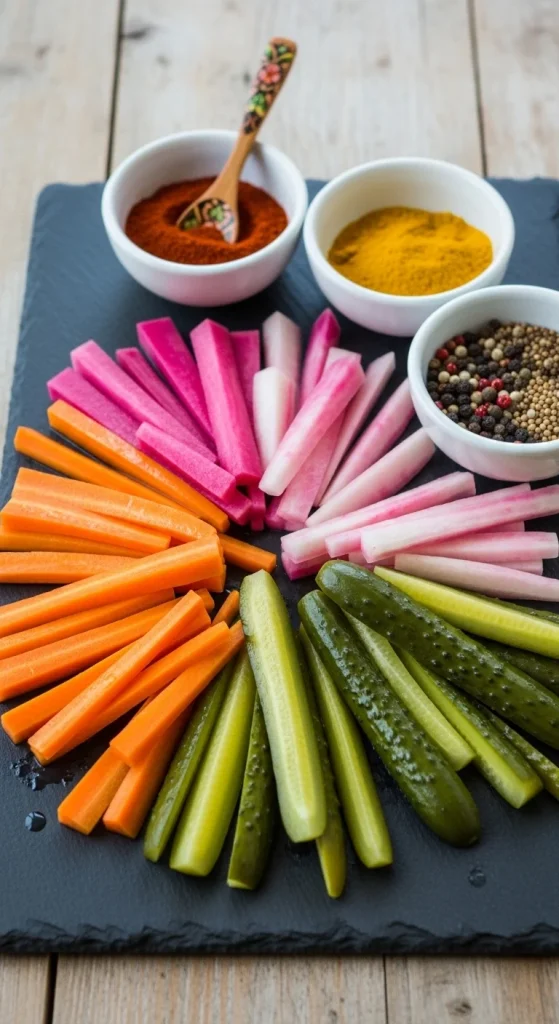
Step 2: Prepare and Salt the Vegetables
Start by washing your vegetables thoroughly. Slice or shred them depending on what you’re fermenting — thinner cuts ferment faster.
How to Salt:
You can either dry salt or brine ferment.
- Dry Salting (great for cabbage or carrots):
Sprinkle about 1–1.5 tablespoons of salt per pound of vegetables. Massage it in until the veggies start releasing their natural juices. - Brine Method (great for cucumbers or cauliflower):
Dissolve 1 tablespoon of salt per 2 cups of water, then pour over the veggies in your jar until completely covered.
The salt prevents harmful bacteria from growing while encouraging the good ones to thrive.
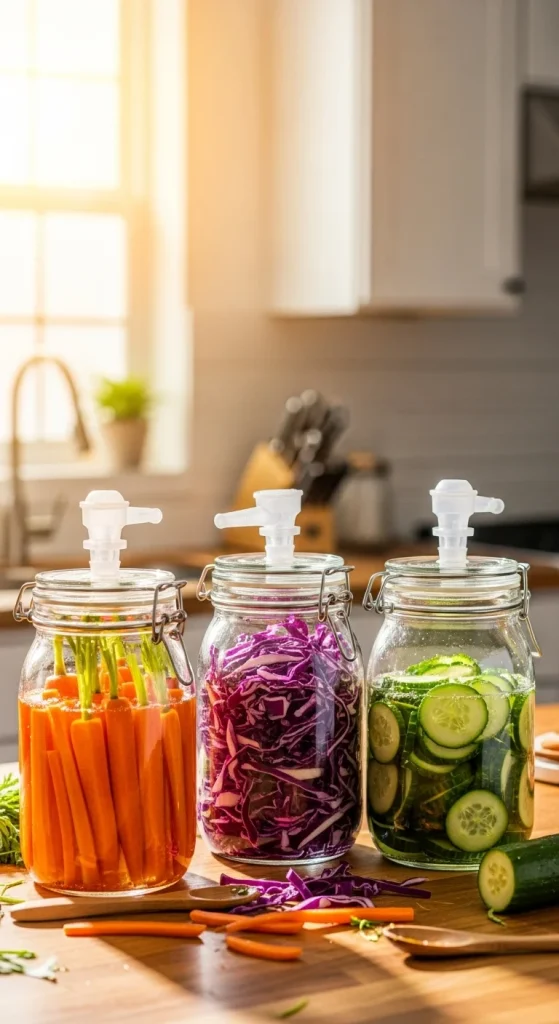
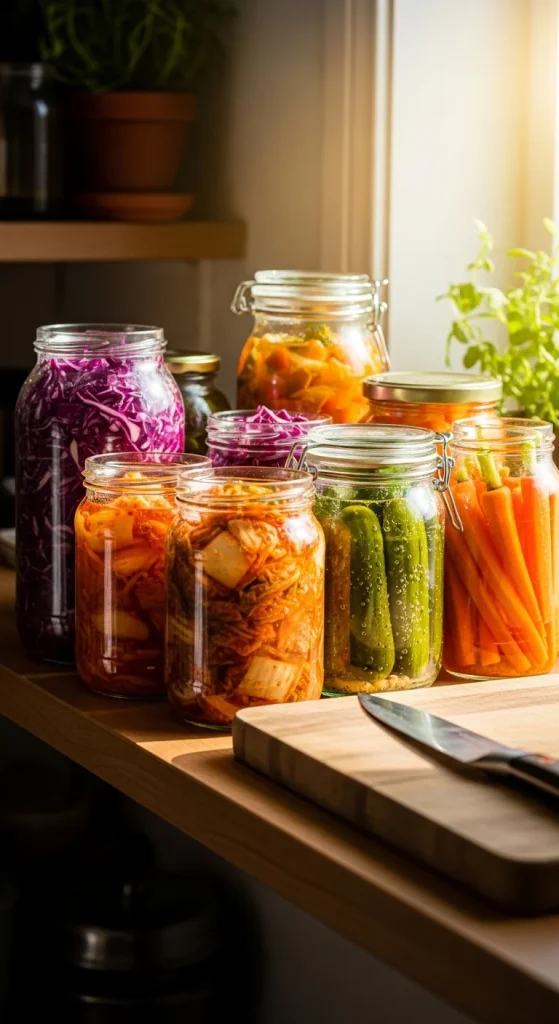
Step 3: Pack It and Keep It Submerged
Once your veggies are juicy or brined, it’s time to pack them into the jar. Push them down firmly so there are no air pockets.
Key Tips:
- Always make sure everything stays below the brine — this keeps it safe and mold-free.
- Use a clean cabbage leaf, small weight, or glass fermentation weight to hold the veggies down.
- Cover the jar loosely with a lid or cloth — you want gases to escape but bugs to stay out.

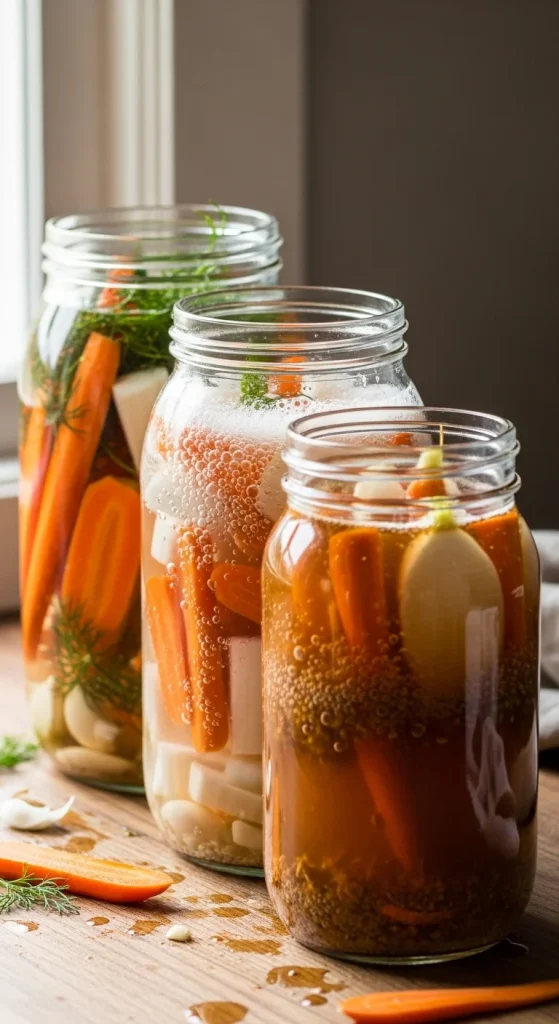
Step 4: Let It Ferment
Now comes the fun part — waiting! Place your jar in a cool, dark spot (like a pantry or kitchen counter away from direct sunlight).
- Ideal temperature: 60–75°F (15–24°C)
- Fermentation time: 3–10 days depending on taste and climate
Check daily:
- Ensure veggies remain submerged.
- Skim off any harmless surface bubbles or foam (avoid mold).
- Taste after 3 days — the longer it ferments, the tangier it becomes.
When the flavor is just right, transfer the jar to the fridge to slow fermentation. It’ll keep for several months and continue developing flavor over time.
Step 5: Enjoy and Experiment
Once chilled, your fermented vegetables are ready to serve! Use them in salads, sandwiches, rice bowls, or as a tangy side dish.
Creative Flavor Ideas:
- Spicy Kick: Add chili flakes or jalapeño slices.
- Garlic & Dill: Perfect for classic pickled cucumbers.
- Ginger & Carrot: Bright, aromatic, and great for Asian-inspired dishes.
Safety Notes You Should Know
Fermentation is safe when done right, but here’s how to keep things worry-free:
- Use clean tools and jars. Sterilize if possible.
- Avoid iodized salt or tap water with chlorine. Both can interfere with fermentation.
- Watch for mold. White film is normal (yeast), but fuzzy mold means discard it.
- Store properly. Keep finished ferments in the fridge to extend shelf life.
Trust your senses — if it smells clean, sour, and pleasant, it’s good to go.
Final Thoughts
Fermenting vegetables is more than a kitchen experiment — it’s a delicious way to connect with tradition, improve your gut health, and cut down on waste. Once you try it, you’ll never look at a jar of pickles the same way again.
So go ahead — grab those extra veggies, a handful of salt, and start your fermentation journey today.
✨ Save this guide for later or pin it for your next kitchen project!

Hannah Collins is a passionate home cook and food storyteller who believes every recipe tells a little love story. At TastyWriter, she shares simple, delicious recipes made for real kitchens and busy days — from cozy comfort dishes to creative new favorites. When she’s not cooking, you’ll find her photographing food, testing family recipes, or sipping tea while dreaming up her next tasty idea.
Leave a Reply