
There’s nothing quite like the sound of a steak hitting a hot grill — that instant sizzle that promises smoky, juicy perfection. Whether you’re grilling for a weekend barbecue or a special dinner night, mastering steak isn’t about luck — it’s about timing, temperature, and a few key tricks that make all the difference.
Choose the Right Cut
The first step to a great steak starts long before the grill heats up — it’s in the butcher’s case.
Some cuts are naturally more tender and flavorful than others. Here are the best choices for grilling:
- Ribeye: Rich and marbled with fat — juicy and flavorful every time.
- New York Strip: Tender with a perfect balance of texture and taste.
- Filet Mignon: Buttery and lean; ideal for special occasions.
- T-Bone or Porterhouse: Great for sharing — two cuts in one!
Pro tip: Go for a 1–1.5 inch thick steak. Thinner steaks overcook fast, while thicker cuts stay juicy inside while forming that perfect crust outside.
[Image Prompt] A selection of raw steaks — ribeye, strip, and filet mignon — on a wooden board with sprigs of rosemary, garlic cloves, and coarse sea salt beside them.
Step 1: Prep Like a Pro
Before the steak hits the grill, a little prep goes a long way.
- Bring it to room temperature — let your steak sit out for 30 minutes before cooking. Cold meat on a hot grill leads to uneven cooking.
- Pat it dry. Moisture on the surface prevents browning. Use paper towels to absorb excess water.
- Season generously. Sprinkle salt and pepper on both sides. Don’t be shy — salt enhances the flavor and helps build a crust.
Want extra flavor? Rub a bit of olive oil and garlic powder or add a touch of smoked paprika for that barbecue aroma.
Step 2: Fire Up the Grill
Heat is everything. To get that signature char, you need a hot grill.
- Preheat your grill to 450–500°F (230–260°C).
- If using charcoal, wait until the coals are glowing red with a thin layer of ash.
- Brush your grates clean and lightly oil them to prevent sticking.
Two-zone cooking:
Set up one side of your grill for high heat (for searing) and the other for lower, indirect heat (for finishing). This gives you control and avoids burning the outside while the inside cooks perfectly.

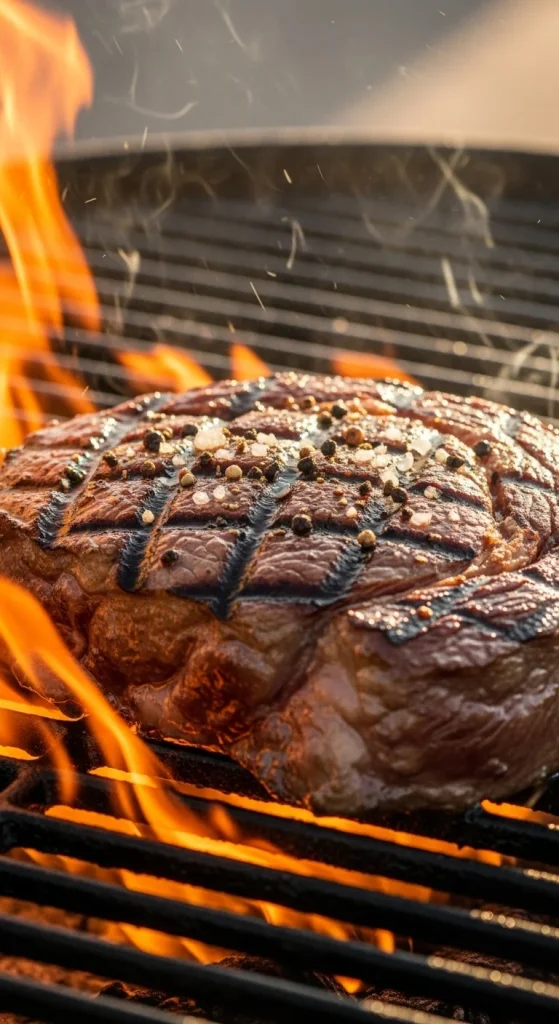
Step 3: Sear, Flip, and Finish
Here’s where the magic happens — the sizzle and that caramelized crust.
- Sear each side for 2–3 minutes over high heat. Don’t move the steak too soon — let it form those beautiful grill marks.
- Flip once. Over-flipping prevents proper crust development.
- Move to indirect heat if the steak needs more time to cook inside.
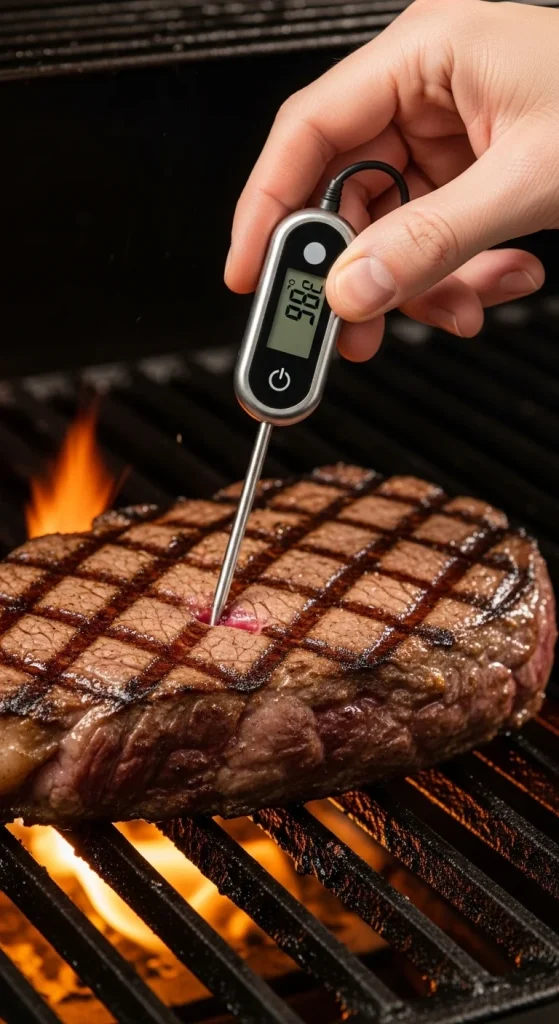
Use these temperature guides for your preferred doneness:
| Doneness | Internal Temp | Texture |
| Rare | 120–125°F (49–52°C) | Cool red center |
| Medium-Rare | 130–135°F (54–57°C) | Warm red center |
| Medium | 140–145°F (60–63°C) | Pink center |
| Medium-Well | 150–155°F (65–68°C) | Slightly pink center |
| Well-Done | 160°F+ (71°C+) | Fully cooked |
Tip: Always use a meat thermometer for accuracy — guessing often leads to overcooking.
Step 4: Let It Rest
After grilling, resist the urge to cut into that steak right away!
- Transfer it to a plate and let it rest for 5–10 minutes.
- Cover loosely with foil.
This step lets the juices redistribute throughout the meat instead of spilling out on your cutting board. The result? A steak that’s juicy from edge to edge.
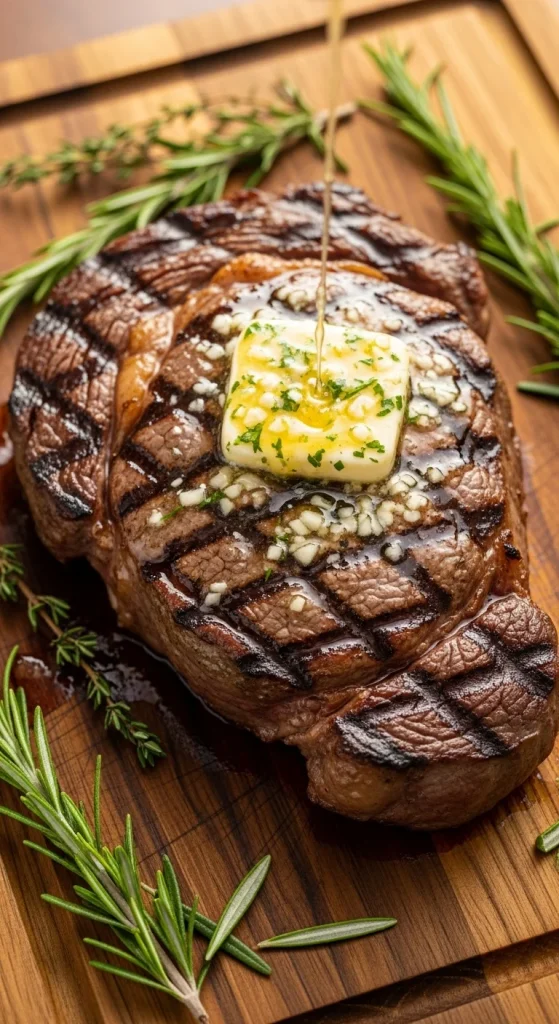
If you want to elevate it further, add a pat of garlic butter or herb butter on top as it rests. It melts into the meat and creates a restaurant-quality finish.
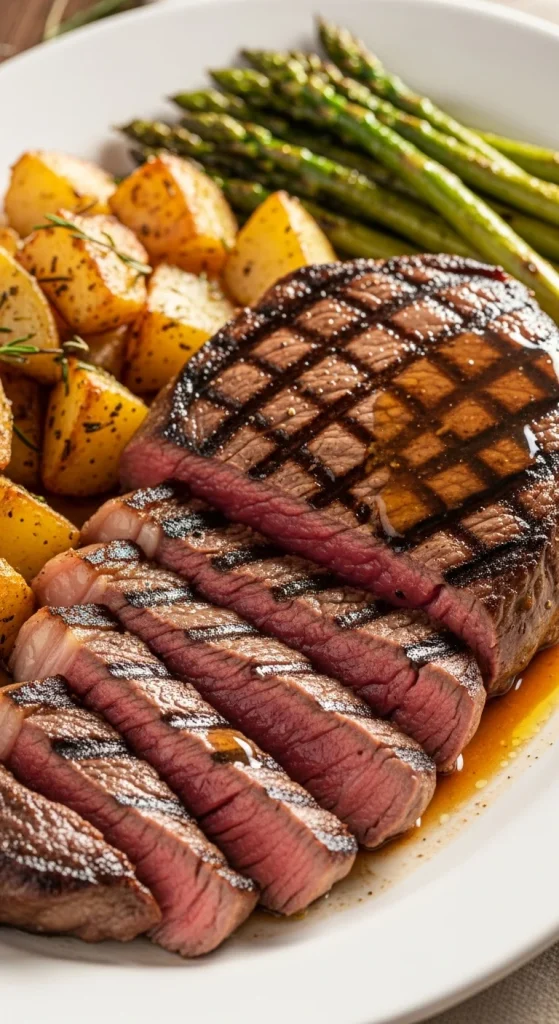
Step 5: Slice & Serve
When it’s time to serve, slice your steak against the grain — meaning across the muscle lines, not along them. This makes each bite more tender and easier to chew.
Serve with classic sides like:
- Roasted potatoes or grilled vegetables
- Fresh salad with lemon vinaigrette
- Corn on the cob or garlic bread
And don’t forget a drizzle of any leftover juices from the resting plate — pure liquid gold.
Bonus Tips for Perfect Steaks Every Time
- Marinate for flavor: Even 30 minutes makes a difference. Use olive oil, soy sauce, herbs, and a bit of acid (like vinegar or lemon juice).
- Avoid pressing the steak: Don’t flatten it with your spatula — it just squeezes out the juices.
- Use the “touch test”: Gently press the steak — it should feel soft for rare, springy for medium, and firm for well-done.
- Clean your grill after each use: A clean grate means better sear marks and fewer flare-ups.
The Takeaway
Grilling the perfect steak isn’t complicated — it’s about patience, precision, and respecting the process. With the right cut, high heat, and a little rest time, you’ll serve a steak that’s tender, juicy, and bursting with flavor every single time.
So next time you fire up the grill, trust your timing, enjoy the sizzle, and take pride in your masterpiece.
Save this guide for your next cookout — your guests will be asking for your secret!

Hannah Collins is a passionate home cook and food storyteller who believes every recipe tells a little love story. At TastyWriter, she shares simple, delicious recipes made for real kitchens and busy days — from cozy comfort dishes to creative new favorites. When she’s not cooking, you’ll find her photographing food, testing family recipes, or sipping tea while dreaming up her next tasty idea.
Leave a Reply