
Store-bought granola might be convenient, but nothing beats the taste — or aroma — of a batch baked fresh in your own kitchen. Homemade granola is perfectly crunchy, endlessly customizable, and packed with real ingredients you can actually pronounce. Whether you sprinkle it over yogurt, enjoy it with milk, or snack on it by the handful, once you make it yourself, you’ll never go back to the packaged kind.

Step 1: Gather Your Base Ingredients
The secret to great granola starts with balance — oats for body, nuts for crunch, and a hint of sweetness to bind everything together.
Here’s what you’ll need for a classic, no-fail batch:
- 3 cups old-fashioned rolled oats (not quick oats — they get too soft)
- 1 cup nuts (almonds, walnuts, pecans, or a mix)
- ½ cup seeds (pumpkin, sunflower, or chia for extra texture)
- ½ cup shredded coconut (optional but adds great flavor)
- ⅓ cup honey or maple syrup (for sweetness and stickiness)
- ¼ cup coconut oil or olive oil
- 1 teaspoon vanilla extract
- ½ teaspoon cinnamon
- Pinch of salt
Pro tip: Keep your mix-ins (like dried fruit or chocolate) for later — they go in after baking to avoid burning.

Step 2: Mix the Wet and Dry Ingredients Separately
Start by preheating your oven to 325°F (165°C) and lining a large baking sheet with parchment paper.
In one bowl, combine all your dry ingredients — oats, nuts, seeds, coconut, cinnamon, and salt.
In another smaller bowl, whisk together the wet ingredients — honey (or maple syrup), melted coconut oil, and vanilla extract. This sweet, fragrant mixture helps everything stick together while baking.
Tip: If your honey or oil seems too thick, warm it slightly in the microwave for 10–15 seconds to make it easier to mix.
Now, pour the wet mixture over the dry ingredients and stir until everything is evenly coated.
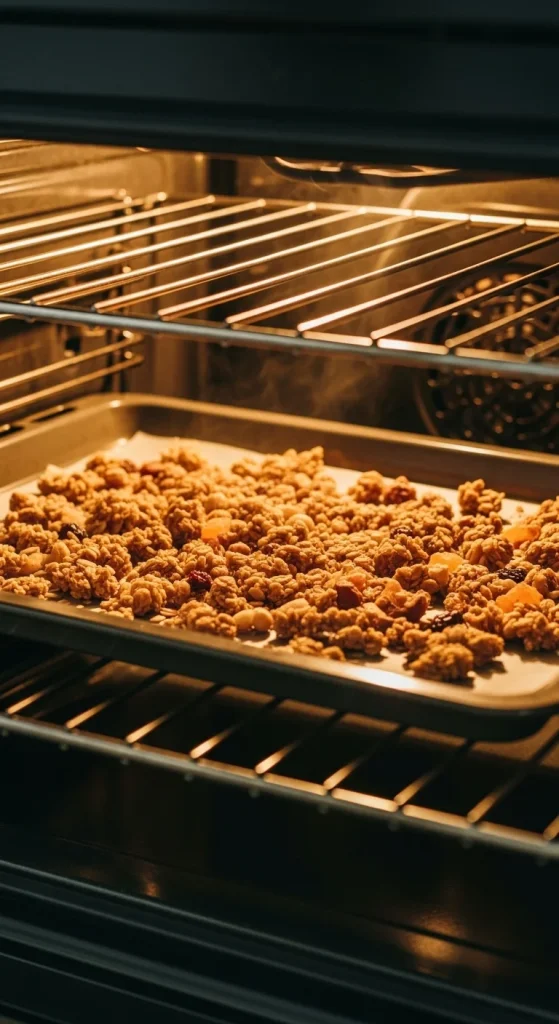
Step 3: Spread and Bake
Spread your granola mixture evenly on the prepared baking sheet. Don’t pile it too high — you want a thin, even layer so it bakes evenly and crisps up perfectly.
Bake for 20–25 minutes, stirring halfway through. If you prefer chunky clusters, resist stirring too much! Just gently press the granola down with a spatula halfway through baking to help it clump together.
Pro tip: Every oven is different. Keep an eye on it in the final minutes — golden brown is perfect, but it can go from crisp to burnt quickly.
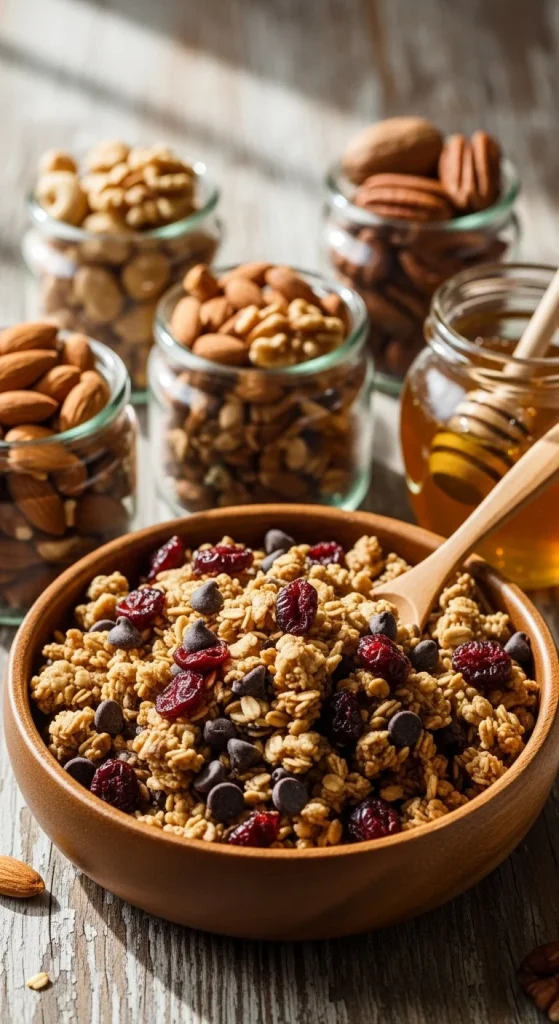
Step 4: Add the Finishing Touches
Once your granola is beautifully golden, remove it from the oven and let it cool completely on the baking sheet — this is when it turns extra crunchy.
After cooling, you can mix in your favorite add-ins:
- Dried fruits: cranberries, raisins, apricots, or cherries
- Chocolate chips: add once the granola is fully cool so they don’t melt
- Extra nuts or seeds: for more crunch
- Spices: a dash of nutmeg or cardamom for a twist
Flavor ideas:
- Tropical: add dried pineapple, mango, and macadamia nuts
- Chocolate almond: toss in cacao nibs and sliced almonds
- Fall spice: mix in dried apples and pumpkin spice
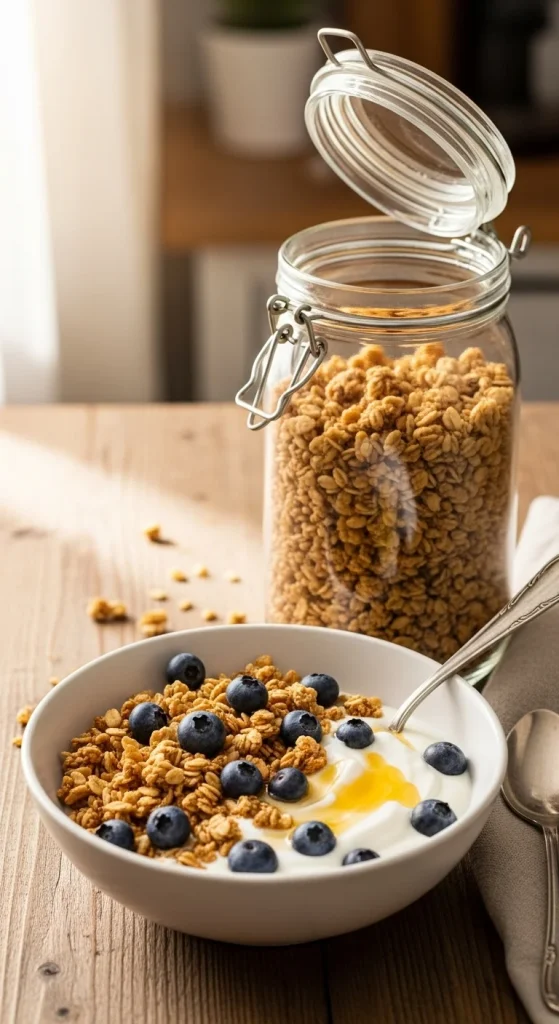
Step 5: Store and Enjoy
Transfer your cooled granola into airtight jars or containers. It’ll stay fresh for up to 2 weeks at room temperature or even longer in the fridge.
To keep it crispy, store it in a cool, dry place — not near the stove or dishwasher where it gets humid.
Ways to enjoy your homemade granola:
- Sprinkle over Greek yogurt with fresh berries
- Pour over milk or almond milk for a crunchy breakfast
- Use as a topping for smoothie bowls or ice cream
- Or simply snack on it straight from the jar — no judgment here!
Step 6: Customize It Every Time
That’s the fun part about homemade granola — it’s endlessly adaptable! Once you’ve nailed the base recipe, experiment with new combinations.
Try these creative swaps:
- Replace oats with quinoa flakes for a protein boost.
- Use agave syrup or molasses instead of honey.
- Add peanut butter or almond butter to the wet mixture for extra richness.
- Stir in matcha powder or cocoa powder for a unique flavor twist.
Every batch can taste completely different, and you get to decide exactly how sweet, crunchy, or nutty you want it.
Bonus Tip: Make It Clustery
Love those big granola clusters? Here’s the secret:
- Add an extra tablespoon of honey or syrup for more stickiness.
- Press the granola firmly into the pan before baking.
- Don’t stir during baking — just let it cool completely before breaking it apart.
You’ll end up with those satisfying, snackable chunks that are perfect for on-the-go munching.
The Final Crunch
Homemade granola is one of those simple kitchen wins that makes you wonder why you ever bought it from a store. It’s healthy, customizable, and makes your kitchen smell amazing while baking. Plus, it’s budget-friendly and easy to whip up on a Sunday afternoon to last the whole week.
So grab your oats, turn on your oven, and start mixing — your perfect, crunchy, nutty granola awaits.
Save this recipe for later — your mornings just got a whole lot crunchier!

Hannah Collins is a passionate home cook and food storyteller who believes every recipe tells a little love story. At TastyWriter, she shares simple, delicious recipes made for real kitchens and busy days — from cozy comfort dishes to creative new favorites. When she’s not cooking, you’ll find her photographing food, testing family recipes, or sipping tea while dreaming up her next tasty idea.
Leave a Reply