
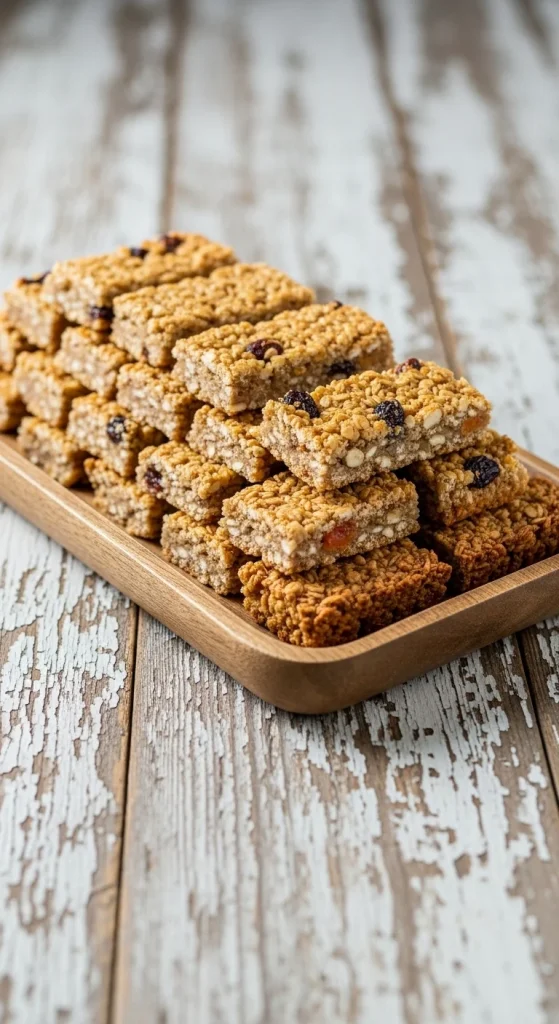
If you’ve ever packed a store-bought granola bar only to find it crushed, melted, or disappointingly bland halfway through your trip — it’s time to go homemade. The truth is, making your own granola bars is easier than you think, and the results are infinitely better: chewy, flavorful, and sturdy enough to survive a road trip, hike, or long workday.
Why Make Your Own Granola Bars?
Homemade granola bars aren’t just healthier — they’re customizable, fresher, and free of the fillers you’ll find in most packaged snacks. You get to control the sweetness, texture, and mix-ins, so your bars can be:
- Chewy or crunchy — depending on your preference.
- Packed with protein from nuts, seeds, or nut butter.
- Naturally sweetened with honey, maple syrup, or dates.
- Perfectly portable — no crumbling mess in your bag.
They’re also budget-friendly and make great gifts or meal-prep snacks!
Step 1: Gather Your Core Ingredients
The beauty of granola bars is that the base stays simple — the magic happens in the mix-ins.
Here’s the foolproof foundation:
- 2 cups rolled oats (toasted for extra flavor)
- 1 cup nuts or seeds (almonds, walnuts, sunflower seeds, or pumpkin seeds)
- ½ cup sticky binder – honey, maple syrup, or brown rice syrup
- ½ cup nut butter – peanut, almond, or cashew
- ½ tsp salt for balance
- 1 tsp vanilla extract (optional but adds warmth)

Optional Mix-Ins
- Dried fruit (cranberries, raisins, apricots)
- Chocolate chips or cocoa nibs
- Coconut flakes
- Chia or flax seeds
- Protein powder or puffed rice for crunch
Pro Tip: Avoid using too many wet ingredients — it’ll make your bars soft and sticky instead of firm and chewy.
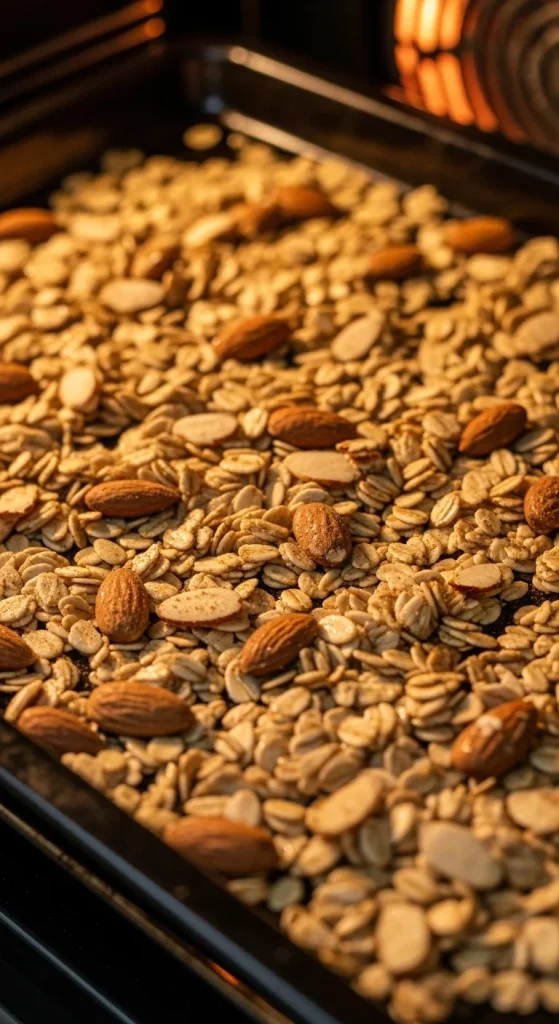
Step 2: Toast for Better Flavor
This step might seem optional, but it makes a huge difference. Toasting your oats and nuts deepens the flavor and gives your granola bars that irresistible, nutty aroma.
- Spread oats and nuts on a baking sheet.
- Bake at 350°F (175°C) for about 8–10 minutes, stirring once halfway through.
- Let them cool slightly before mixing.
Pro Tip: Don’t skip cooling! Adding hot oats to your nut butter mixture can melt it too early and ruin the texture.
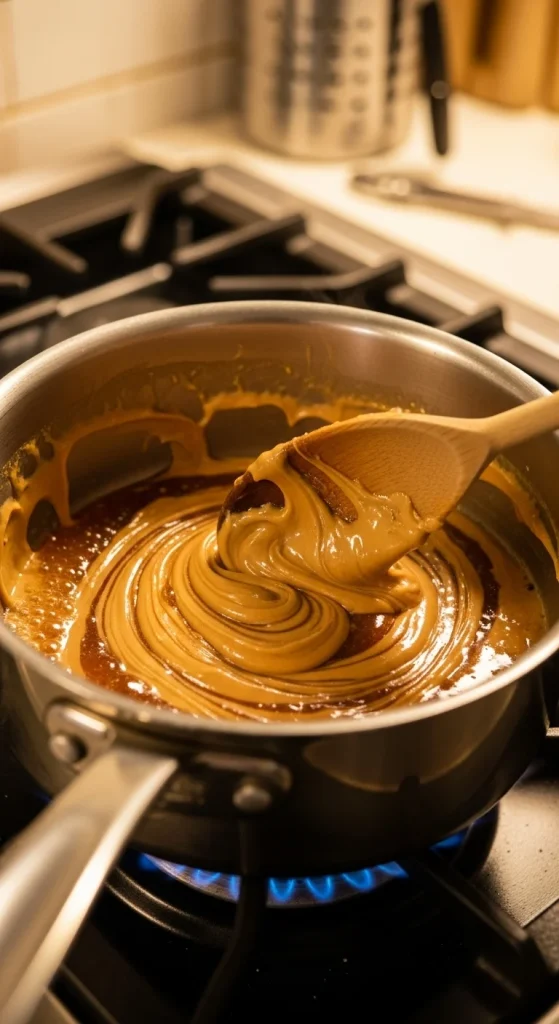
Step 3: Mix the Wet Ingredients
In a small saucepan, gently heat your honey (or syrup) and nut butter over low heat until smooth and pourable. Stir in vanilla and salt.
You want a warm, thick mixture that coats everything evenly — this is your glue!
Step 4: Combine and Press
In a large bowl, mix the oats, nuts, and any extras you’re adding (like seeds or chocolate chips). Pour the warm syrup mixture over the dry ingredients and stir well to coat everything.
Once fully mixed:
- Line an 8×8-inch pan with parchment paper.
- Transfer the mixture and press it firmly using the back of a spoon or your hands.
- For extra firmness, cover it with another sheet of parchment and press again.
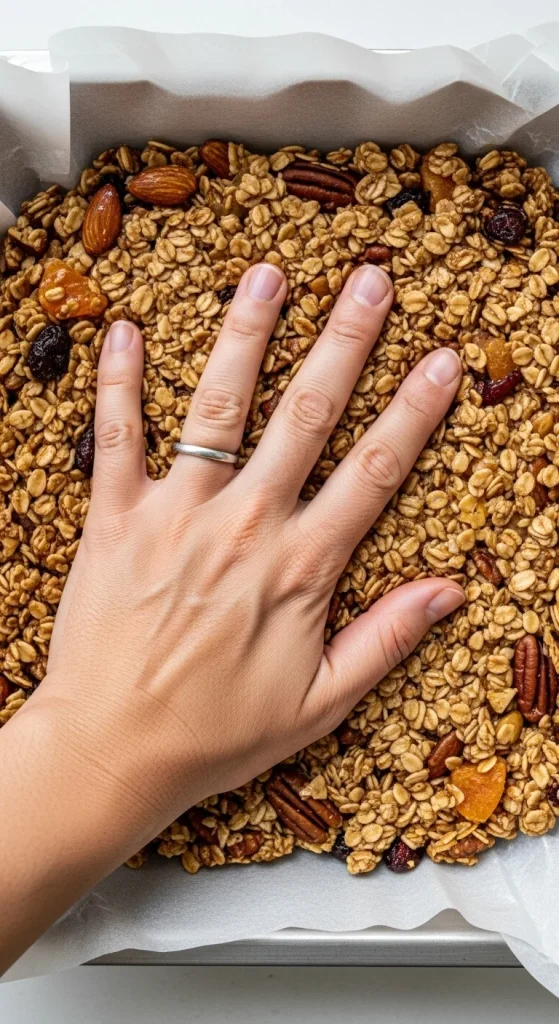
Pro Tip: The tighter you press, the better your bars will hold their shape when cut.
Step 5: Chill and Slice
Refrigerate the mixture for at least 1 hour (or freeze for 20 minutes if you’re impatient). Once set, lift the parchment paper out of the pan and slice into even bars.
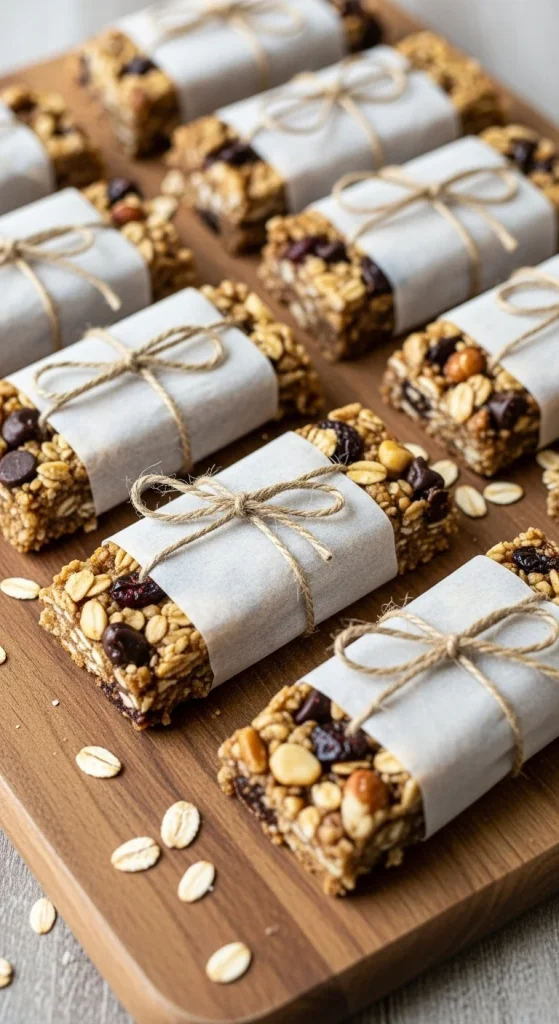
For travel-friendly storage:
- Wrap each bar in parchment or wax paper.
- Store in an airtight container or zip bag.
- Keep refrigerated for up to 2 weeks, or freeze for longer trips.
Pro Tip: If your bars crumble slightly when cutting, they may need more binder or pressing next time — or simply chill them a bit longer.
Step 6: Flavor Variations That Travel Well
Once you’ve nailed the base recipe, switch it up with these delicious combos:
- Trail Mix Bars: Oats + almonds + cranberries + dark chocolate chunks.
- Tropical Escape: Coconut flakes + macadamia nuts + dried pineapple.
- Morning Boost: Espresso powder + walnuts + cocoa nibs.
- PB & J Bars: Peanut butter + dried strawberries + a drizzle of honey.
- Cinnamon Raisin Crunch: Raisins + pecans + a dash of cinnamon.
These bars are sturdy enough to handle travel but still soft enough to feel homemade — no chalky texture or crumbly mess.

Final Thoughts
Homemade granola bars are one of those simple wins that make your week better — affordable, portable, and way more delicious than anything store-bought. With a little prep, you can have healthy snacks that fuel your adventures (or just your 3 p.m. slump).
So grab those oats and start mixing — your next road trip, workout, or busy morning is about to get a whole lot tastier.
Save this recipe for later — because once you make these, you’ll never buy granola bars again!

Hannah Collins is a passionate home cook and food storyteller who believes every recipe tells a little love story. At TastyWriter, she shares simple, delicious recipes made for real kitchens and busy days — from cozy comfort dishes to creative new favorites. When she’s not cooking, you’ll find her photographing food, testing family recipes, or sipping tea while dreaming up her next tasty idea.
Leave a Reply