
If you’ve ever wanted to make your own jam but felt intimidated by the mention of pectin or canning equipment, here’s the good news — you don’t need any of that. With a handful of fruit, sugar, and a touch of lemon, you can create a thick, luscious jam that tastes like pure summer sunshine.
Homemade jam without pectin is simpler than you think. It’s fresh, flavorful, and naturally thickened by the fruit itself. Whether you’re making a small batch for weekend toast or a few jars to gift, this guide walks you through every step — no stress, no fancy tools.
Step 1: Choose the Right Fruit
The magic of pectin-free jam starts with the fruit. Some fruits naturally have more pectin — the natural fiber that helps jam set — than others.
Here’s a quick cheat sheet:
High-pectin fruits (no thickener needed):
- Apples
- Blackberries
- Blueberries
- Cranberries
- Grapes
Low-pectin fruits (add lemon juice for help):
- Strawberries
- Peaches
- Apricots
- Cherries
- Raspberries
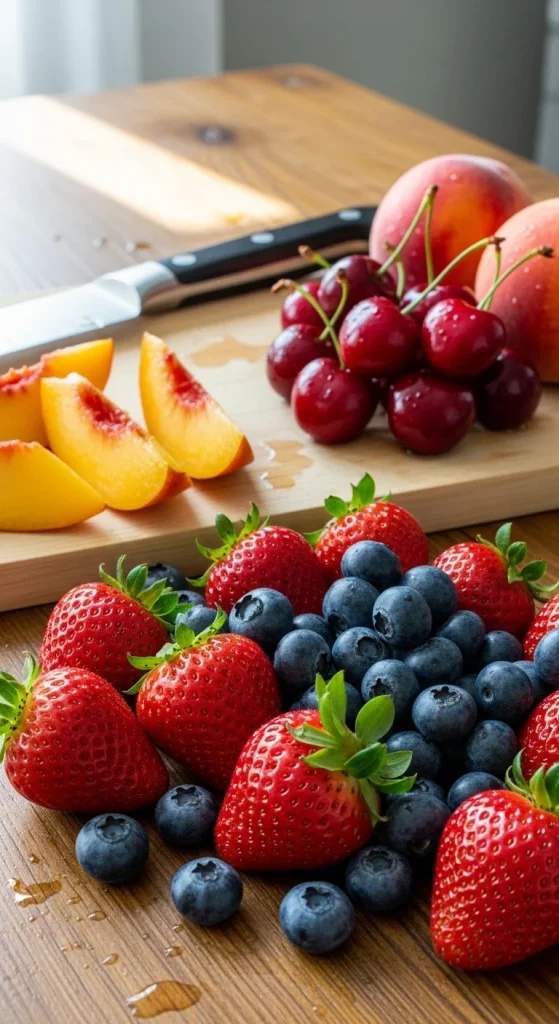
For best flavor, use ripe (but not overripe) fruit. Too ripe and the natural pectin drops, making it harder to thicken.
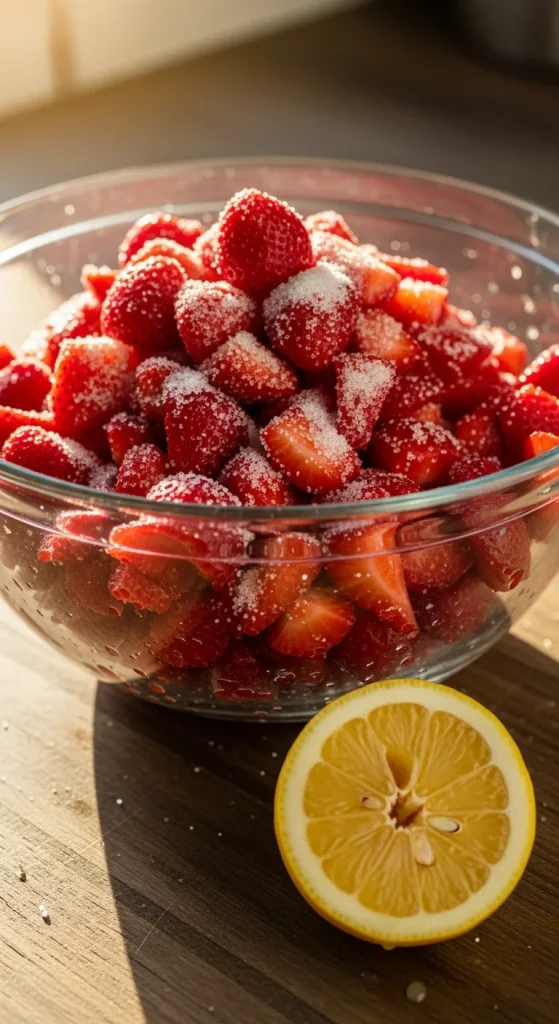
Step 2: Prep & Measure Like a Pro
Once you’ve picked your fruit, give it a quick rinse and chop it into small pieces. If you’re using berries, just remove the stems.
The basic ratio for small-batch jam is:
- 4 cups of fruit
- 2 cups of sugar
- 2 tablespoons of lemon juice
This ratio keeps your jam sweet but not cloying. You can adjust it to taste — less sugar for tartness or a bit more if your fruit is sour.
Pro Tip: Want deeper flavor? Add a pinch of salt or a splash of vanilla extract right before finishing.
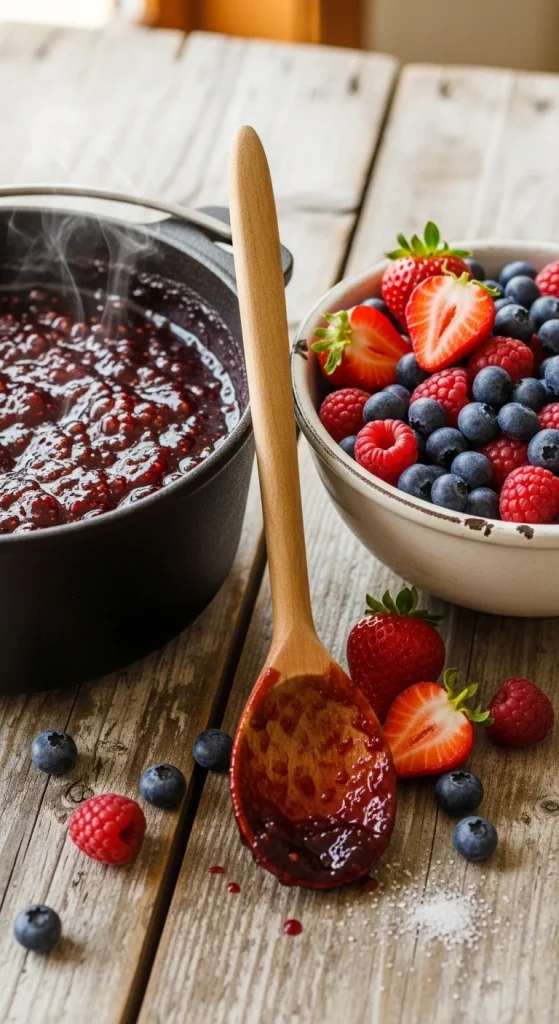
Step 3: Cook Slowly, Stir Often
Pour your fruit, sugar, and lemon juice into a wide, heavy-bottomed pot. Wide pans help the jam cook faster and evaporate evenly.
Here’s how to do it:
- Turn the heat to medium and stir until the sugar dissolves.
- Once it starts to bubble, lower the heat slightly.
- Keep it at a steady simmer — you want slow bubbles, not splashes.
As the jam cooks, the fruit breaks down and the mixture thickens. Stir frequently to prevent sticking, especially toward the end.
Cook Time: Around 20–30 minutes, depending on the fruit and how thick you like your jam.
You’ll notice the color deepening and the texture turning glossy — that’s when you’re close.
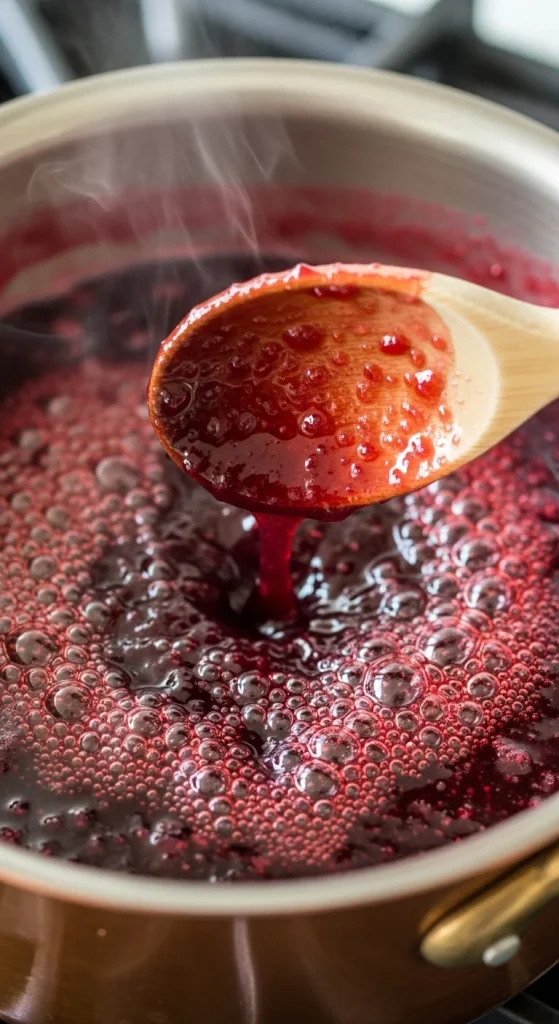
Step 4: Test for Doneness
Wondering when your jam is ready? There’s a simple test — no thermometer needed.
The Spoon Test:
Dip a spoon into the jam and let it cool for a few seconds. Then run your finger through the middle of the jam on the spoon.
- If the line stays clean and the jam doesn’t run back together, it’s done.
- If it’s still runny, keep cooking for a few more minutes.
The Cold Plate Trick:
Keep a small plate in the freezer while you cook. Drop a little jam on the cold plate and tilt it. If it slowly slides instead of running like syrup, your jam has set perfectly.
Note: The jam will thicken more as it cools, so don’t overcook it.
Step 5: Jar It Up & Store
Once your jam is ready, turn off the heat and let it rest for 5 minutes. This helps distribute the fruit evenly.
Carefully ladle the warm jam into clean glass jars. Leave a little space at the top (about ¼ inch) so it doesn’t overflow.
- For short-term storage, let the jars cool completely and store them in the fridge for up to 3 weeks.
- For longer storage, you can freeze the jam — just make sure to use freezer-safe containers and leave room for expansion.
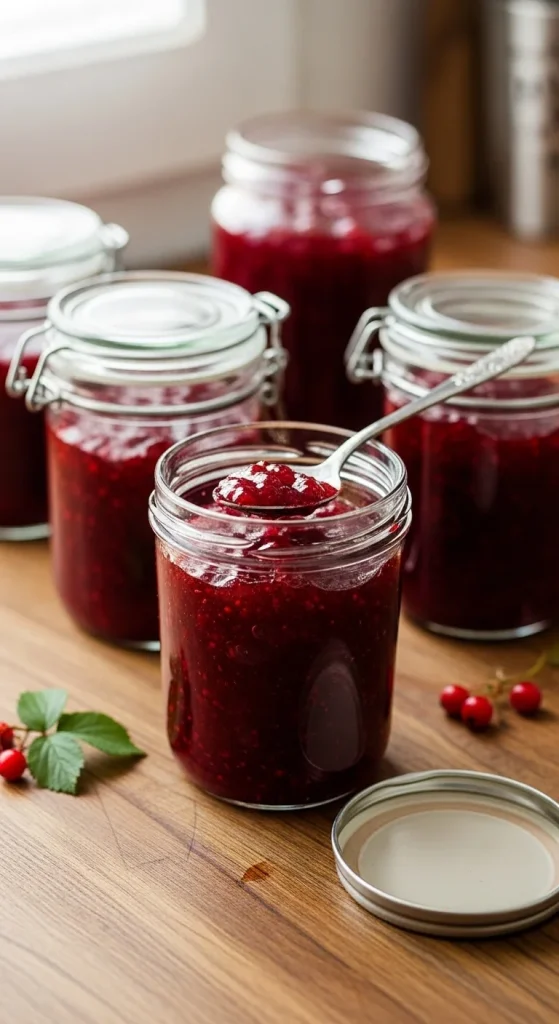
Optional: Add handwritten labels or fabric lids if you’re gifting them — they make charming homemade presents.
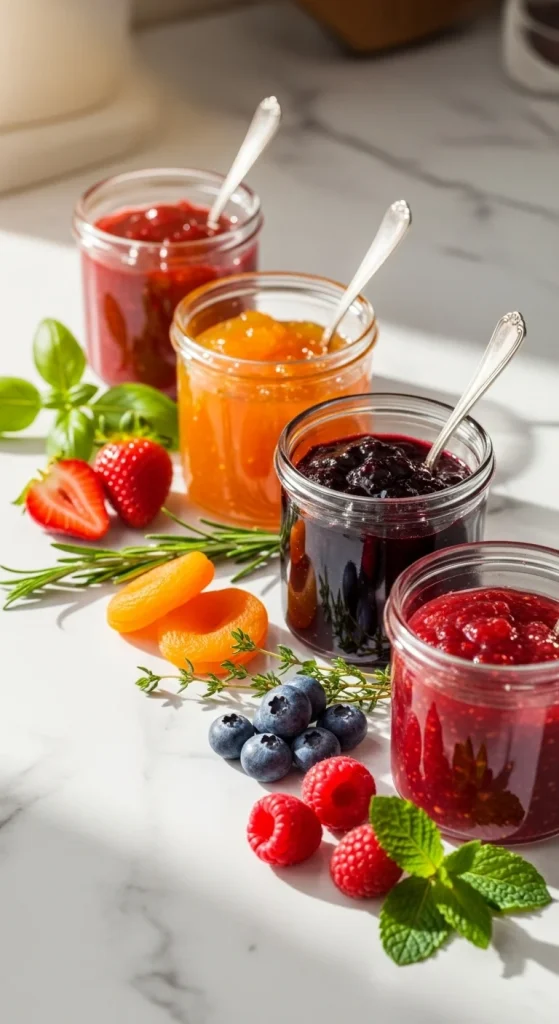
Step 6: Flavor Add-Ins & Fun Twists
Once you master the base recipe, you can get creative! Try these flavor combos:
- Strawberry Basil Jam – Sweet with a hint of freshness.
- Peach Ginger Jam – Warm and slightly spicy.
- Blueberry Lemon Jam – Tart and bright.
- Raspberry Vanilla Jam – Comforting and fragrant.
A sprinkle of spices like cinnamon or cardamom also transforms your jam into something truly special.
Step 7: Ways to Use Your Homemade Jam
Homemade jam isn’t just for toast! Try these fun ideas:
- Swirl into yogurt or oatmeal.
- Spread on pancakes, waffles, or scones.
- Spoon over ice cream or cheesecake.
- Mix into salad dressings or marinades for sweetness.
Once you start, you’ll find yourself reaching for it constantly — it’s that versatile.
The Takeaway
Making jam without pectin is simple, fast, and incredibly rewarding. You get to control the sweetness, the texture, and every bit of flavor that goes into your jar. No preservatives, no additives — just pure, fruit-loaded goodness.
So grab your favorite fruit and a pot, and let your kitchen smell like summer.

Hannah Collins is a passionate home cook and food storyteller who believes every recipe tells a little love story. At TastyWriter, she shares simple, delicious recipes made for real kitchens and busy days — from cozy comfort dishes to creative new favorites. When she’s not cooking, you’ll find her photographing food, testing family recipes, or sipping tea while dreaming up her next tasty idea.
Leave a Reply