
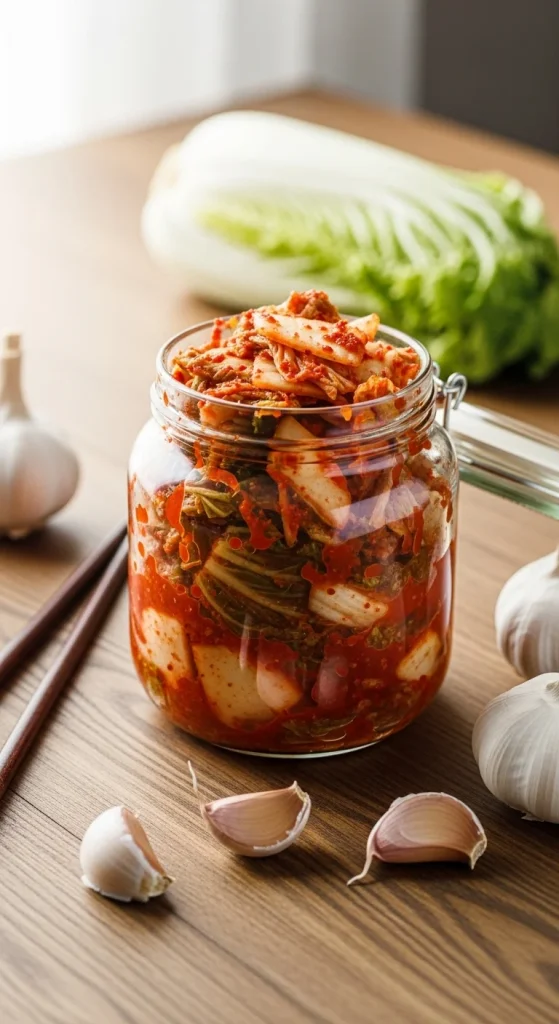
Kimchi isn’t just a side dish — it’s a way of life. This Korean staple is spicy, tangy, crunchy, and absolutely bursting with flavor. Made from fermented vegetables (usually napa cabbage and radish) mixed with chili, garlic, and ginger, kimchi adds a punch to any meal — from rice bowls to grilled meats or even tacos. And here’s the best part: making it at home is easier than you might think.
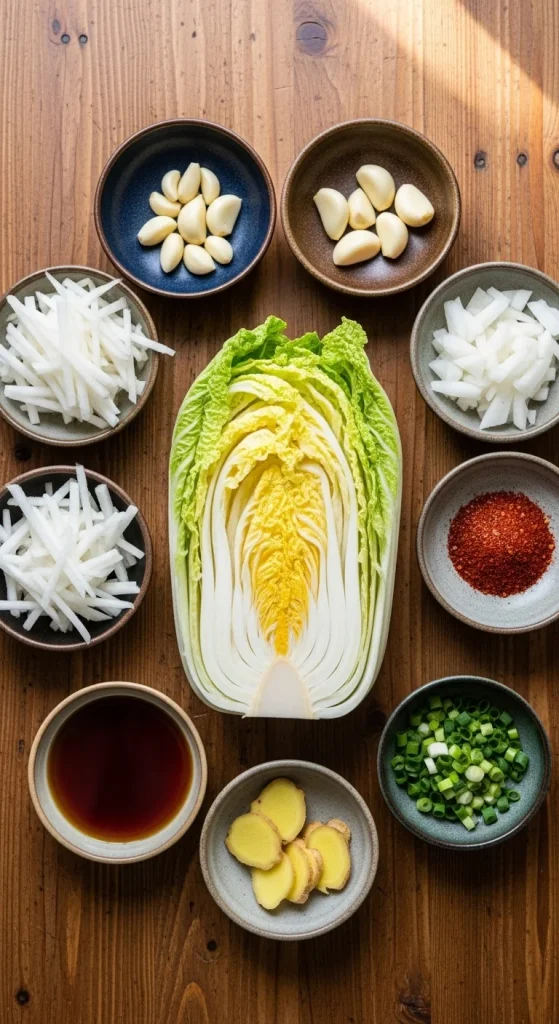
Step 1: Gather Your Ingredients
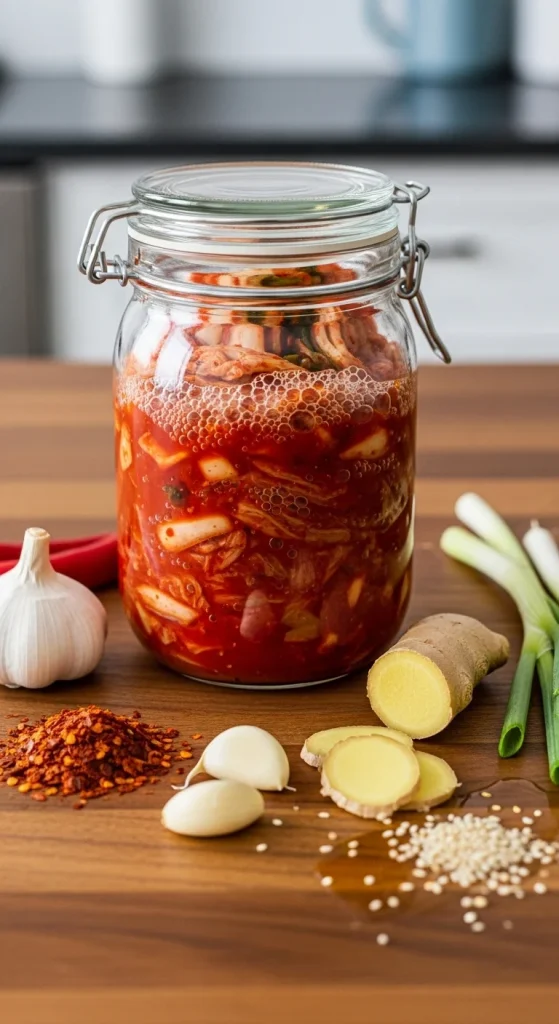
Kimchi starts with simple, humble ingredients that come alive through fermentation.
You’ll need:
- 1 large napa cabbage (about 2–3 lbs)
- ¼ cup sea salt (non-iodized)
- 4 cups water
- 1 small Korean radish or daikon, julienned
- 4 green onions, chopped
- 1 tablespoon grated ginger
- 5–6 cloves garlic, minced
- 2 tablespoons Korean chili flakes (gochugaru) — adjust to taste
- 1 tablespoon sugar (optional, helps fermentation)
- 3 tablespoons fish sauce (or soy sauce for a vegetarian version)
If you can’t find gochugaru, use mild chili powder — but the authentic Korean version gives the best flavor and color.
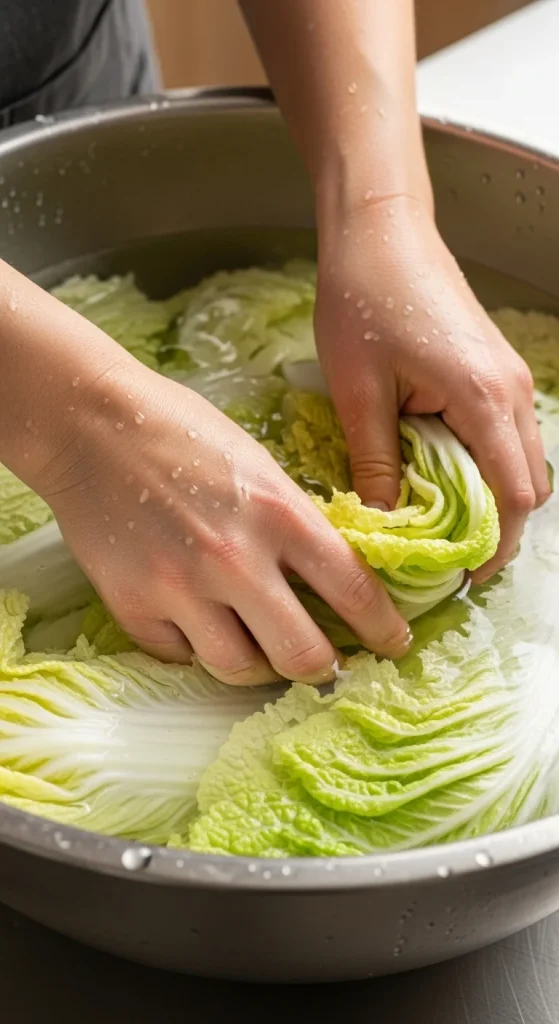
Step 2: Salt the Cabbage
Salting is the most important step — it softens the cabbage and draws out water so it can soak up all that spicy goodness later.
- Cut the napa cabbage lengthwise into quarters, then chop into bite-sized pieces.
- Dissolve the salt in water and pour over the cabbage in a large bowl.
- Massage gently and let it sit for 2–3 hours, turning occasionally.
When done, the leaves should be limp but still slightly crisp. Rinse the cabbage thoroughly under cold water to remove excess salt, then drain well.
Pro tip: Don’t rush this step! Proper salting helps your kimchi stay crunchy even after fermentation.
Step 3: Make the Kimchi Paste
Now for the flavor bomb — the spicy, garlicky paste that gives kimchi its signature kick.
- In a small bowl, combine garlic, ginger, chili flakes, fish sauce, and sugar.
- Add a few tablespoons of water (or rice flour porridge if you want a thicker consistency).
- Mix until it becomes a smooth, fiery paste.
Pro tip: Adjust the spice level! Use less gochugaru for mild kimchi, or more for an extra bold flavor.
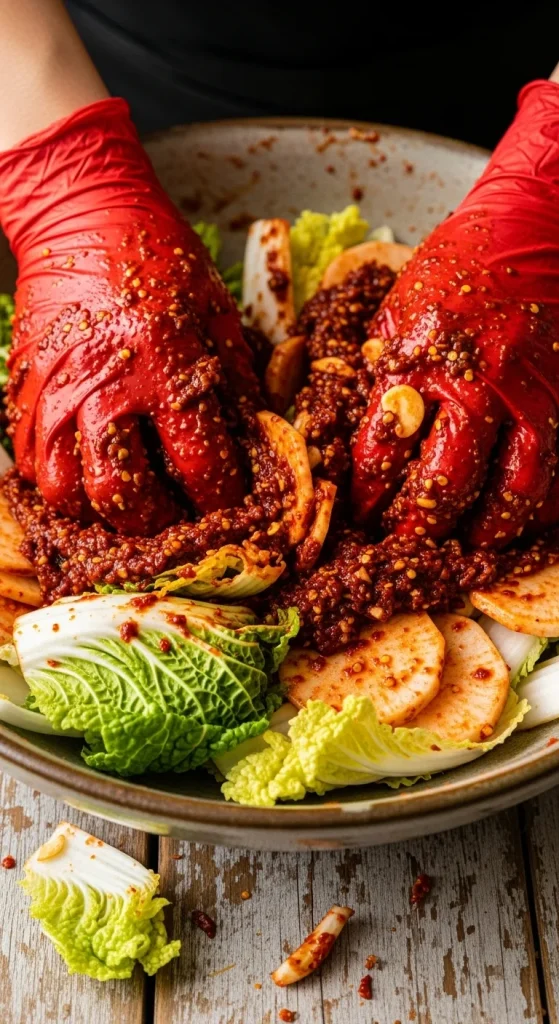
Step 4: Combine the Vegetables & Paste
Now comes the fun part — mixing everything together.
- In a large bowl, toss your drained cabbage, radish, and green onions.
- Put on food-safe gloves (trust us, you’ll thank yourself later).
- Massage the chili paste into the vegetables, making sure every piece is evenly coated.
The mixture should look bright red, glossy, and slightly juicy — that’s when you know it’s ready to ferment.
Step 5: Pack & Ferment
Once everything’s coated, it’s time to let nature do the work.
- Pack the kimchi tightly into a clean glass jar, pressing down to remove air pockets.
- Leave about 1 inch of space at the top to allow for expansion during fermentation.
- Seal loosely with a lid or cover with a clean cloth and rubber band.
Let it sit at room temperature for 1–2 days to kickstart fermentation. You’ll start to see bubbles and smell that iconic tangy aroma — that’s when it’s working its magic.
After that, transfer it to the fridge to slow down the process. It’ll keep developing flavor over time and can last for several weeks.
Pro tip: Taste it daily during the first few days to find your perfect level of sourness.
Step 6: Enjoy It Every Way Possible
Your kimchi is now alive — literally! Packed with probiotics, vitamins, and flavor, it can elevate almost any meal.
Delicious ways to enjoy your homemade kimchi:
- As a side dish with rice or noodles.
- In kimchi fried rice with eggs and green onions.
- In grilled cheese for a spicy twist.
- In kimchi pancakes (kimchijeon) for a crispy, savory snack.
- Or straight from the jar (we won’t judge).
Pro tip: Older kimchi is perfect for cooking — its deep, sour flavor adds depth to stews and stir-fries.

Step 7: Storing & Caring for Your Kimchi
- Store in the fridge: It will keep fermenting slowly, becoming tangier over time.
- Use clean utensils: Never double-dip — it can introduce unwanted bacteria.
- Too sour? Use it in soups, stews, or fried rice for a flavor-packed boost.
Over time, your kimchi will develop richer, deeper flavors — that’s part of its charm!
The Final Scoop
Making kimchi at home isn’t just about food — it’s about tradition, patience, and the joy of creating something alive. With just a few ingredients and a bit of time, you can craft a jar of bold, fermented flavor that keeps giving long after you’ve made it.
So roll up your sleeves, grab that cabbage, and start fermenting your way to deliciousness.
Save this recipe for later — your fridge deserves a jar of homemade kimchi magic!

Hannah Collins is a passionate home cook and food storyteller who believes every recipe tells a little love story. At TastyWriter, she shares simple, delicious recipes made for real kitchens and busy days — from cozy comfort dishes to creative new favorites. When she’s not cooking, you’ll find her photographing food, testing family recipes, or sipping tea while dreaming up her next tasty idea.
Leave a Reply