
If you’ve ever craved a silky, homemade pudding but didn’t have eggs on hand — or wanted to make something allergy-friendly — you’re in luck. You don’t need eggs to make rich, creamy pudding. With the right ingredients and technique, you can create a dessert that’s smooth, indulgent, and every bit as satisfying as the classic version.

Egg-free pudding is perfect for anyone avoiding eggs due to allergies, dietary choices, or simply convenience. Whether it’s vanilla, chocolate, or butterscotch, the process is straightforward, quick, and endlessly customizable.
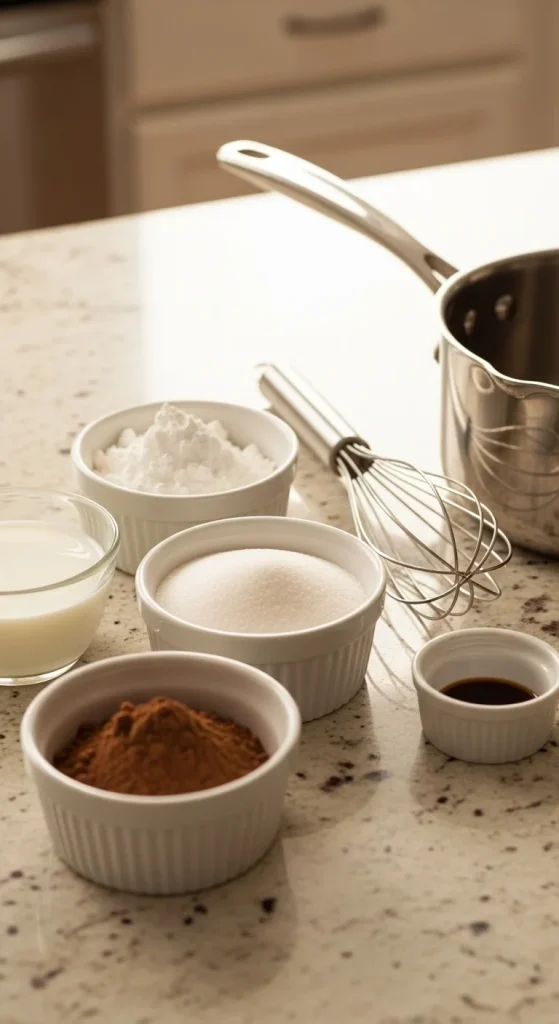
Step 1: Gather Your Ingredients
You only need a few simple pantry staples — no eggs, no fuss.
Base Ingredients (for any flavor):
- 2 ½ cups milk (dairy or plant-based like oat, almond, or coconut)
- ½ cup sugar (adjust based on sweetness preference)
- 3 tablespoons cornstarch (for thickening)
- 2 tablespoons butter or vegan butter (for creaminess)
- 1 teaspoon vanilla extract
- A pinch of salt
Flavor Options:
- Chocolate: Add ¼ cup cocoa powder or 3 ounces of chopped chocolate
- Vanilla: Keep it classic with extra vanilla extract or a vanilla bean
- Butterscotch: Add ¼ cup brown sugar instead of white and a splash of caramel sauce
Pro Tip: Cornstarch is your secret weapon here — it thickens the pudding beautifully without the need for eggs.
Step 2: Mix the Dry Ingredients
In a medium saucepan (off the heat), whisk together your sugar, cornstarch, salt, and any dry flavorings like cocoa powder. This ensures the cornstarch distributes evenly and prevents clumping later.
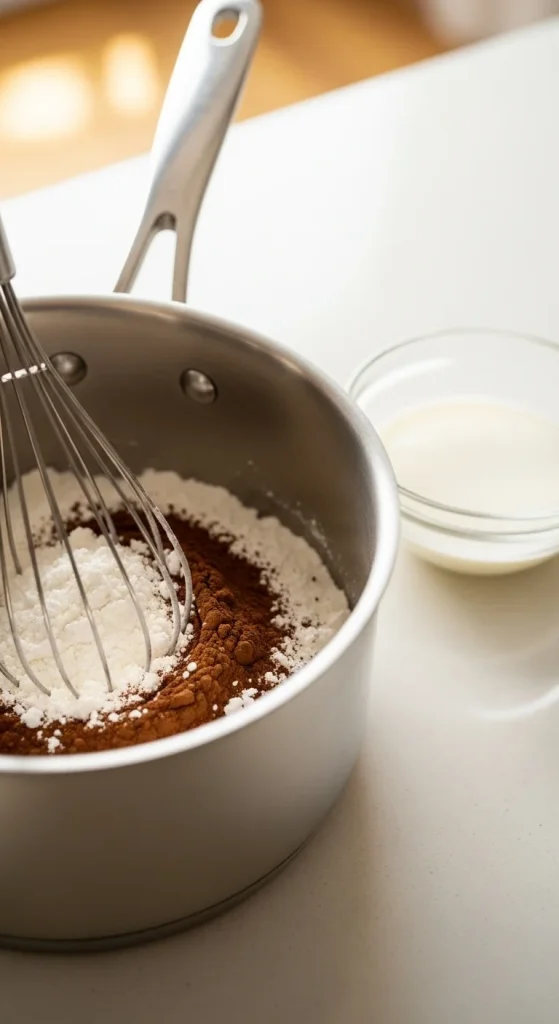
Pro Tip: Whisking the dry ingredients first is key — it’s the best way to avoid lumpy pudding.
Step 3: Add the Milk Gradually
Slowly pour in the milk while whisking constantly. Start with just a little to make a smooth paste, then add the rest gradually.
This technique helps dissolve the cornstarch completely and ensures your pudding will be perfectly smooth.
Pro Tip: Use room-temperature milk for even mixing — cold milk can sometimes cause clumps when it hits the cornstarch mixture.
Step 4: Cook Until Thick & Creamy
Now comes the magic part! Place the saucepan over medium heat and cook, whisking constantly. After about 6–8 minutes, you’ll feel the pudding start to thicken.
Keep whisking — it should coat the back of a spoon and feel silky, not grainy. Once thickened, remove from heat and stir in your butter and vanilla extract.
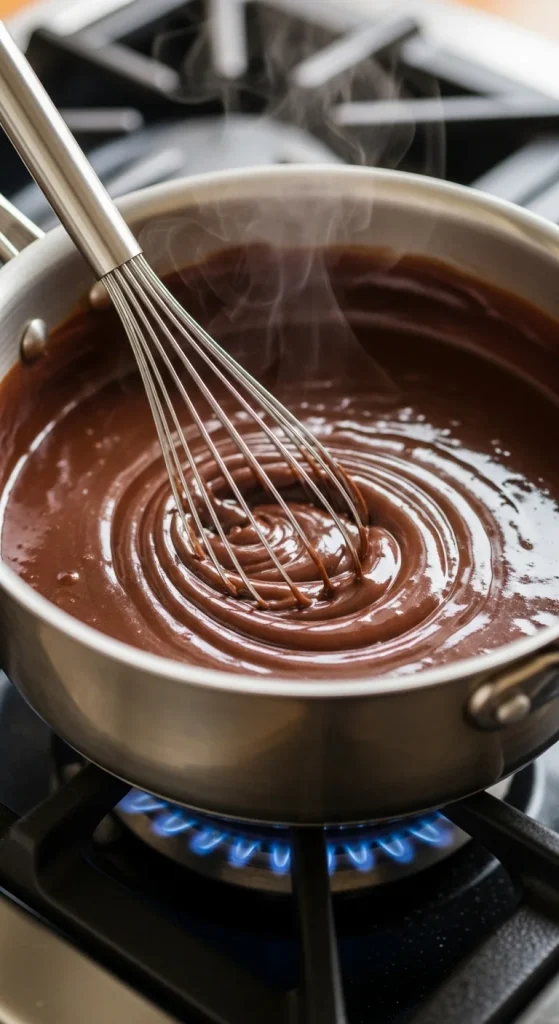
Pro Tip: Don’t rush this step or use high heat — slow and steady wins the texture game. High heat can make the pudding grainy or cause it to scorch.
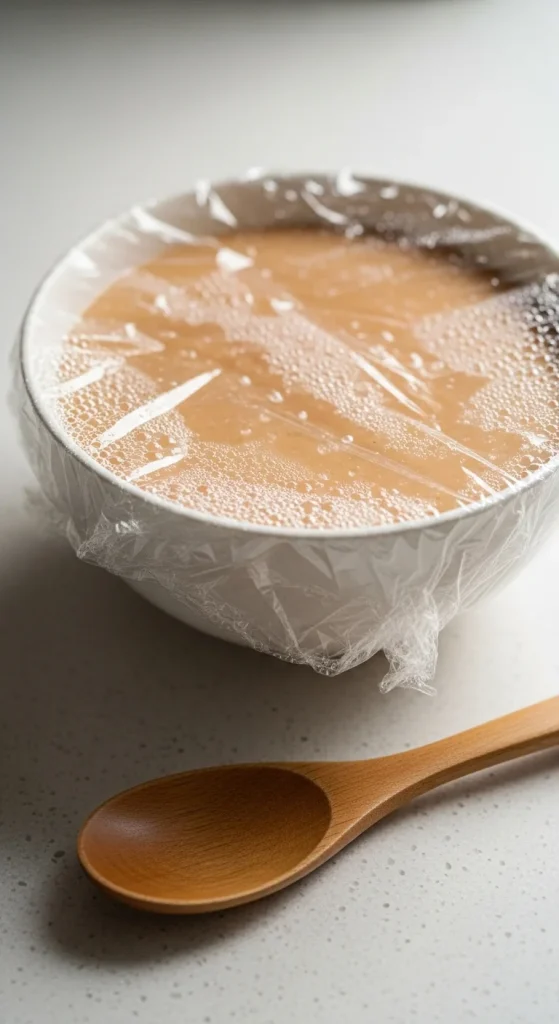
Step 5: Strain & Cool for Perfect Texture
For that flawless, custard-like finish, pour the hot pudding through a fine-mesh sieve into a clean bowl. This catches any tiny lumps or bits of undissolved starch.
Press plastic wrap directly onto the surface of the pudding to prevent a “skin” from forming, then let it cool.
- Room temperature: 30–40 minutes
- Refrigerator: Chill for at least 2 hours for the best set and flavor
Pro Tip: For a thicker, richer pudding, use whole milk or a blend of milk and cream. For a lighter version, use almond or oat milk.
Step 6: Flavor & Top Like a Pro
Now that your pudding is cool and set, it’s time to make it shine. You can serve it as-is or dress it up for dessert-worthy presentation.
Topping Ideas:
- Whipped cream (dairy or coconut)
- Crushed cookies or graham crackers
- Shaved chocolate or cocoa dust
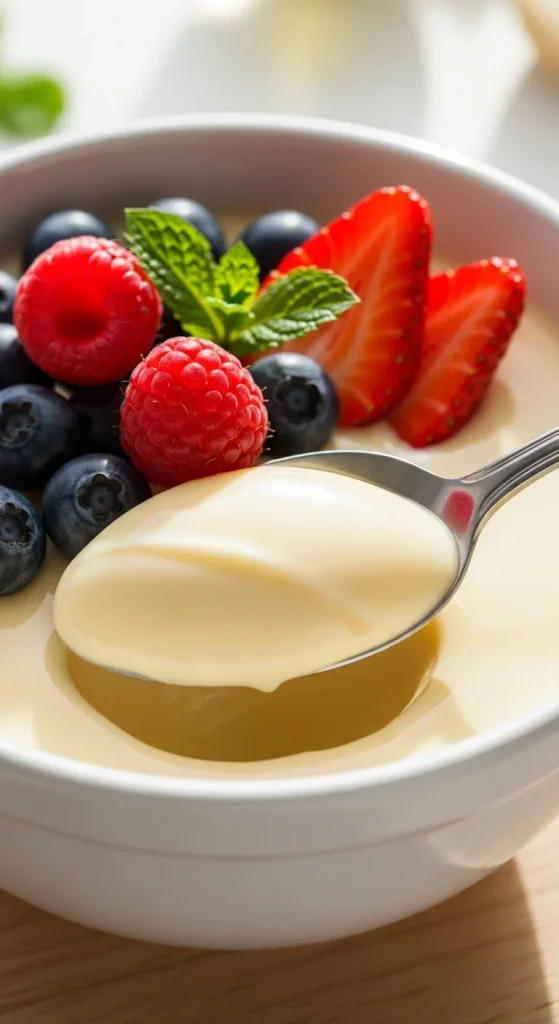
- Fresh fruit or berries
- Caramel drizzle or nut butter swirls
Creative Flavors to Try:
- Mocha: Add a teaspoon of instant coffee powder.
- Peanut Butter Chocolate: Stir in 2 tablespoons of peanut butter.
- Lemon Cream: Add lemon zest and a squeeze of juice instead of cocoa.

Pro Tip: For individual servings, spoon the pudding into small jars before chilling — perfect for grab-and-go snacks or party desserts.
Step 7: Troubleshooting Tips
Even simple recipes have little tricks that make all the difference:
- Too thin? Simmer for a few extra minutes until thickened.
- Too thick? Whisk in a splash of warm milk to loosen it up.
- Lumpy? Strain through a fine mesh and whisk vigorously while still warm.
- Too sweet? Add a pinch more salt or a touch of unsweetened cocoa to balance flavors.

Step 8: Serve & Enjoy
Serve chilled for a refreshing treat or slightly warm for cozy comfort. It’s rich, smooth, and melt-in-your-mouth good — proof that you don’t need eggs to make classic pudding perfection.
Final Spoonful
Making pudding without eggs isn’t just possible — it’s easy, quick, and incredibly satisfying. Whether you’re catering to allergies, eating plant-based, or simply craving something sweet without the hassle, this recipe has you covered.
So grab that whisk, stir up some creamy magic, and indulge in a spoonful (or two).
Save this recipe for later — your next dessert craving will thank you!

Hannah Collins is a passionate home cook and food storyteller who believes every recipe tells a little love story. At TastyWriter, she shares simple, delicious recipes made for real kitchens and busy days — from cozy comfort dishes to creative new favorites. When she’s not cooking, you’ll find her photographing food, testing family recipes, or sipping tea while dreaming up her next tasty idea.
Leave a Reply