
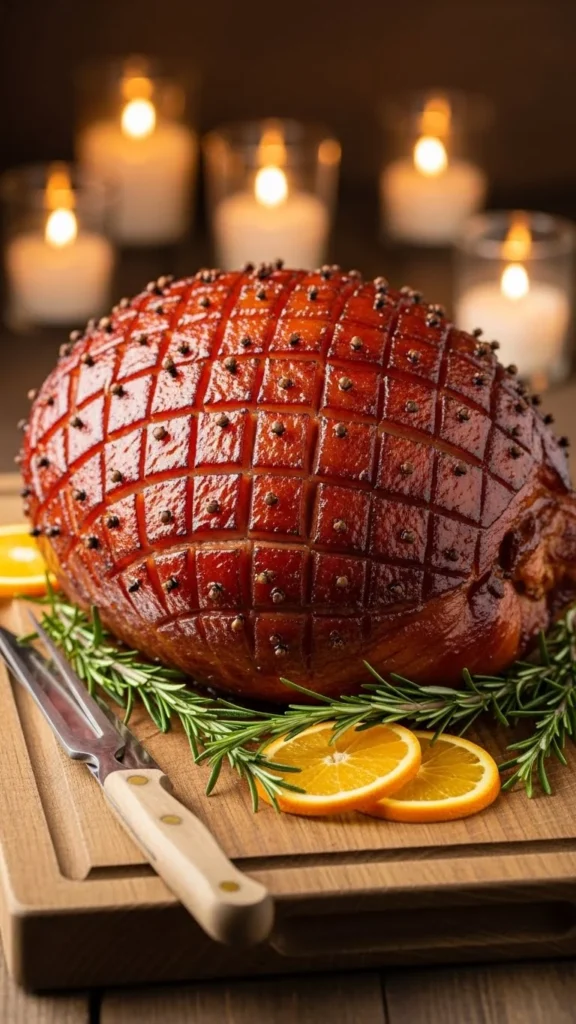
Few things feel more festive than pulling a ham out of the oven glazed in something glossy, golden, and irresistibly sticky. The smell alone sets the mood. Sweet sugar caramelising, warm spices blooming, and a hint of savoury depth drifting through the kitchen. This is the kind of winter cooking that gathers people before dinner is even ready.
The good news? A sweet and sticky winter ham glaze is easy to make at home. You don’t need bottled sauces or complicated steps. You just need the right balance of sweetness, acidity, and heat, plus a little patience while it works its magic in the oven.
What Makes a Winter Ham Glaze Truly Special
A great ham glaze does more than add sweetness. It creates layers.
The best winter glazes:
- Balance sweet and savoury
- Thicken as they cook
- Caramelise without burning
- Complement the saltiness of the ham
Winter is the perfect season for richer flavours. Think honey, brown sugar, maple syrup, mustard, citrus, and warm spices. Together, they turn a simple ham into the centrepiece of the table.
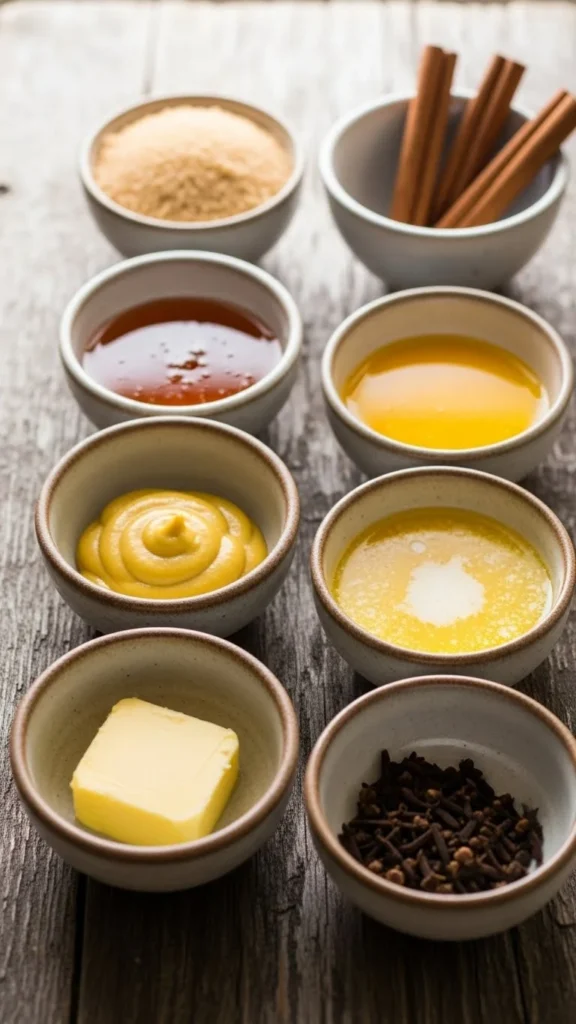
Core Ingredients for a Sweet & Sticky Glaze
You can customise endlessly, but every good glaze starts with a few essentials.
Base ingredients:
- Brown sugar or honey
- Maple syrup or marmalade
- Butter for richness
- Dijon or wholegrain mustard for balance
Flavour boosters:
- Orange or pineapple juice
- Apple cider vinegar
- Cinnamon, cloves, or nutmeg
- Garlic or shallot (optional)
Tip: Sweetness should never overpower. Acid and mustard keep the glaze from tasting flat.
How to Make the Glaze on the Stove
Making the glaze first gives you control over thickness and flavour.
Simple method:
- Melt butter in a small saucepan
- Add sugar, honey, or syrup
- Stir in mustard and juice
- Simmer gently for 5–8 minutes
You’re looking for a glaze that:
- Coats the back of a spoon
- Looks glossy, not watery
- Smells rich but not burnt
Remove from heat once thickened. It will continue to set as it cools slightly.
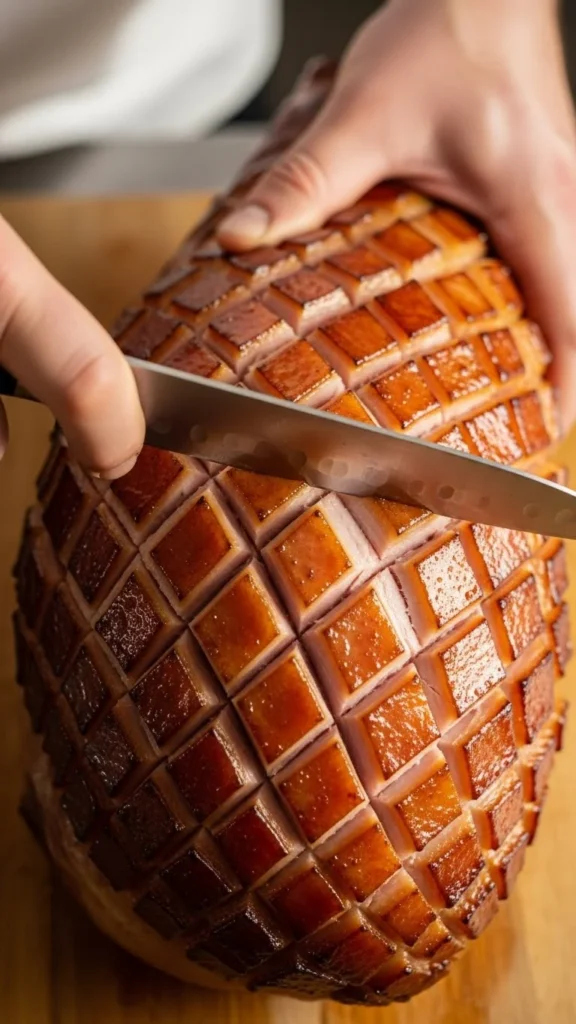
Preparing the Ham for Maximum Flavor
Glaze works best when it has somewhere to go.
Before glazing:
- Pat the ham dry
- Score the surface in a shallow diamond pattern
- Remove excess rind if needed
Scoring helps the glaze sink into the meat instead of sliding off. It also creates those beautiful caramelised edges everyone loves.
Glazing Technique That Creates That Sticky Finish
This is where timing matters.
For best results:
- Start glazing in the final 45–60 minutes of baking
- Brush on a generous layer
- Return to the oven uncovered
Every 15 minutes:
- Remove the ham briefly
- Brush with more glaze
- Let it build layer by layer
This slow layering creates a thick, sticky coating instead of a runny sauce.
If the glaze starts to darken too fast, loosely tent with foil.
How to Avoid Burning the Glaze
Sugar burns quickly, especially in winter ovens running hot for roasts.
To protect your glaze:
- Keep oven temperature moderate
- Place ham on a lower rack
- Use foil if edges darken early
If the glaze thickens too much in the pan, add a splash of juice or water and warm gently.
Sticky is good. Burnt is not.
Finishing Touches for a Festive Look
Once baked, let the ham rest. This helps the glaze set.
Optional finishing ideas:
- Brush one final thin layer of warm glaze
- Sprinkle with cracked pepper
- Garnish with citrus slices or herbs
The glaze should cling to the meat, not pool on the plate.
Storage and Reheating Tips
Leftover ham still deserves good glaze.
To store:
- Keep ham covered and refrigerated
- Store extra glaze separately
To reheat:
- Warm gently with foil
- Brush with leftover glaze
- Avoid high heat
This keeps the ham moist and the glaze glossy.
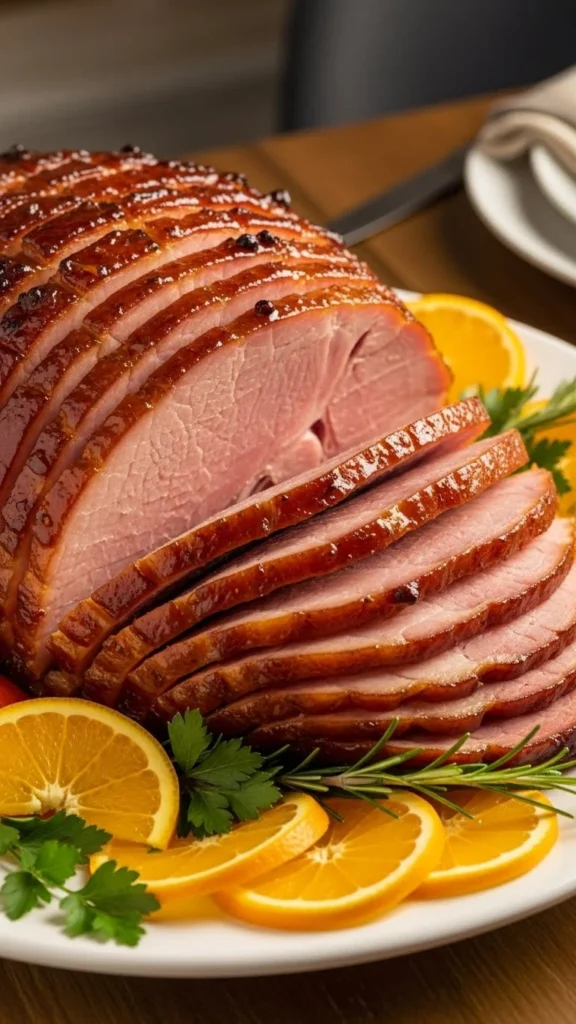
Final Takeaway
A sweet and sticky winter ham glaze is all about balance, layering, and patience. When done right, it transforms a simple ham into something memorable. Rich, glossy, and full of festive warmth.
Make it once, and it quickly becomes a winter tradition.
Save this recipe for later, and let your next winter meal shine.

Hannah Collins is a passionate home cook and food storyteller who believes every recipe tells a little love story. At TastyWriter, she shares simple, delicious recipes made for real kitchens and busy days — from cozy comfort dishes to creative new favorites. When she’s not cooking, you’ll find her photographing food, testing family recipes, or sipping tea while dreaming up her next tasty idea.
Leave a Reply